
DIY Halloween decorations are a simple way to make your home feel seasonal without spending much. You can use paper, thrifted finds, mason jars, and a few lights to get a cozy look.
This guide walks through 10 decoration setups, from a small family living room to an apartment balcony. Each section includes quick steps, styling ideas, and ways to keep it safe and tidy.
If you found this post on Pinterest, you can copy these looks with what you already have. You will also learn how to place decor so it looks good in photos and in real life.
Expect easy crafts like paper ghost garlands, painted pumpkins, window silhouettes, and cardboard tombstones. Most projects take one afternoon and store flat after Halloween.
1. DIY Halloween Decorations for a Small Family Living Room


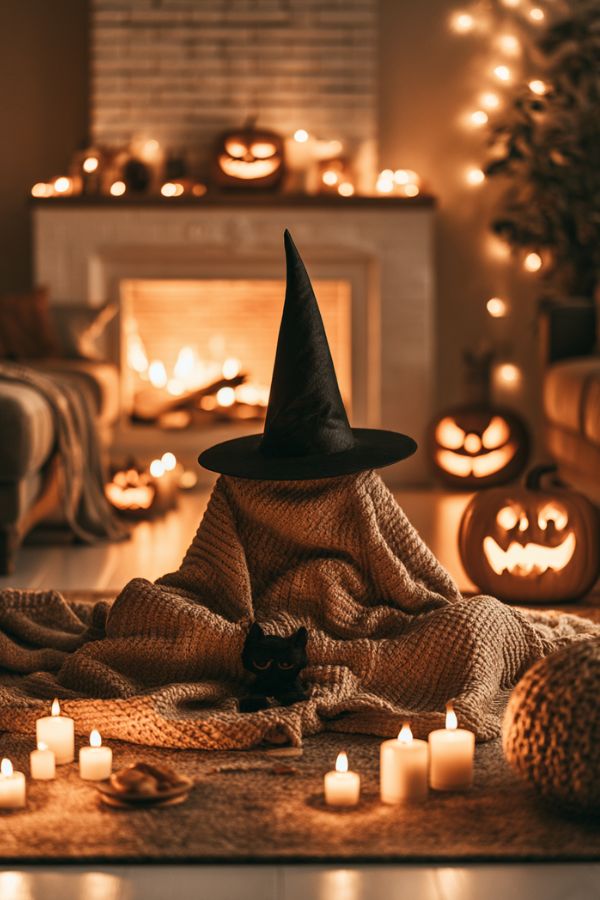
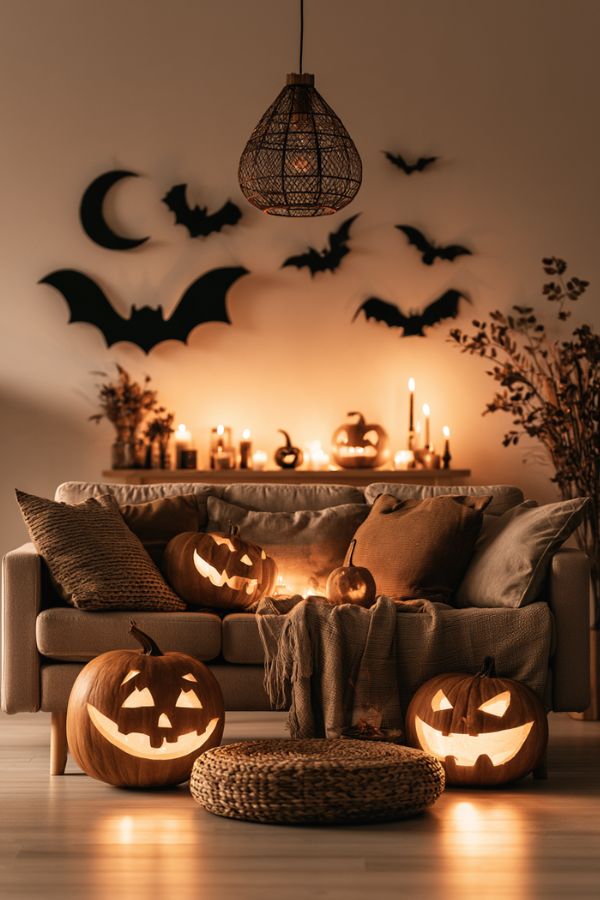
A small family living room can look festive fast with paper ghost garlands and a few wall bats. Set up at the brick fireplace so the mantle area becomes your main focus. Let a parent and child cut and tape the pieces together for a handmade charm that fits the space.
Start with a simple ghost shape from white paper or coffee filters. String them on twine, then hang across the fireplace with painter’s tape to protect the brick. Add a mason jar candy bowl on the hearth or coffee table, and keep a stack of board books nearby for a family-friendly vibe.
To style it, keep textures soft and real. A slightly wrinkled knit throw on the sofa and a toy basket near the couch make the room feel lived in, not staged. Use soft window light in the day and warm lamps at night to keep matte shadows and a calm mood.
- Cut 10 to 20 paper ghosts and punch two holes in each one.
- Thread twine through and space ghosts with small knots.
- Tape paper bats on the wall in a loose swirl pattern.
- Fill a mason jar with wrapped candy and set it on a tray.
- Keep scissors and extra tape in a small bowl so cleanup is easy.
Pro Design Tip: Hang the garland slightly higher than the mantel line and let it dip in the middle so it reads well in photos from an over-the-shoulder angle.
Budget Considerations: Use printer paper or old book pages for ghosts, and swap the candy jar for any glass you already own.
2. Thrifted Pumpkin Painting for DIY Halloween Decorations

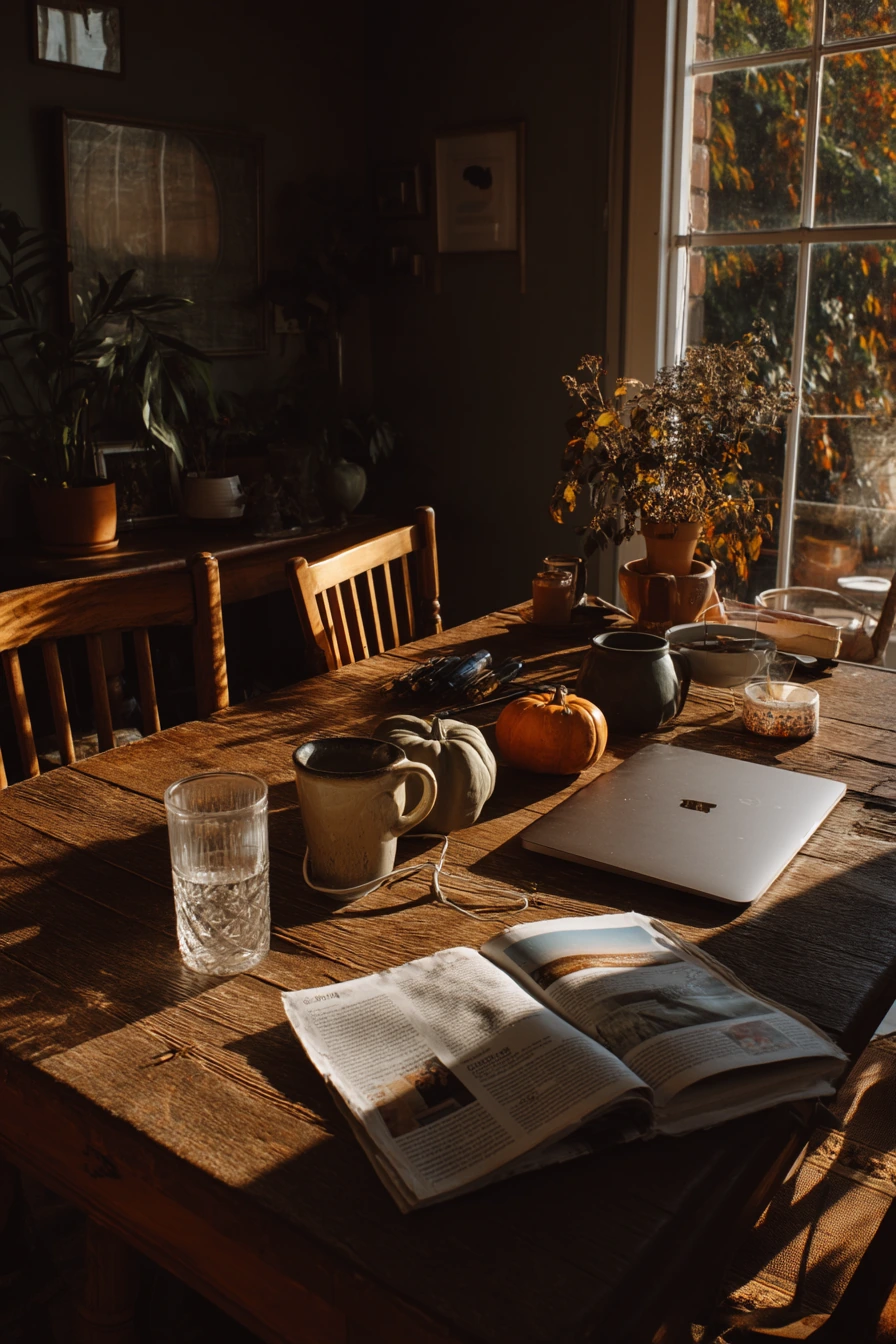
Pumpkin painting is one of the easiest diy halloween decorations for a dining table. It is also low-mess compared to carving. A worn oak table and thrifted pumpkins look great with muted colors like charcoal and sage.
Set up like a casual craft night with roommates. Put brushes in a chipped mug, and lay out scrap paper so you do not stress about drips. If you have water glass rings on the table already, keep them. This kind of texture makes the scene feel real and warm in late afternoon sun.
To style it, keep the table simple so the painted pumpkins stand out. Leave an open craft magazine nearby for ideas, and keep a laptop off to the side if you are following a pattern. When the pumpkins dry, group them in threes and add one candle or a small bowl of candy in the center.
- Wipe pumpkins clean so paint sticks well.
- Use matte acrylic paint for a soft, modern look.
- Paint stems a darker shade to add contrast.
- Let each coat dry before adding dots, stripes, or names.
- Protect the table with a split paper bag or old newspaper.
Pro Design Tip: Pick one main color and one accent color, then repeat them across all pumpkins so the set looks planned, not random.
Budget Considerations: Thrift stores often have foam pumpkins that repaint well; they cost less than real pumpkins and last for years.

3. Window Silhouettes and Cobweb Corners for Apartment DIY Halloween Decorations
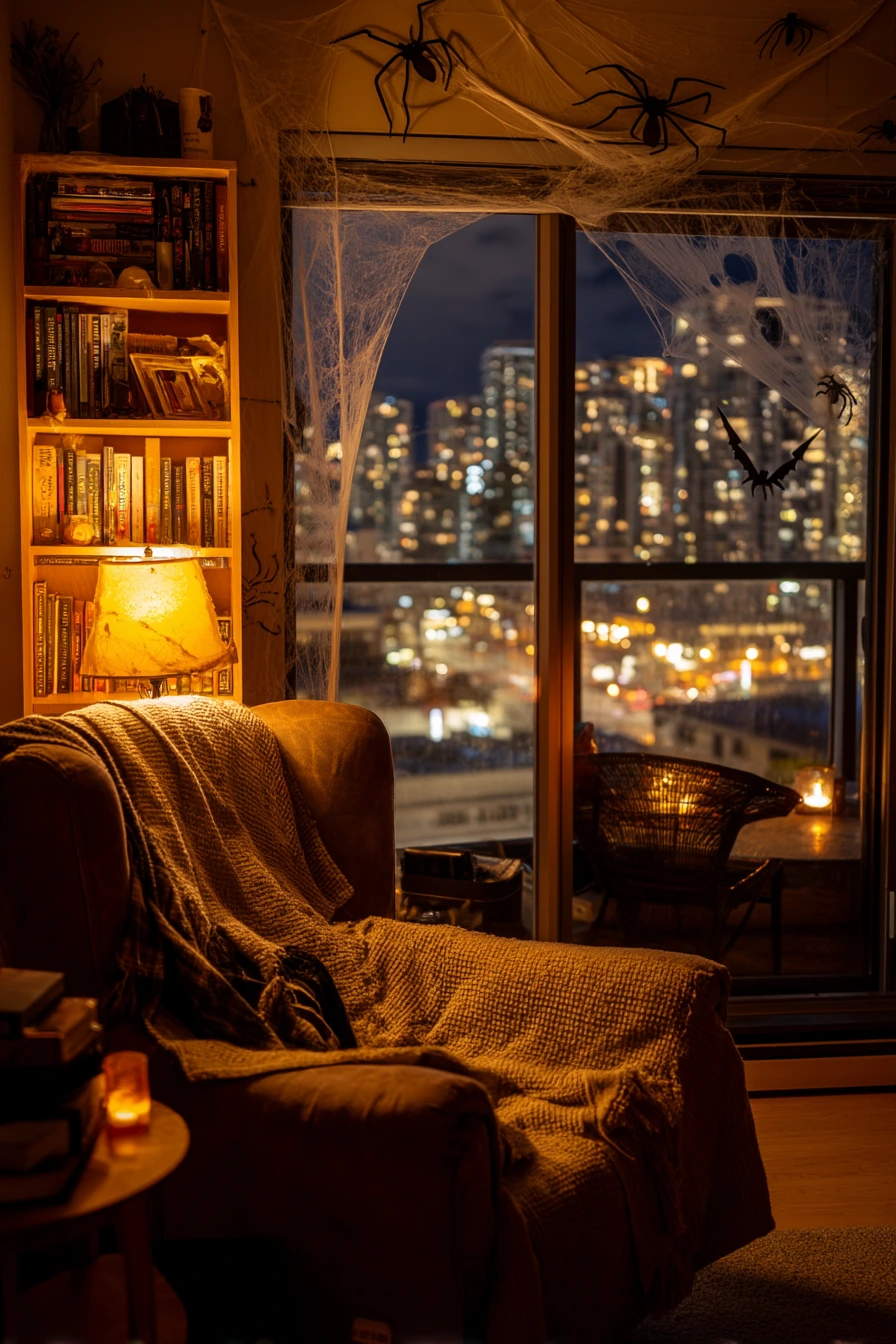

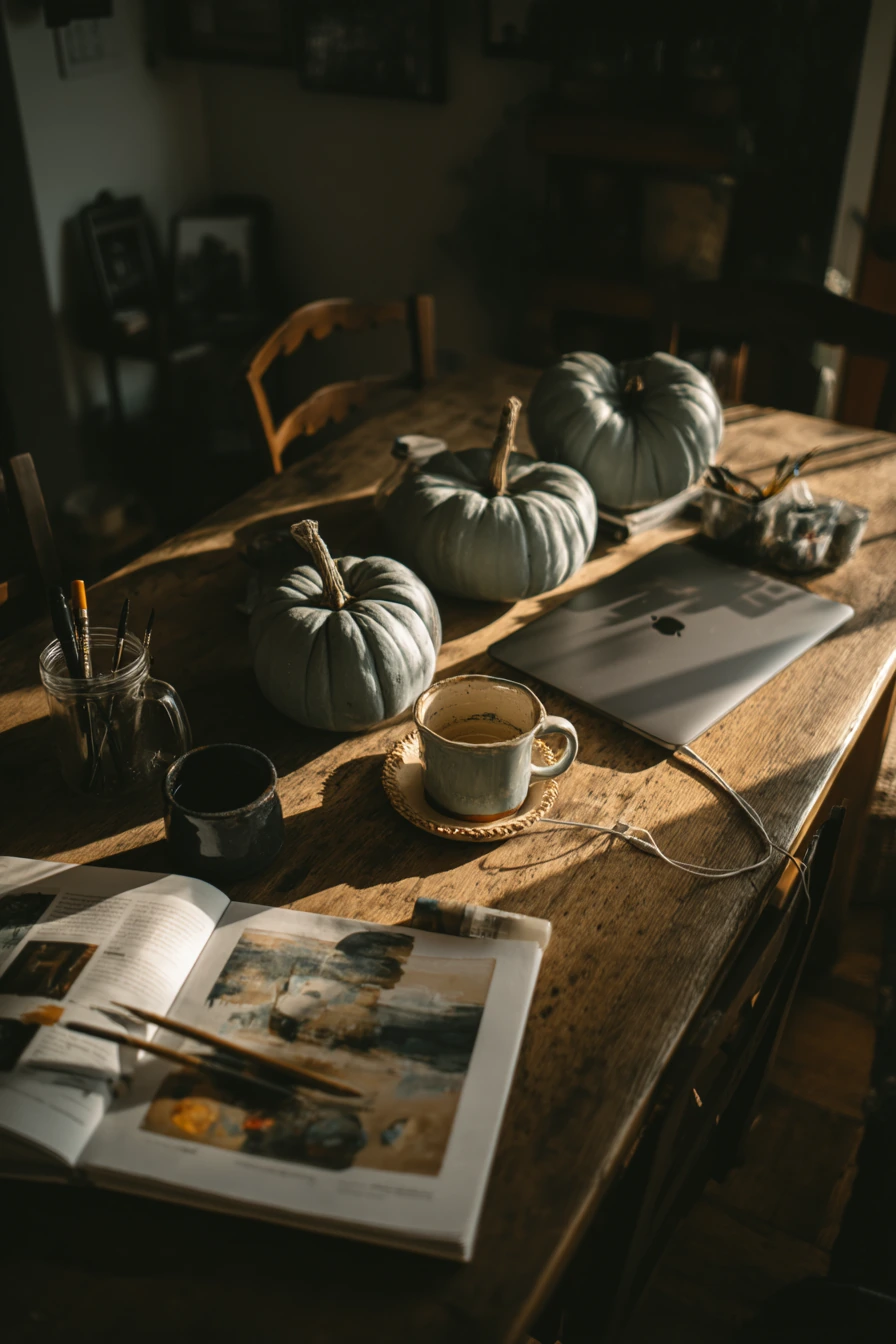
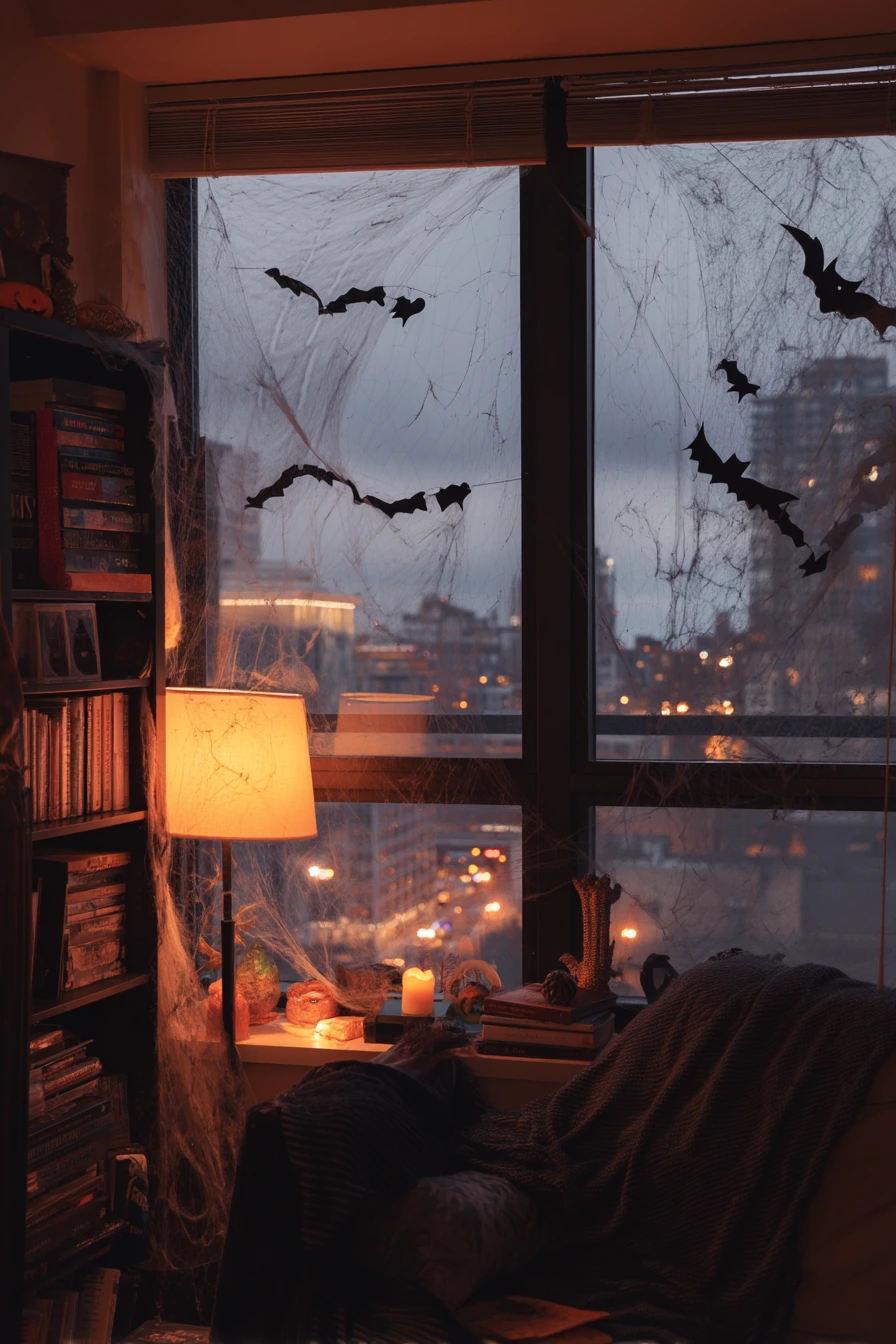
Black paper silhouettes on apartment windows give you a strong Halloween look without taking up floor space. They work well at dusk when city lights glow outside. You can create cats, bats, haunted houses, or a simple tree shape.
Cut shapes from black paper or black poster board. Tape them to the inside of the glass so they stay dry and clean. Add faux cobwebs in the top corners of the window frame, then keep the rest of the room calm with a slim bookshelf and a folded blanket on the armrest.
To style it, use one amber lamp and a half-burned candle for a warm glow that balances the inky contrast. Keep clutter low, but allow a few real-life details like uneven book stacks. This helps the room feel cozy instead of like a party store aisle.
- Sketch a simple silhouette shape and cut it with scissors.
- Use painter’s tape so it removes cleanly from glass.
- Pull cobwebs thin so they look airy, not chunky.
- Add one or two paper bats on the wall to connect the window to the room.
- Turn off overhead lights and use one lamp for mood.
Pro Design Tip: Place silhouettes at different heights across the window so the scene feels like it has depth when viewed straight on.
Budget Considerations: Use black trash bags cut flat as a cheap substitute for poster board.

4. Mason Jar Lanterns for Narrow Entryway DIY Halloween Decorations
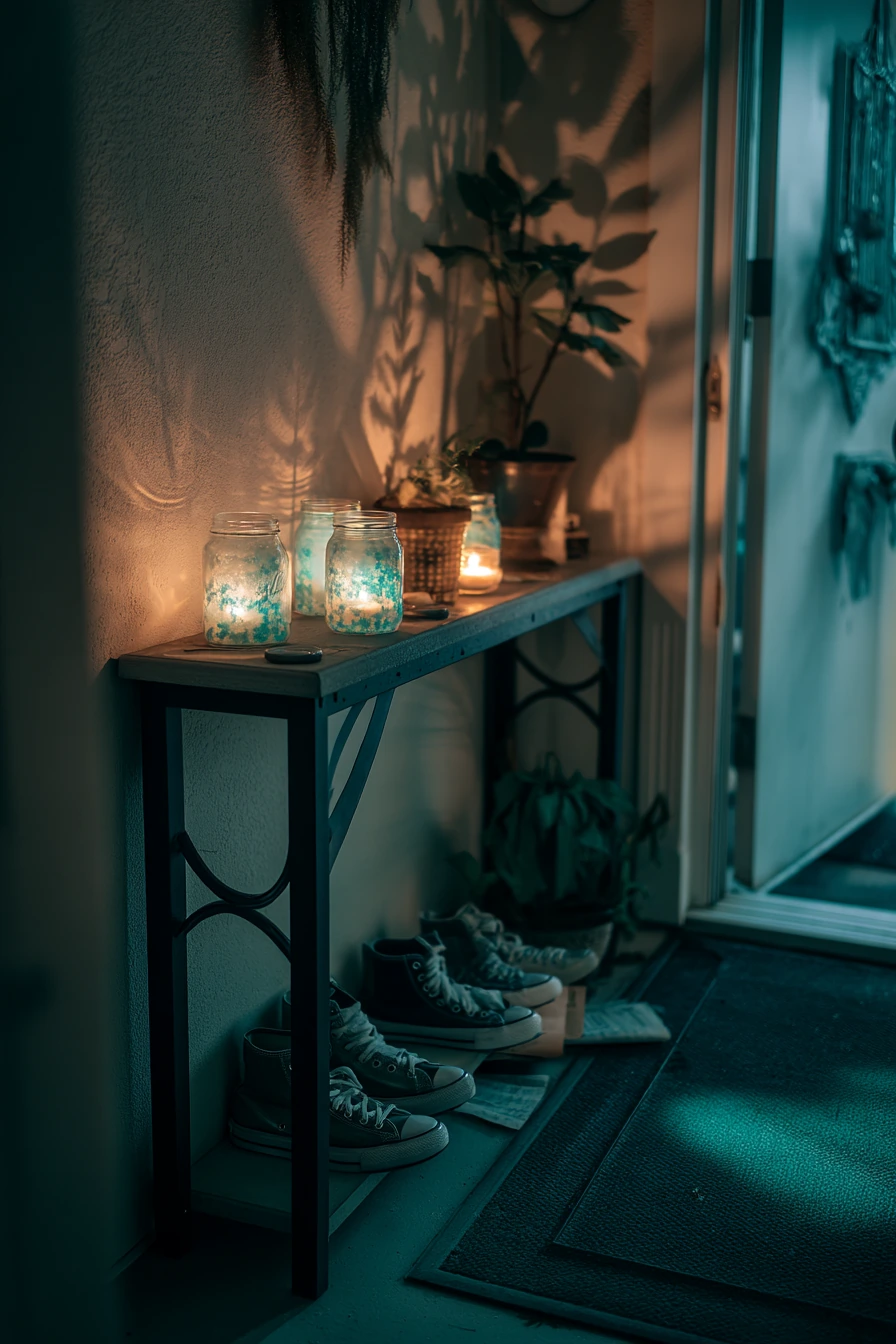
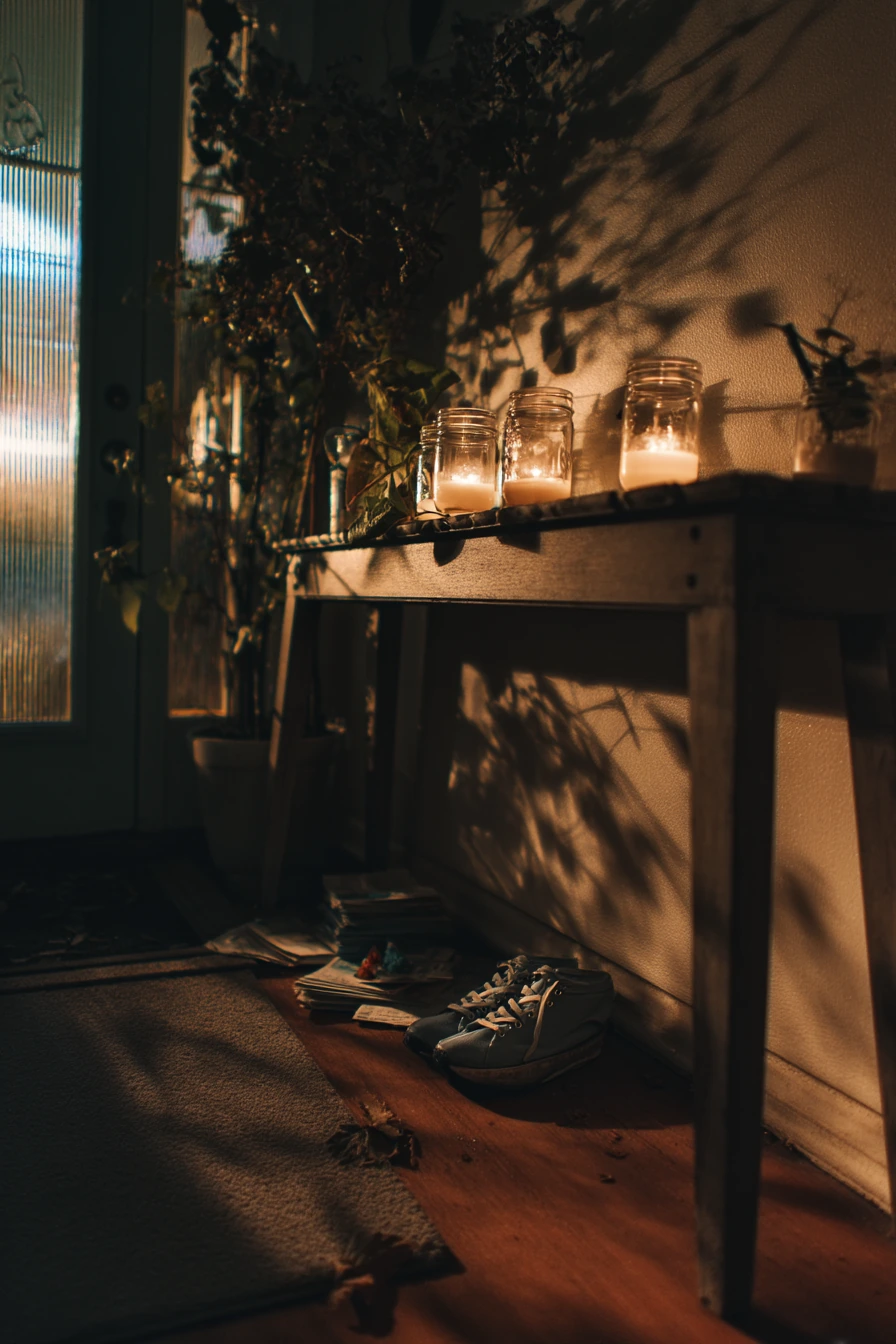
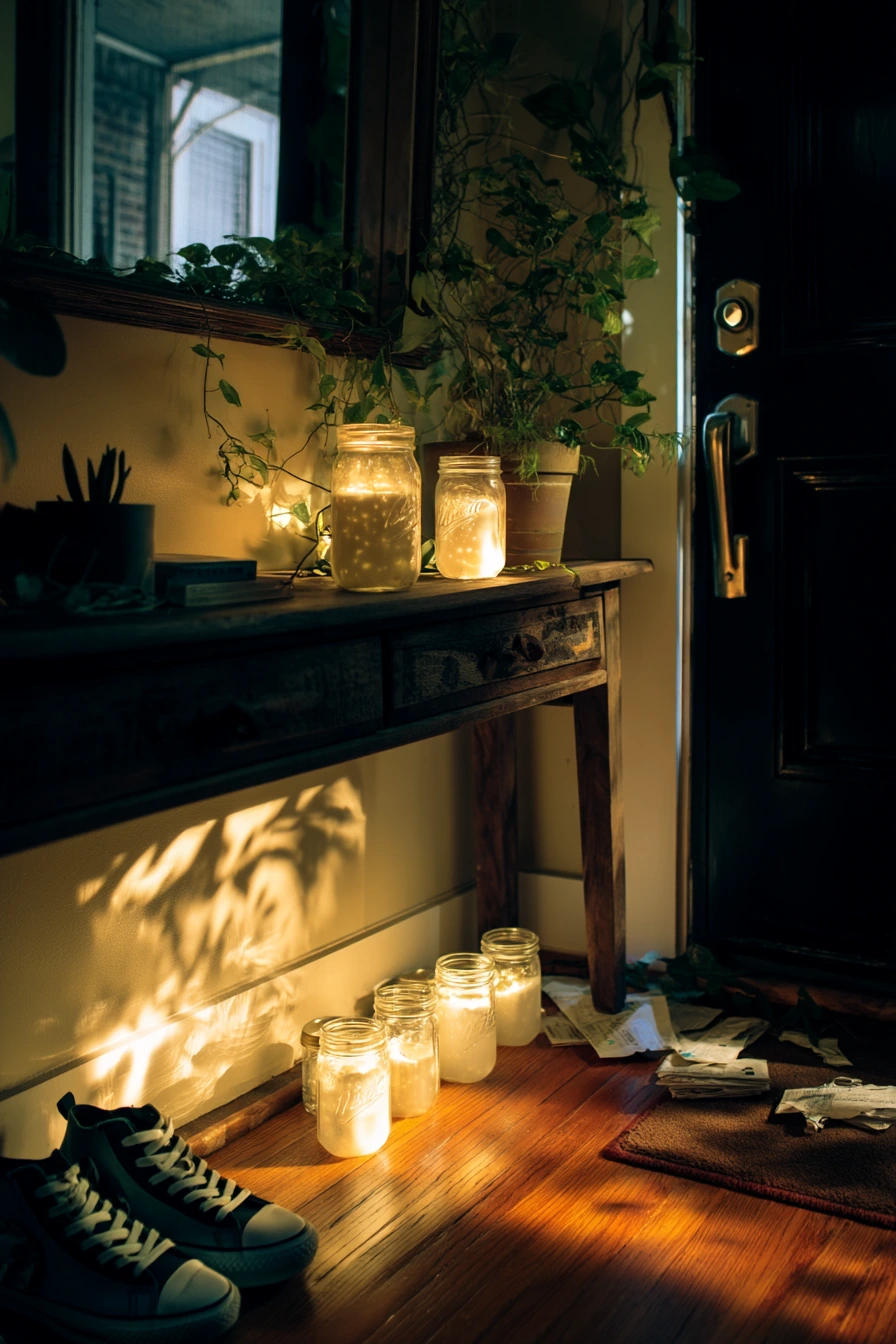
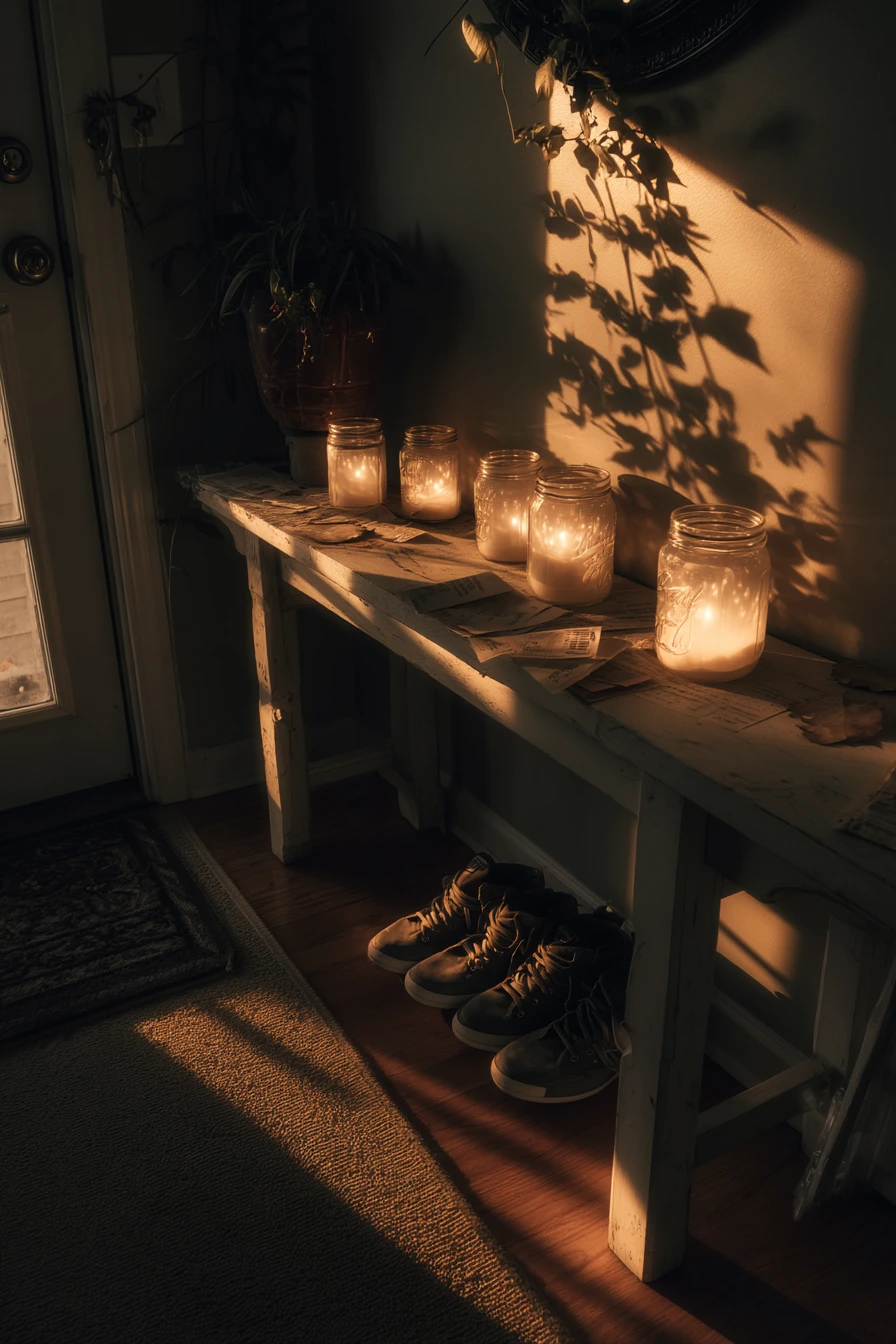
A narrow entryway needs decor that stays off the floor and does not block the path. Mason jars painted milky white with flickering tealights are perfect for this. They give a soft glow and make the entry feel welcoming at twilight.
Paint the outside of jars with watered-down white acrylic paint for a cloudy finish. Let them dry, then place battery tealights inside. Set the jars on a thrifted console table, even if there is scattered mail. The mix of tidy and real life makes the space feel honest and lived in.
To style it, keep one small potted plant on the table and let it cast leafy shadows in the candlelight. Put sneakers by the door in a neat pair so the space still works for daily use. If you want a little more Halloween, add a small paper tag on each jar with a simple label like “boo” or “treat.”
- Clean jars and remove labels before painting.
- Use two thin coats for a soft, milky look.
- Choose battery tealights for safety in a tight space.
- Group jars in odd numbers like 3 or 5.
- Keep the center of the table clear for keys and mail.
Pro Design Tip: Mix jar heights by using one upside-down bowl or a small stack of books under a jar to create a layered display.
Budget Considerations: Save pasta sauce jars and reuse them; one small bottle of craft paint can cover many jars.
5. Backyard Cardboard Tombstones for DIY Halloween Decorations
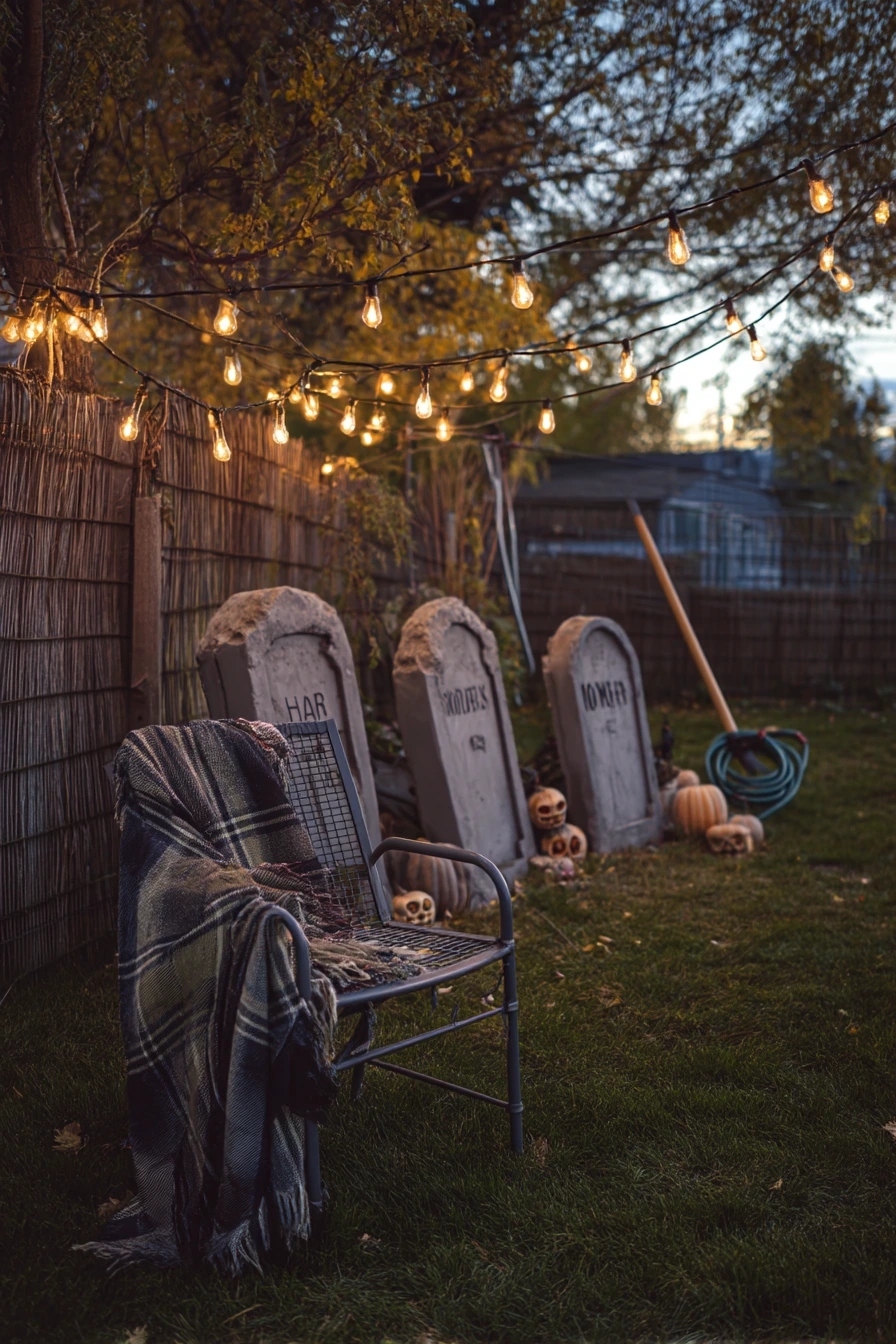

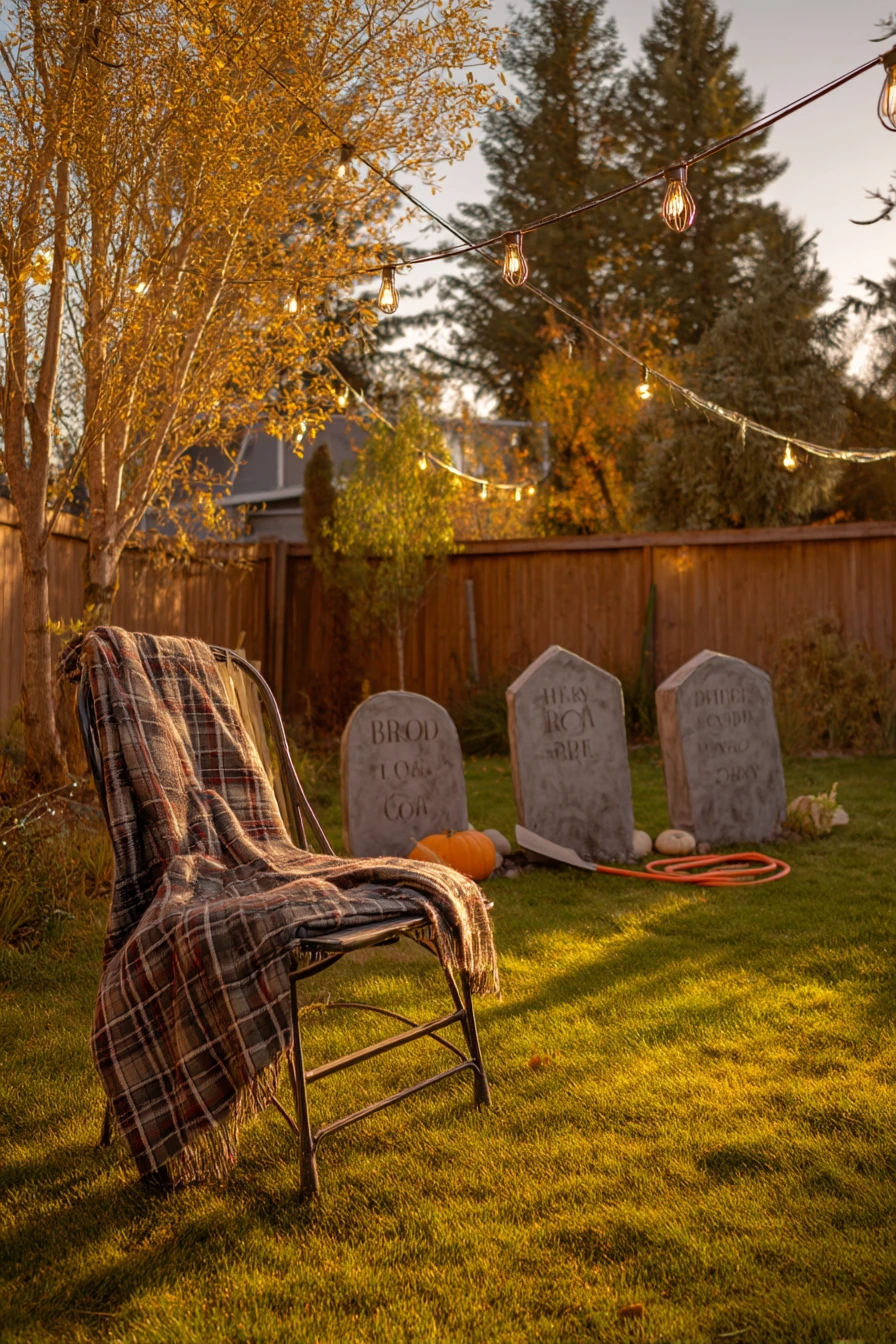
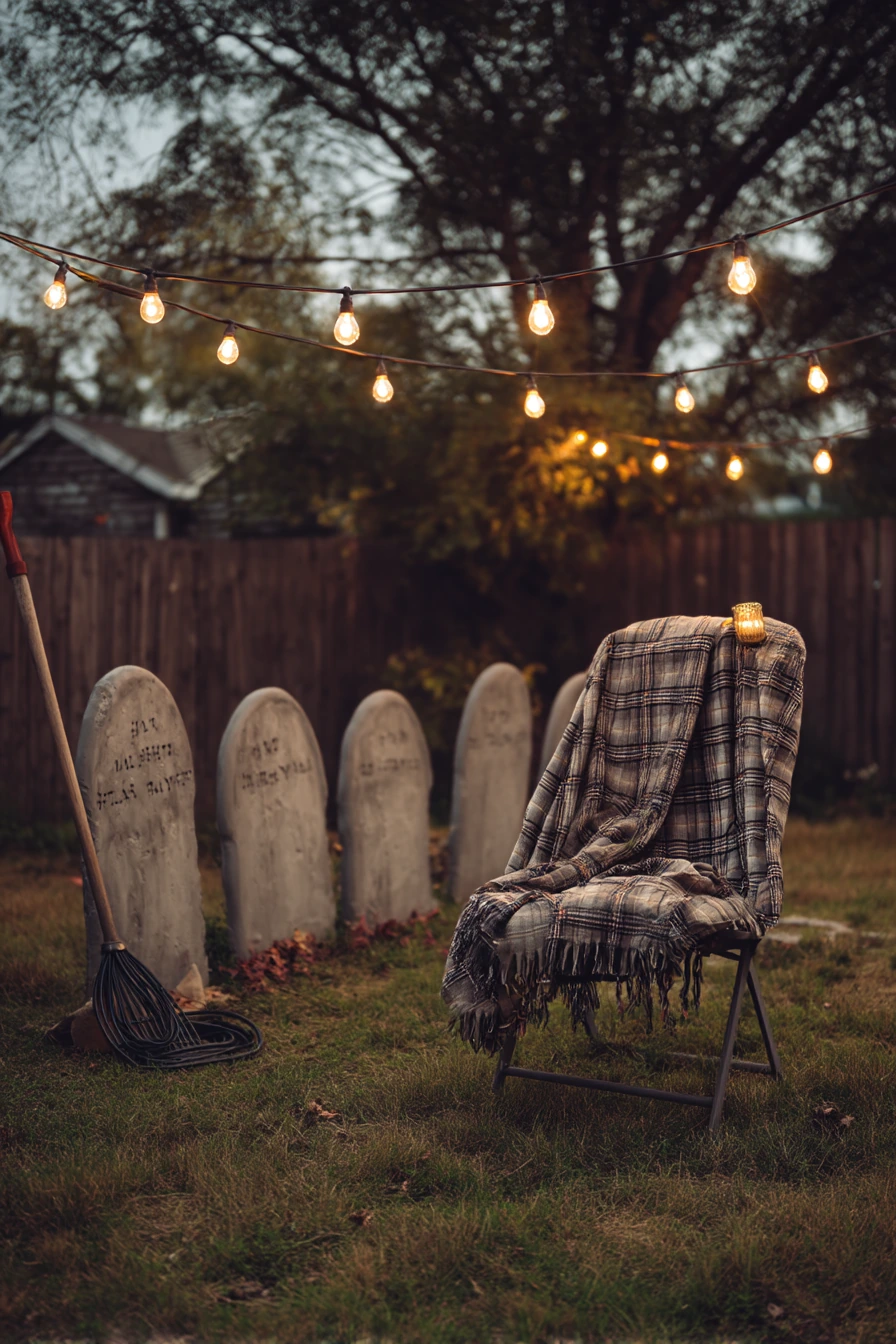
Homemade cardboard tombstones turn a modest backyard into a Halloween scene without heavy props. They are light, easy to move, and store flat. With string lights overhead, the whole yard feels warm during golden hour.
Cut tombstone shapes from large cardboard boxes. Paint them gray, then add darker streaks with a sponge for a stone look. Hand-letter names in black paint or marker. Place them along a fence line or in a garden bed, leaving room for kids and pets to walk safely.
To style it, keep useful yard items like a coiled garden hose or a rake leaning on the fence out of the main photo area, but do not worry if they show a little. Add a metal chair with a plaid blanket for a cozy corner. A few dry leaves around the bases help the tombstones blend into the yard.
- Use a box cutter on a flat surface to cut shapes.
- Add wood stakes or paint sticks to the back for support.
- Dry brush darker paint along edges for depth.
- Space stones unevenly for a more natural look.
- Hang string lights in a zigzag line to frame the scene.
Pro Design Tip: Angle a few tombstones slightly left or right so the row looks like an old graveyard instead of a straight fence.
Budget Considerations: Ask local stores for clean boxes and use leftover house paint samples for the gray base.
6. Floating Witch Hats on the Staircase for DIY Halloween Decorations
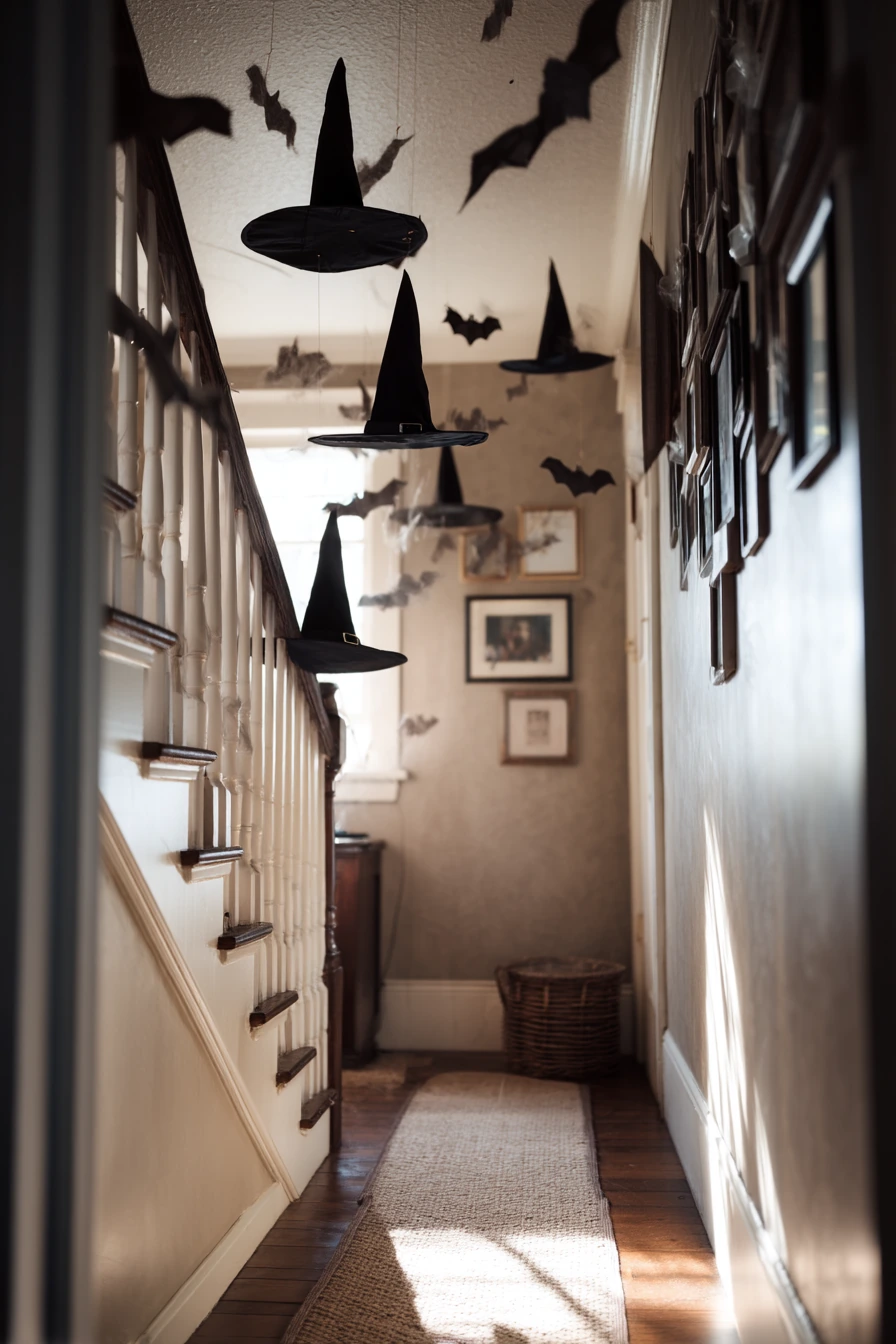
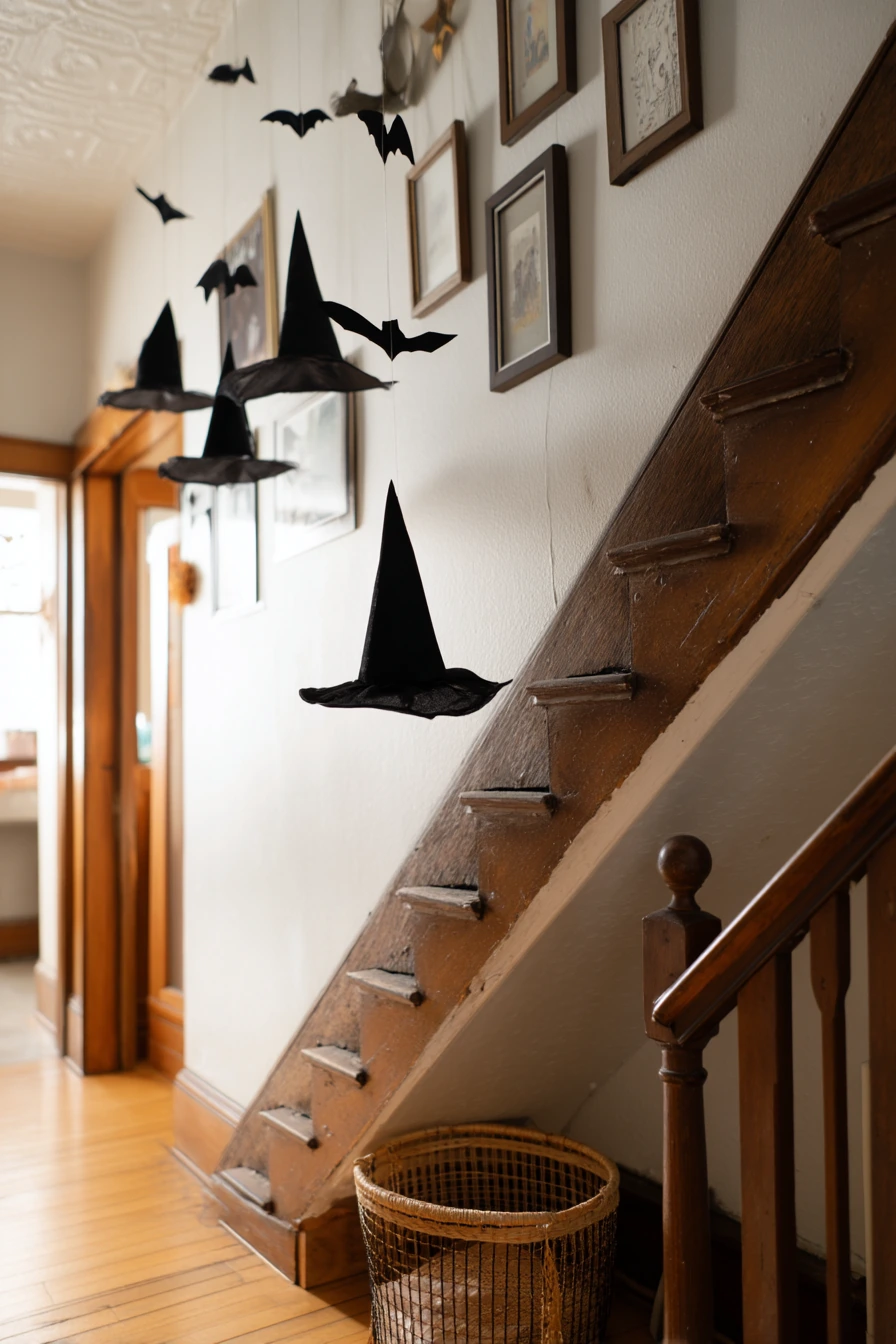
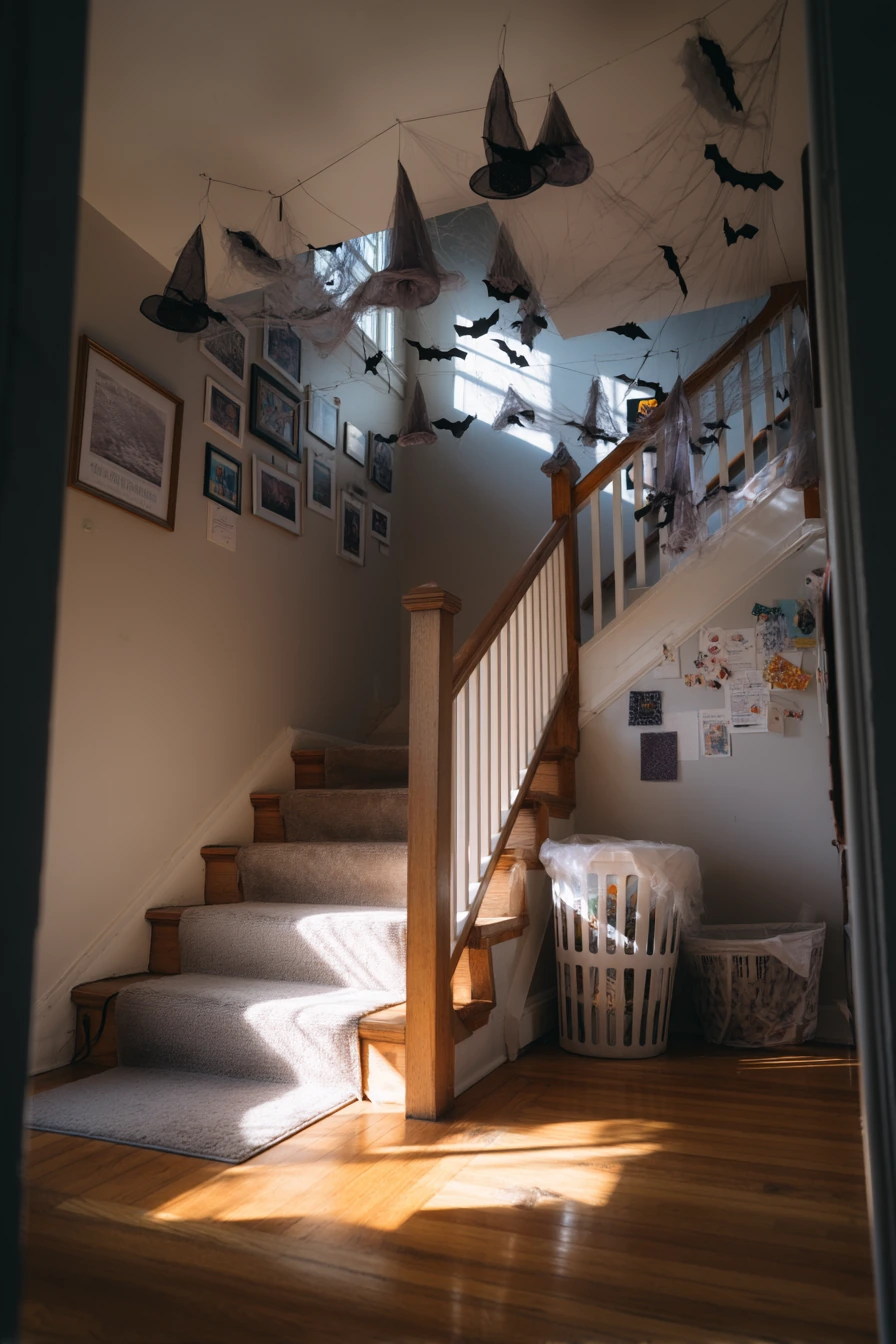
A staircase is a great place for diy halloween decorations because it pulls the theme through the whole home. Floating witch hats hung with clear thread look light and fun. Paper bats trailing upward add motion and guide the eye to the top floor.
Use a simple fishing line or clear thread and attach hats to the ceiling with removable hooks. Keep the hats staggered so they look like they are moving. Add bats up the wall in a loose trail, starting near a laundry basket at the base and ending near the upstairs landing.
To style it, let family photos stay on the wall so it still feels like your home. A soft runner that is slightly rumpled adds texture and keeps the look relaxed. Morning light from an upstairs window makes the hats feel airy, so try to do your photos in daylight.
- Use lightweight hats so the thread does not sag.
- Hang hats at different heights for a floating effect.
- Cut bats from black paper and fold wings for shape.
- Keep the handrail clear for safety.
- Place a small basket for extra bats and tape to fix any that fall.
Pro Design Tip: Fold bat wings at the center and tape only the body so the wings lift off the wall and create real shadow.
Budget Considerations: Make hats from black cardstock cones and simple brims instead of buying ready-made ones.

7. Cozy Mantel Styling with Felt Pumpkins for DIY Halloween Decorations
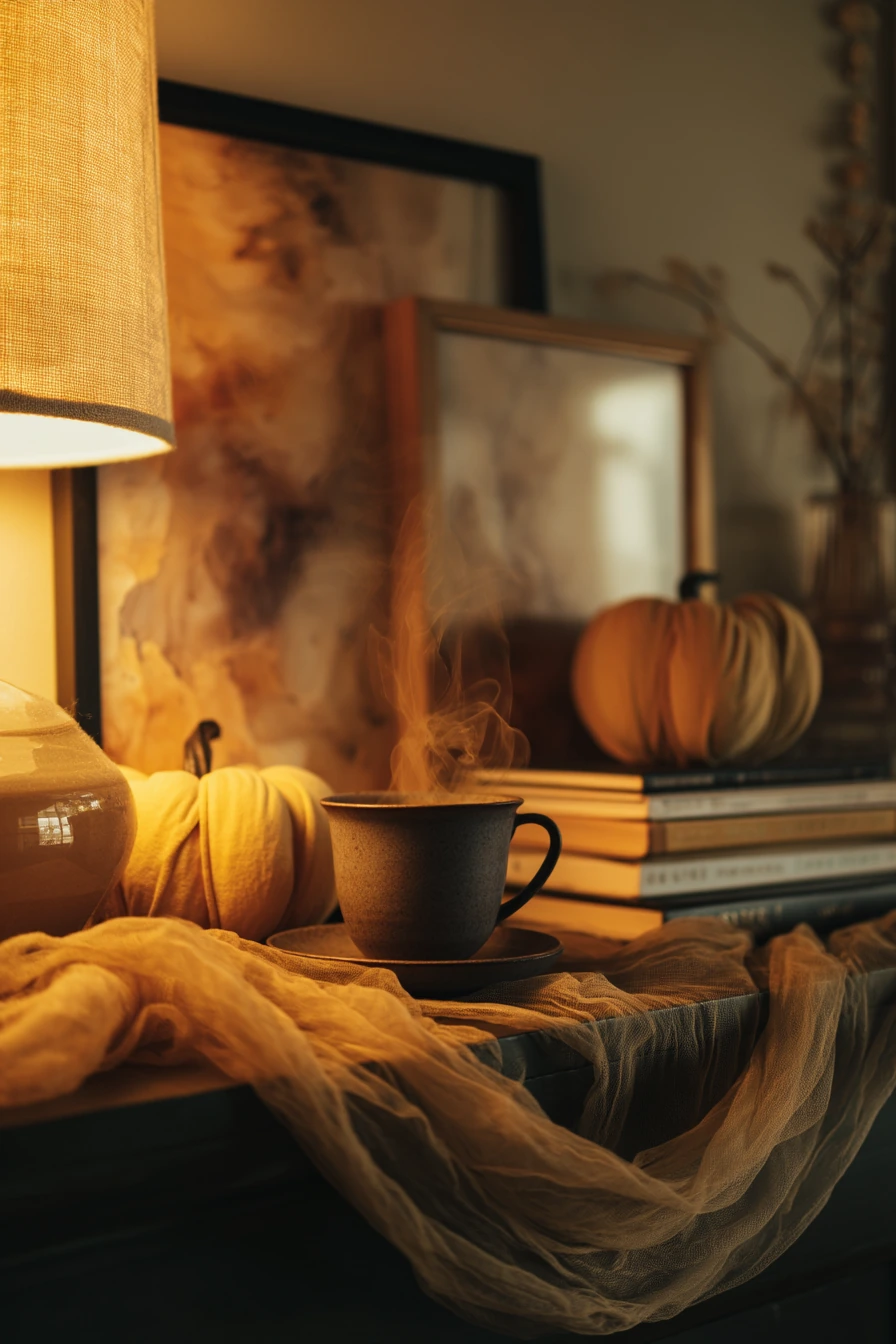
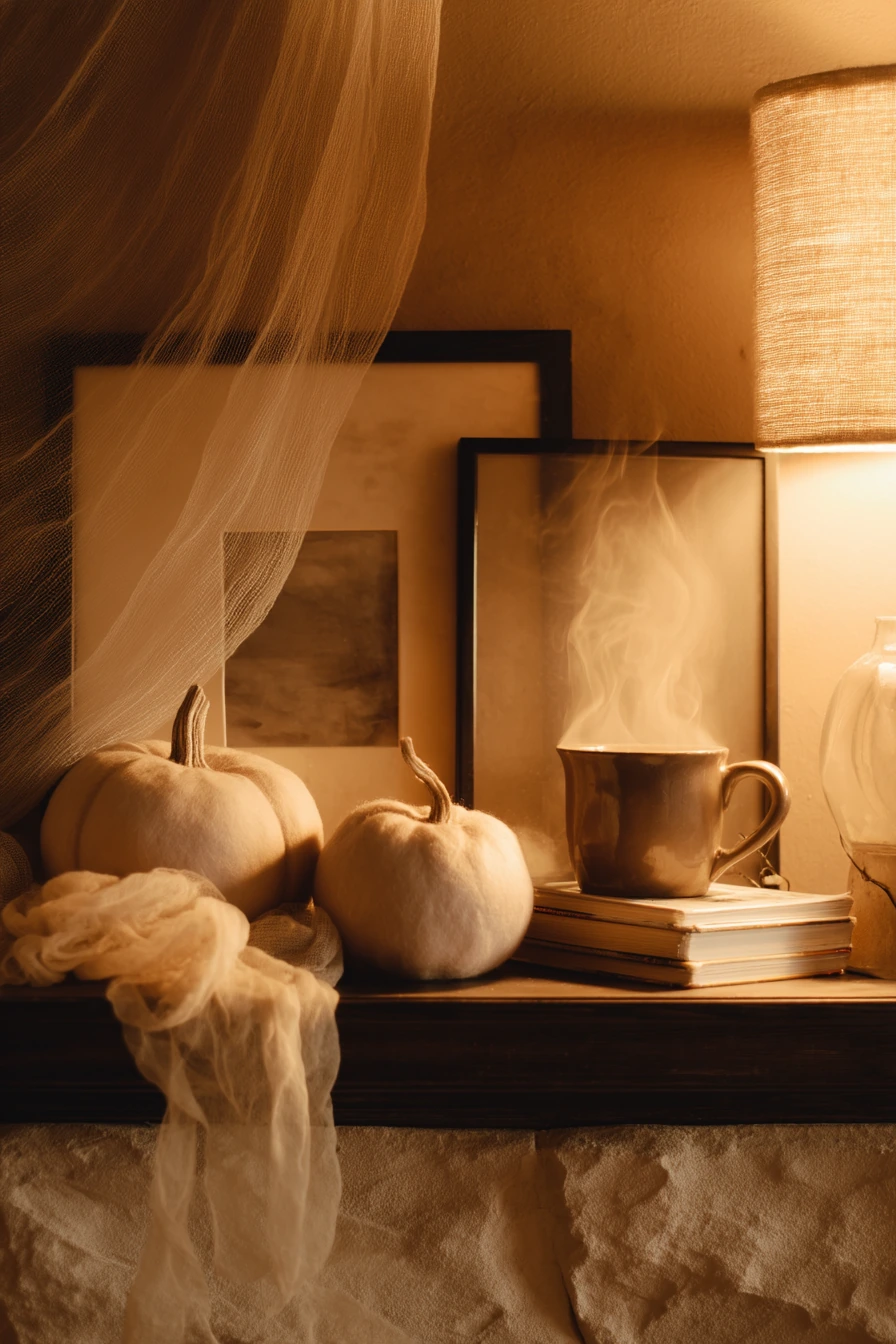
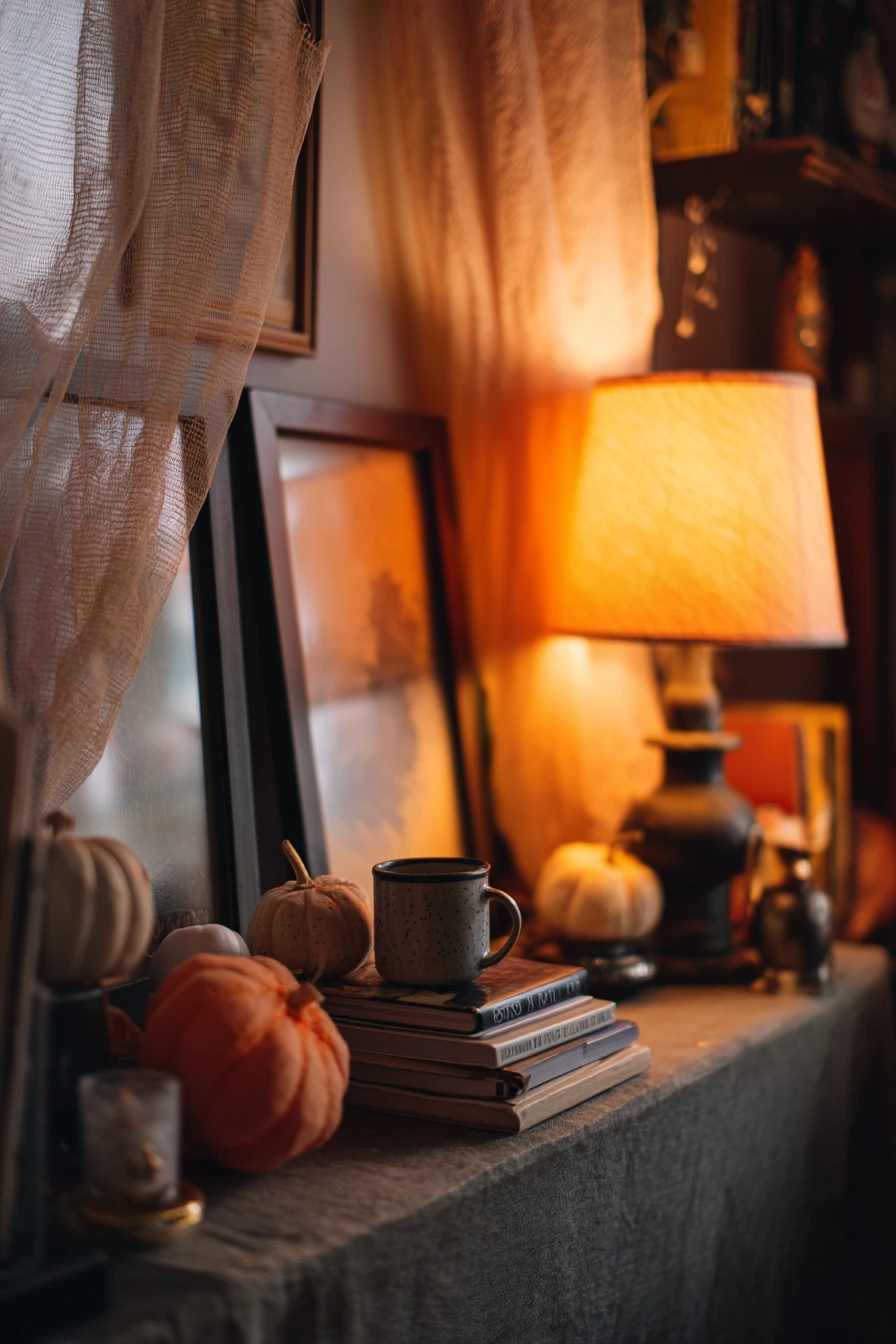
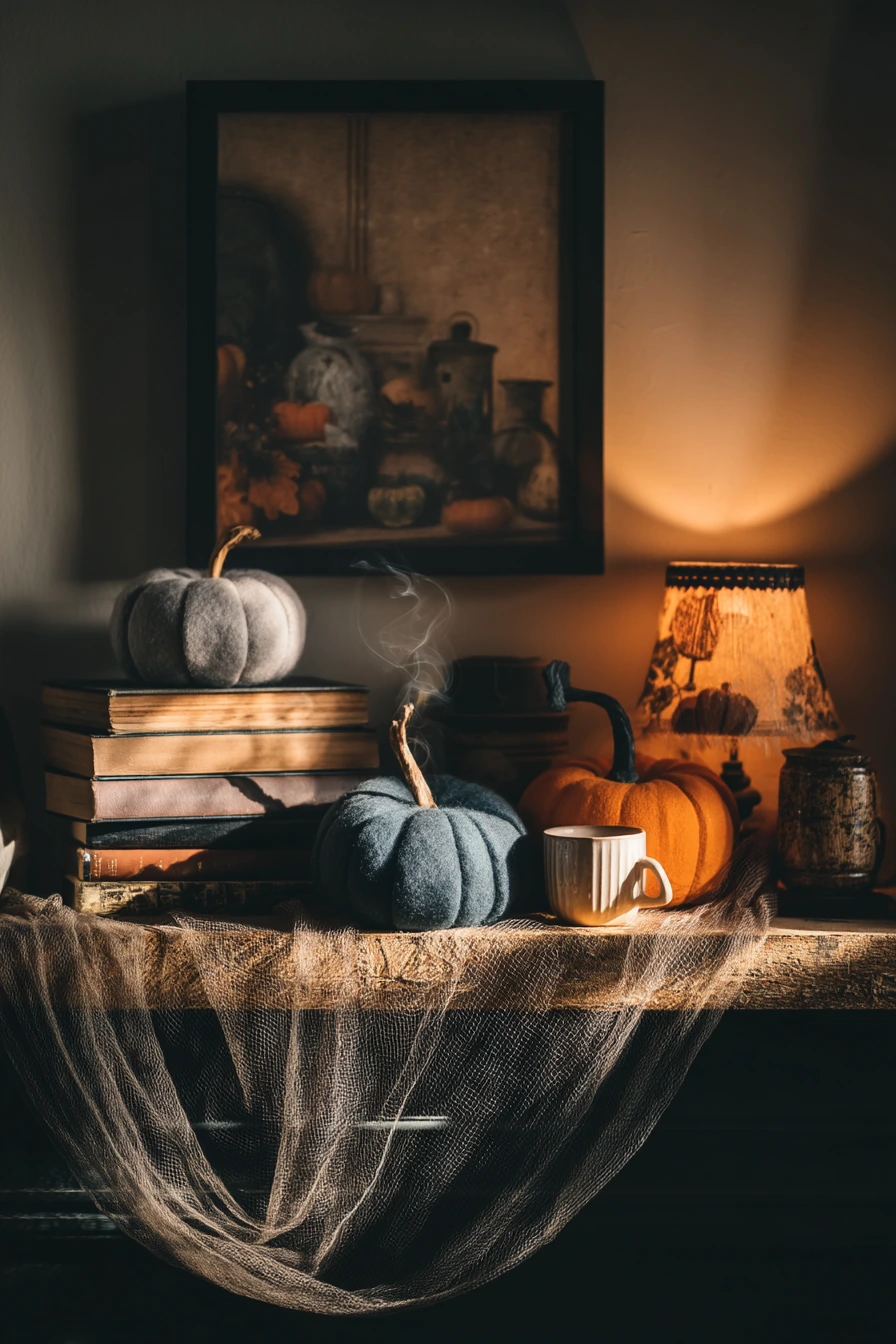
A simple apartment mantel can look finished with a few soft pieces and warm light. Handmade felt pumpkins are easy to place and safe around books and art. Add gauzy fabric draped loosely for a gentle Halloween layer.
Start by laying gauze across the mantel in one long strip, then tuck it behind a stack of novels. Place felt pumpkins in different sizes, and leave a ceramic mug with tea steam nearby for a cozy feeling. Keep framed art slightly off center if that is how it sits in real life. It makes the room feel natural, not staged.
To style it, use a floor lamp with a honeyed glow instead of harsh overhead lighting. Add one or two small items like a tiny bowl for candy or a mini vase with dried stems. Keep the color calm, like cream, black, rust, and soft orange, so the textures do the work.
- Use felt scraps and hot glue to make no-sew pumpkins.
- Stuff pumpkins with polyfill or old fabric pieces.
- Layer gauze behind items so it does not cover everything.
- Stack books in two piles to create height changes.
- Keep one clear spot on the mantel for daily-use items.
Pro Design Tip: Build a triangle shape with your tallest item on one side, medium items in the middle, and small pumpkins at the ends for balance.
Budget Considerations: Use old sweaters or felt from the dollar store, and swap new stems for branches from your yard.
8. Paper Monster Door Decor for Kids DIY Halloween Decorations


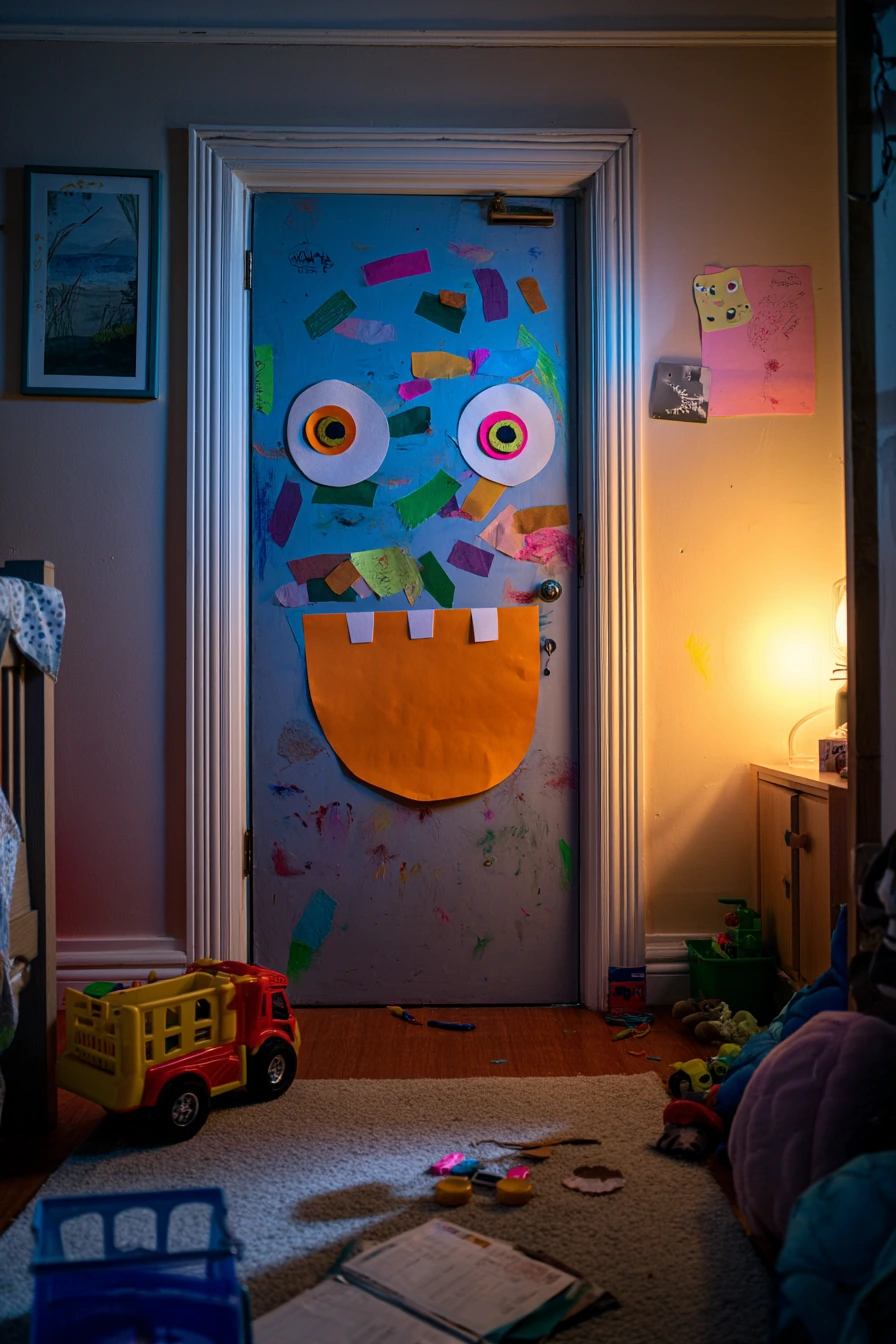
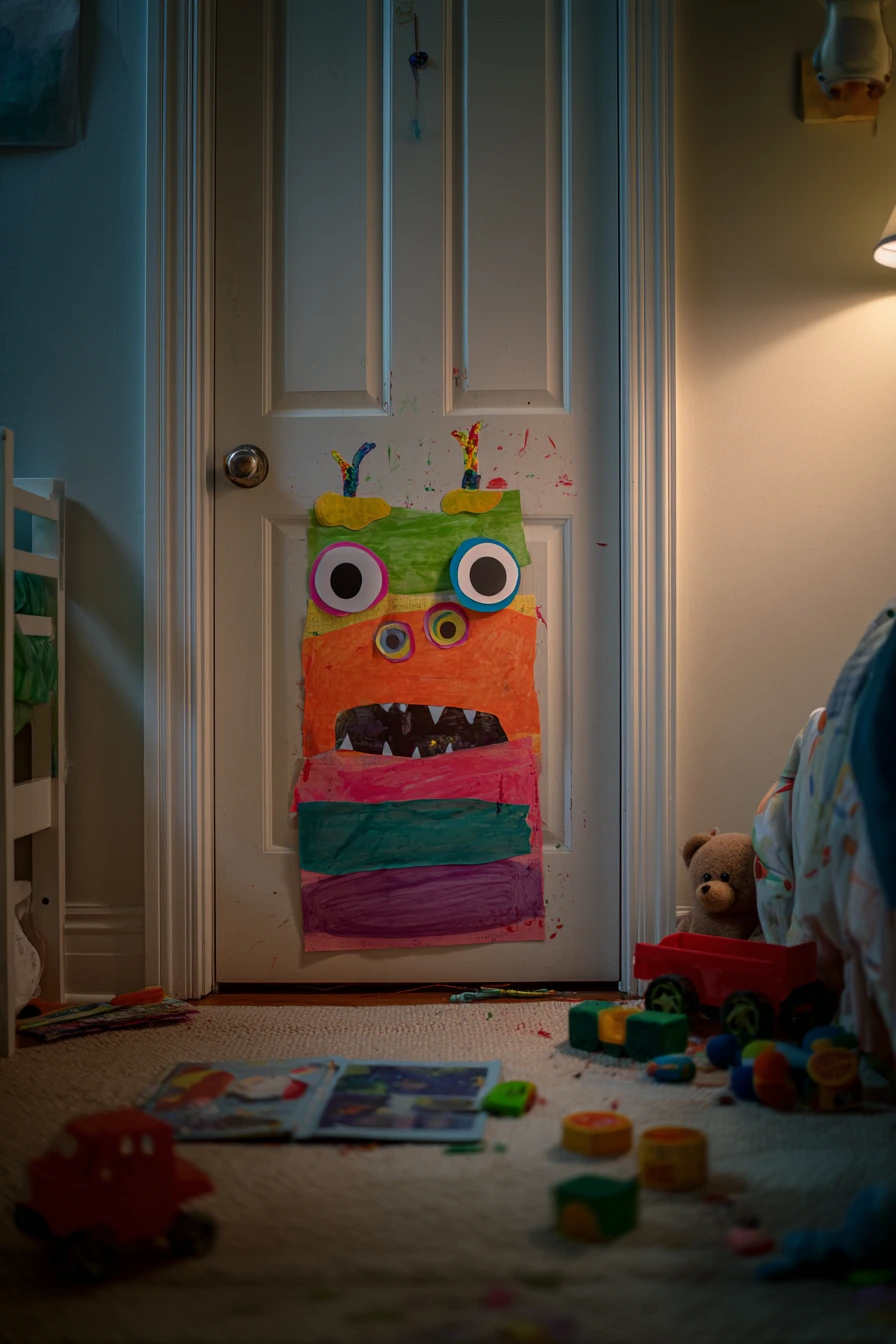
A child’s bedroom door is the perfect spot for playful diy halloween decorations. A colorful paper monster face is easy to make and easy to remove. Mismatched googly eyes and visible crayon marks add sweet kid energy.
Cut a big circle or oval face from construction paper. Add triangle teeth, a tongue, and eyebrows. Let your child place the eyes so the monster looks funny. Tape the pieces to the door with painter’s tape so the paint stays safe. Keep a toy truck parked nearby, and a bedtime story open on the rug for a warm, real-life scene.
To style it, use a soft bedside lamp halo and keep the rest of the room calm. Choose two or three bright colors so the door art stands out. If you want to tie the look to the hallway, add one small paper bat near the door frame or a mini garland above the door.
- Choose thicker paper so pieces do not curl.
- Use a glue stick for paper layers, then tape the full face to the door.
- Let kids draw freckles or scars with crayons or markers.
- Make extra mouths and eyebrows so you can change expressions.
- Store pieces flat in a folder for next year.
Pro Design Tip: Outline the monster features with a black marker so the face reads clearly from the hallway.
Budget Considerations: A single pack of construction paper and a small set of googly eyes can make many monsters for doors and closets.
9. Coffee Table Spiderweb Tray for DIY Halloween Decorations
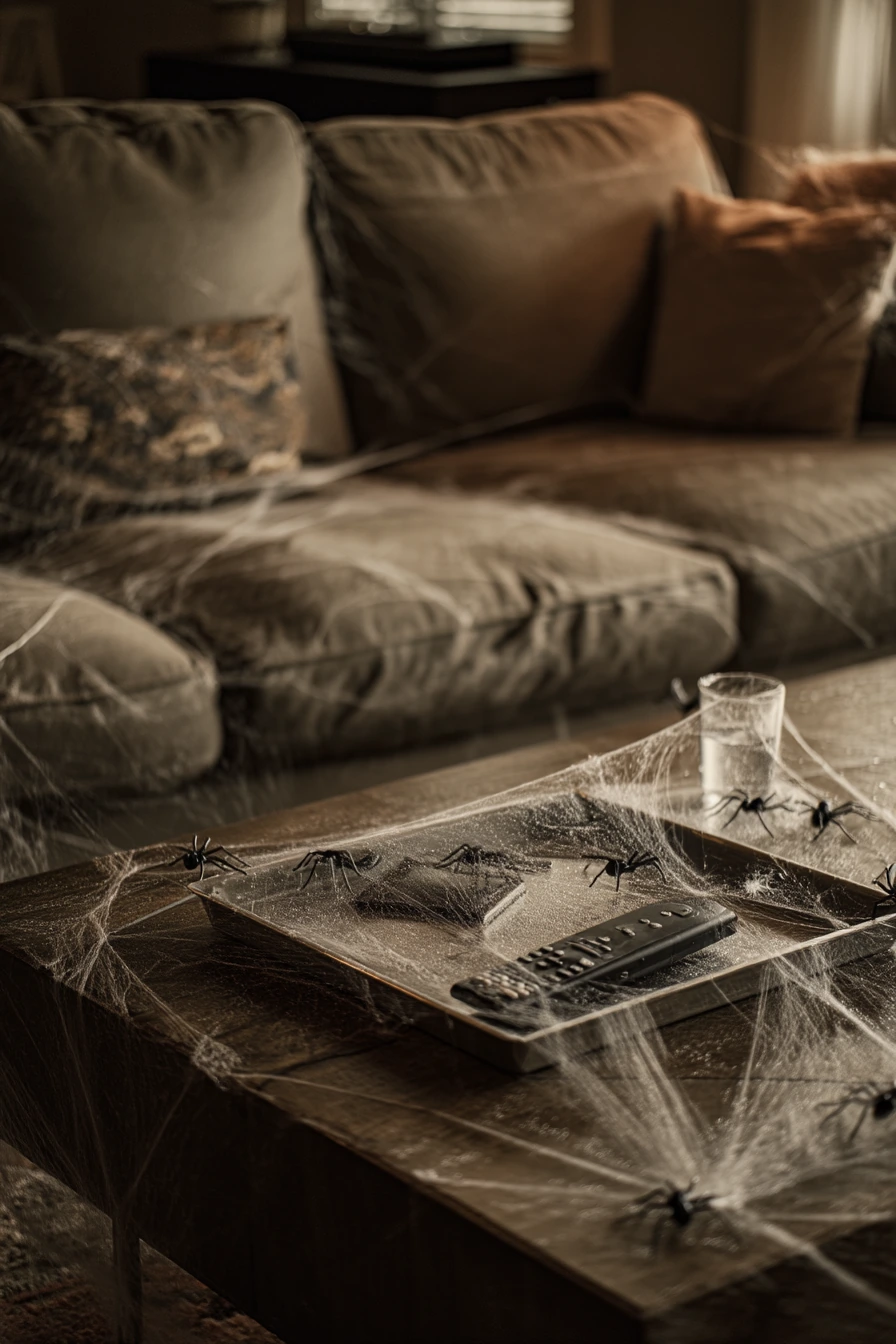
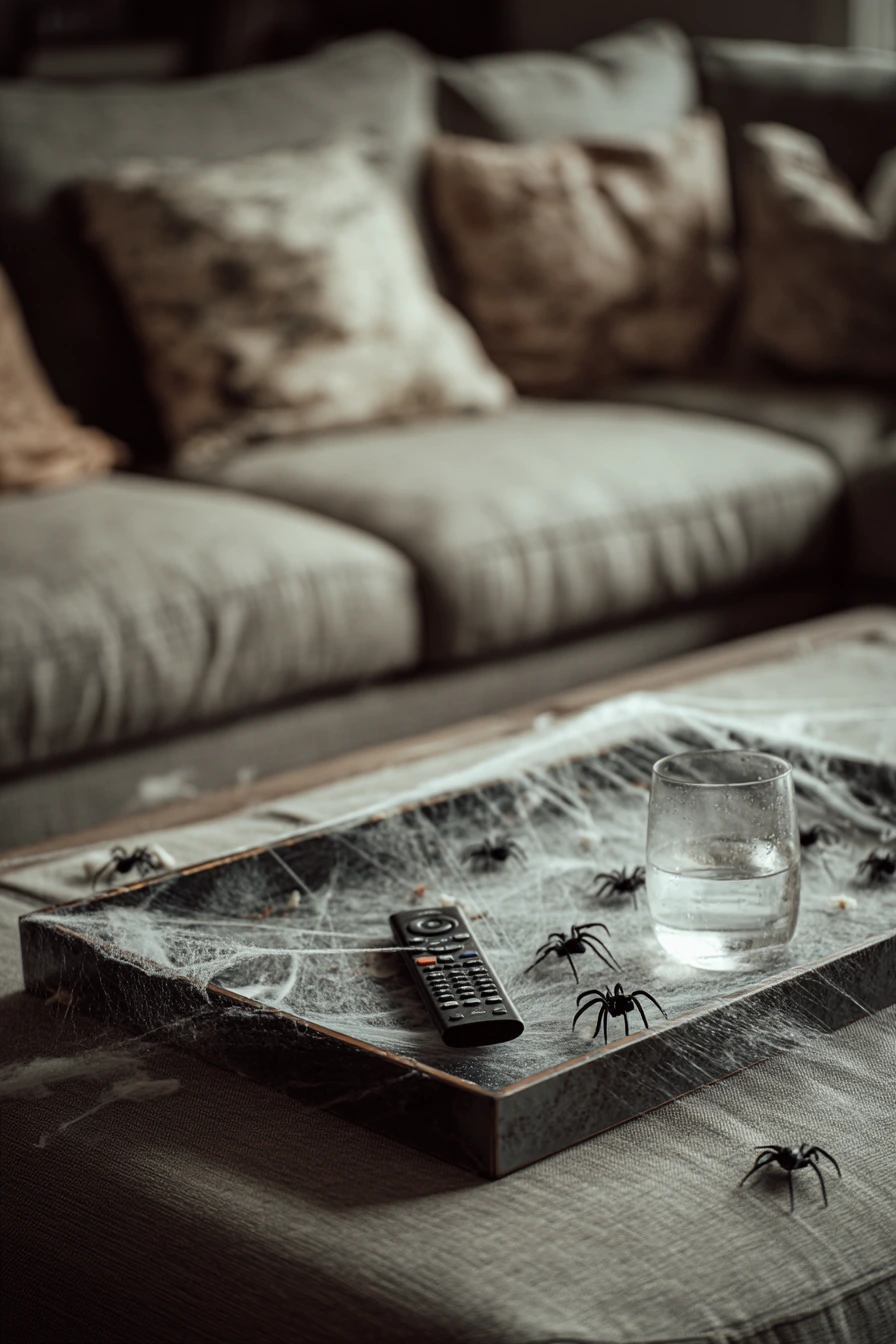
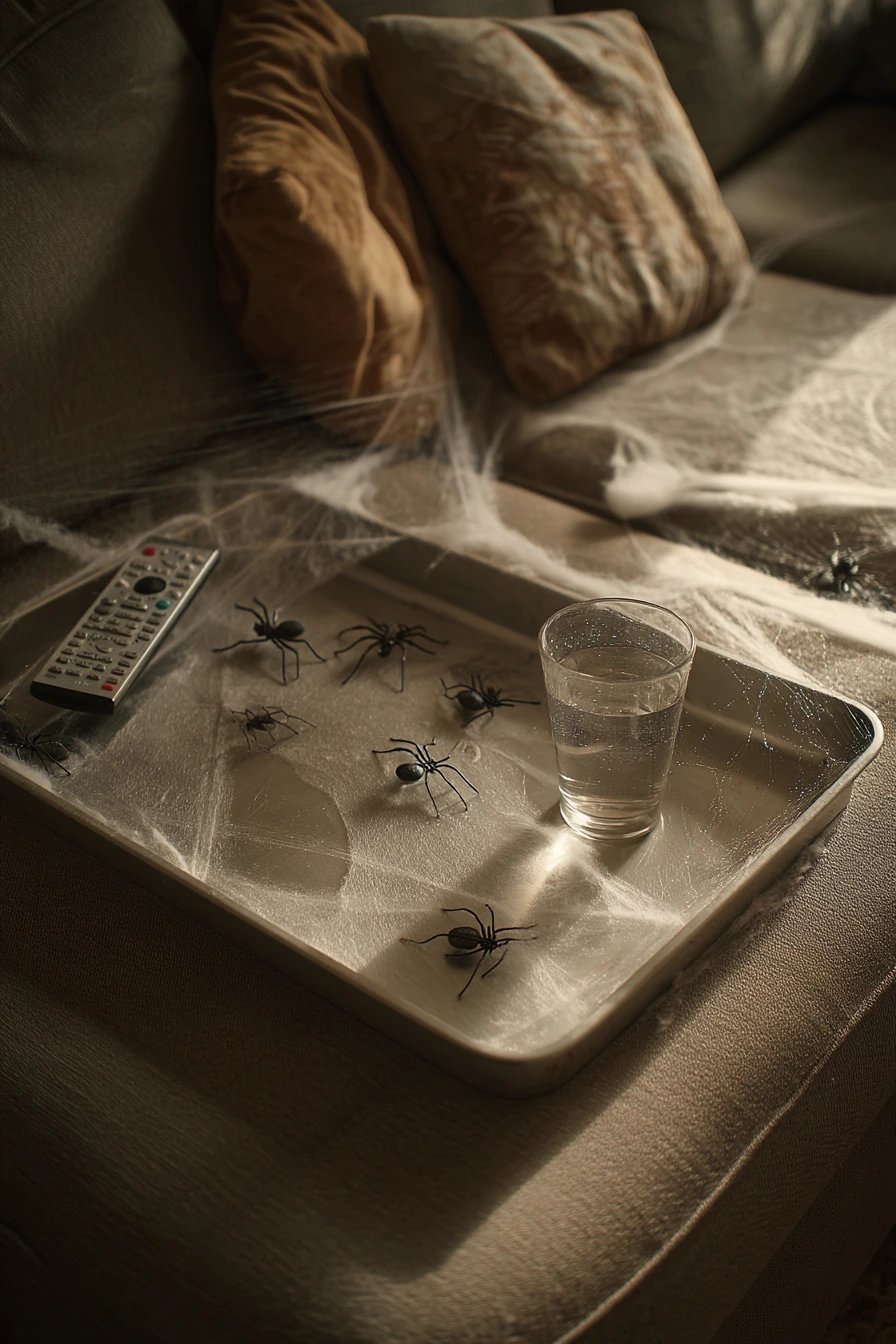
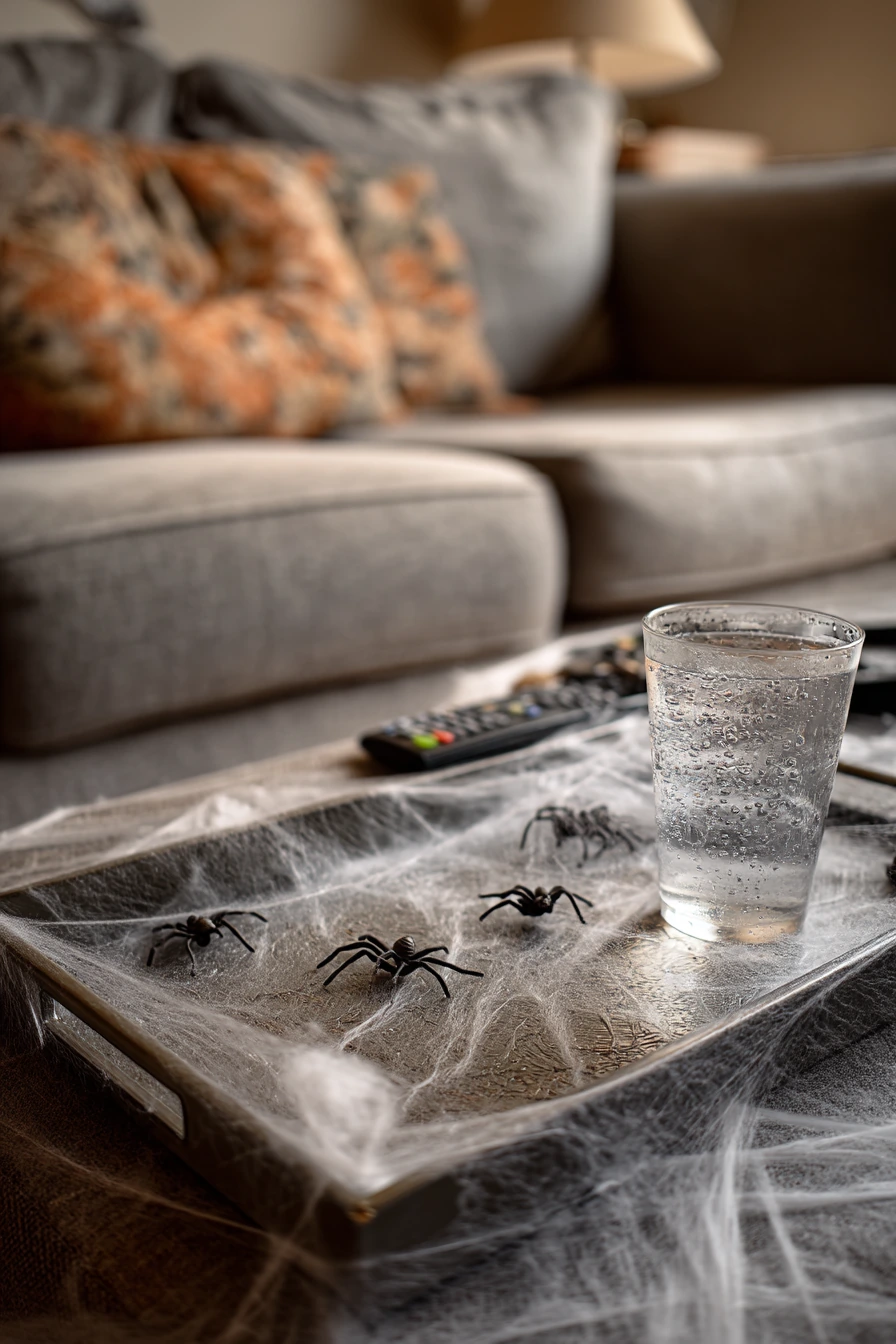
A coffee table setup is a quick way to add diy halloween decorations to your living room without changing the whole space. A stretchy faux spiderweb over a tray creates a clear focal point. Plastic spiders scattered around add detail, but keep it simple so it does not feel messy.
Start with a tray so everything stays contained. Stretch the web lightly across the tray, then tuck the ends underneath. Add a few spiders, then place one real item like a water glass with condensation or a candle to keep it grounded in daily life. If the remote control is half hidden, that is fine. It shows the room is used.
To style it, match the web with muted, tactile items like a linen sofa that is slightly creased. Use filtered afternoon light if possible. Keep colors to black, cream, and one accent color like orange or brass. If kids or pets are around, place spiders inside the tray only.
- Use less web than you think so it looks light, not packed.
- Pick one tray material like wood, metal, or woven.
- Add height with a small bowl or mini pumpkin inside the tray.
- Keep coasters nearby so the setup stays practical.
- Store spiders and web in a zip bag for easy cleanup.
Pro Design Tip: Leave one corner of the tray clear so the eye has a resting spot and the display feels neat.
Budget Considerations: Dollar store web and spiders work well; you can upgrade the look with a nicer tray you already own.
10. Apartment Balcony Pumpkin Glow for DIY Halloween Decorations


A small apartment balcony can still feel like Halloween with carved pumpkins and soft lights. The flicker looks great in the evening and makes the space inviting. With folding chairs and a thrifted plaid blanket, you can turn a basic balcony into a cozy spot.
Set carved pumpkins near the railing, but keep them away from foot traffic. Use battery lights inside if you do not want a real flame. Add potted herbs for a fresh touch that mixes well with fall decor. String lights along the railing to frame the skyline and give a gentle glow.
To style it, drape the blanket casually over one chair and keep a small side table for a mug or snack. Choose pumpkins in different sizes for variety. If your balcony is windy, use heavier decor at the base, and tie string lights down with clear clips.
- Carve simple shapes so they read from far away.
- Place a tray under pumpkins to catch bits and keep it clean.
- Use warm white string lights for a soft, ember-lit look.
- Add one lantern or jar light for extra glow near the chairs.
- Keep a small broom nearby for quick seed cleanup.
Pro Design Tip: Group pumpkins close together so their light pools and feels brighter in a wide view.
Budget Considerations: If carving tools are not in your budget, use a kitchen spoon to scoop and a small knife, or switch to painted pumpkins with battery lights nearby.


DIY Halloween decorations can be simple, cozy, and practical in any home. Pick one main area to decorate, then repeat the same colors and textures in small ways around the room.
Use what you have first, like paper, jars, blankets, and thrifted pieces. Add a few lights for warmth, then store everything flat or in one bin when the season ends.
Frequently Asked Questions
1. What are the best DIY Halloween decorations for small spaces?
Paper ghost garlands, window silhouettes, and mason jar lanterns work best for small apartments or tight entryways. They stay off the floor, require minimal storage space, and create a strong seasonal mood without crowding rooms.
2. How can I decorate for Halloween on a tight budget?
Use materials you already have at home, such as printer paper, old book pages, glass pasta jars, and cardboard boxes. Thrift stores are also great sources for foam pumpkins, picture frames, and glass trays that you can reuse every year.
3. How do I protect walls and furniture when hanging temporary decor?
Always use blue painter’s tape instead of standard plastic tape or heavy-duty mounting strips to prevent peeling paint on walls and glass. For tables and mantels, protect wood finishes by placing a small tray, dish, or split paper bag underneath crafts like painted pumpkins.
4. Are these decoration ideas safe for homes with kids and pets?
Yes. Swap open-flame candles for battery-operated tealights and fairy lights, especially in high-traffic zones like entryways, staircases, and tabletops. Use lightweight paper and felt crafts that won’t shatter if knocked over.
5. How should I store my DIY Halloween decorations after the season ends?
Most of the crafts in this guide—such as paper bats, tombstones, and silhouettes—can be stored flat inside large folders or zip-top bags. Mason jars, felt pumpkins, and small trays can be packed into a single storage bin to keep them organized for next year.
Would you like to generate social media captions or Pinterest pin text to go along with this guide?