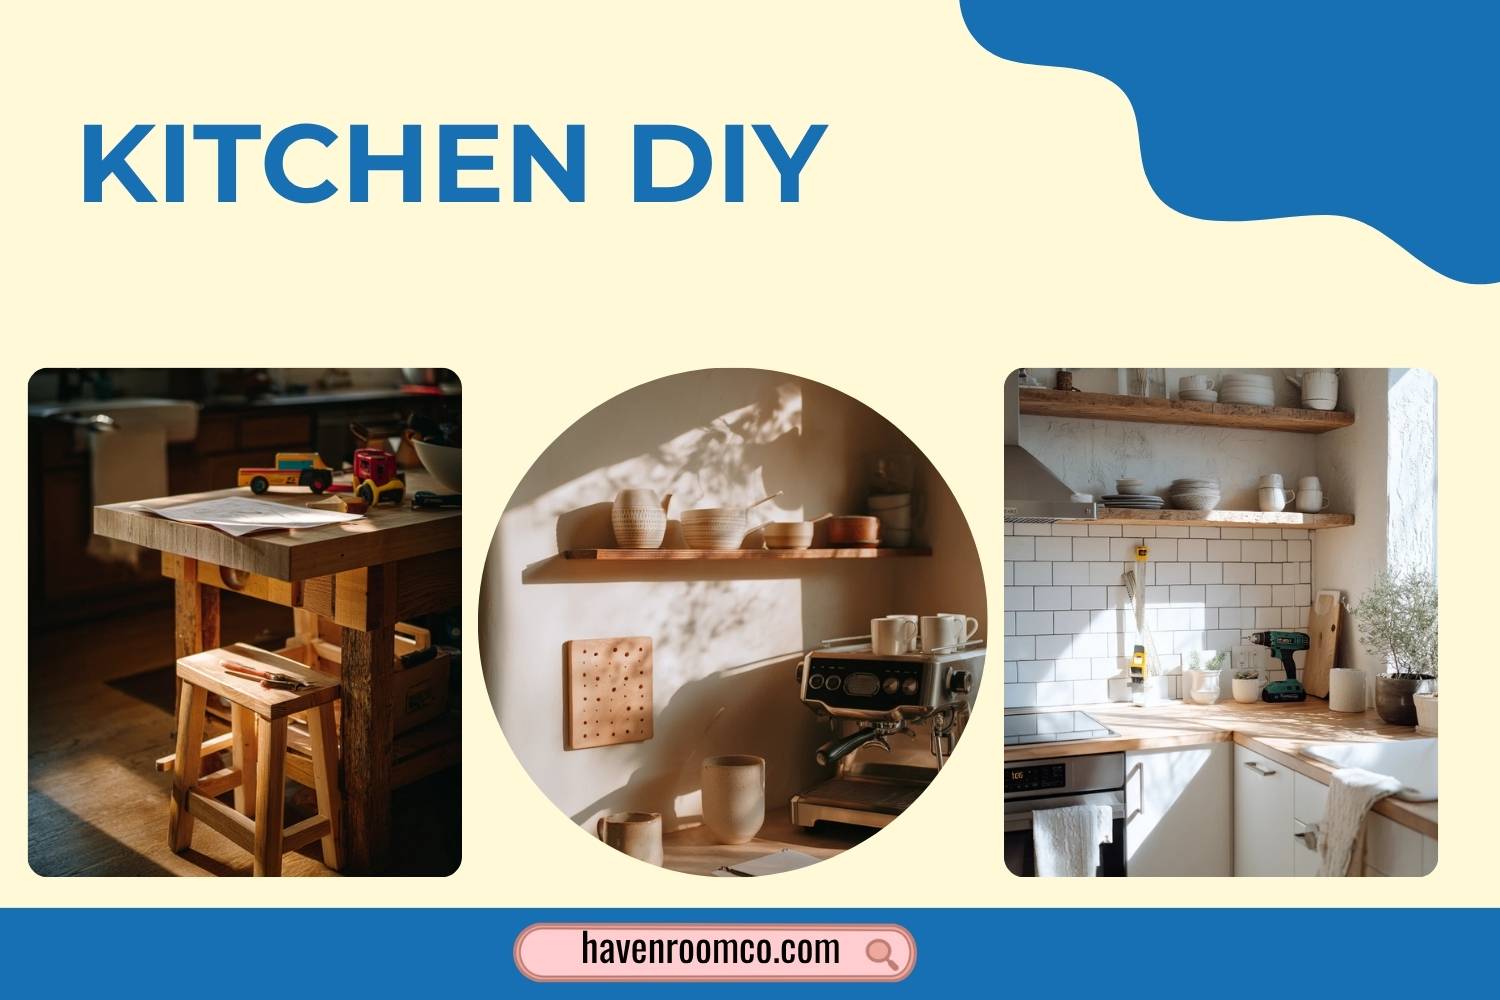
Kitchen DIY projects can change how your space looks and works without a full remodel. Small updates like paint, shelves, tiles, and lighting can make a big difference in a weekend.
This guide walks you through 10 practical kitchen diy ideas inspired by real, lived-in moments: repainting old oak cabinets soft sage, adding rustic pine open shelves, and trying peel-and-stick subway tiles for renters.
Each section includes simple steps, styling ideas, and clear do and don’t tips. You will also get a pro design tip and a budget note so you can plan before you start.
If you came from Pinterest, save the ideas you like, then use the checklists here to finish the project with fewer mistakes and better results.
1. Repaint Oak Cabinets Soft Sage

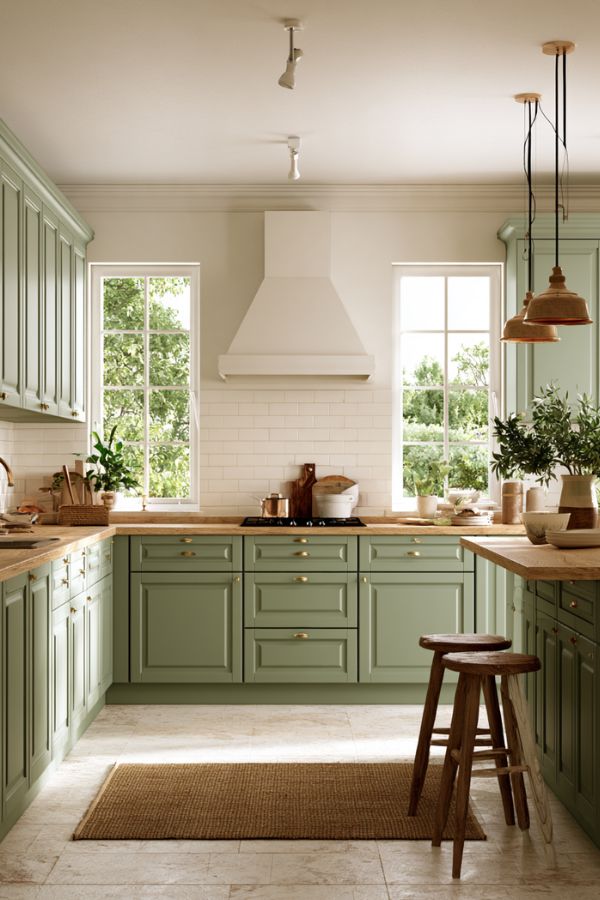
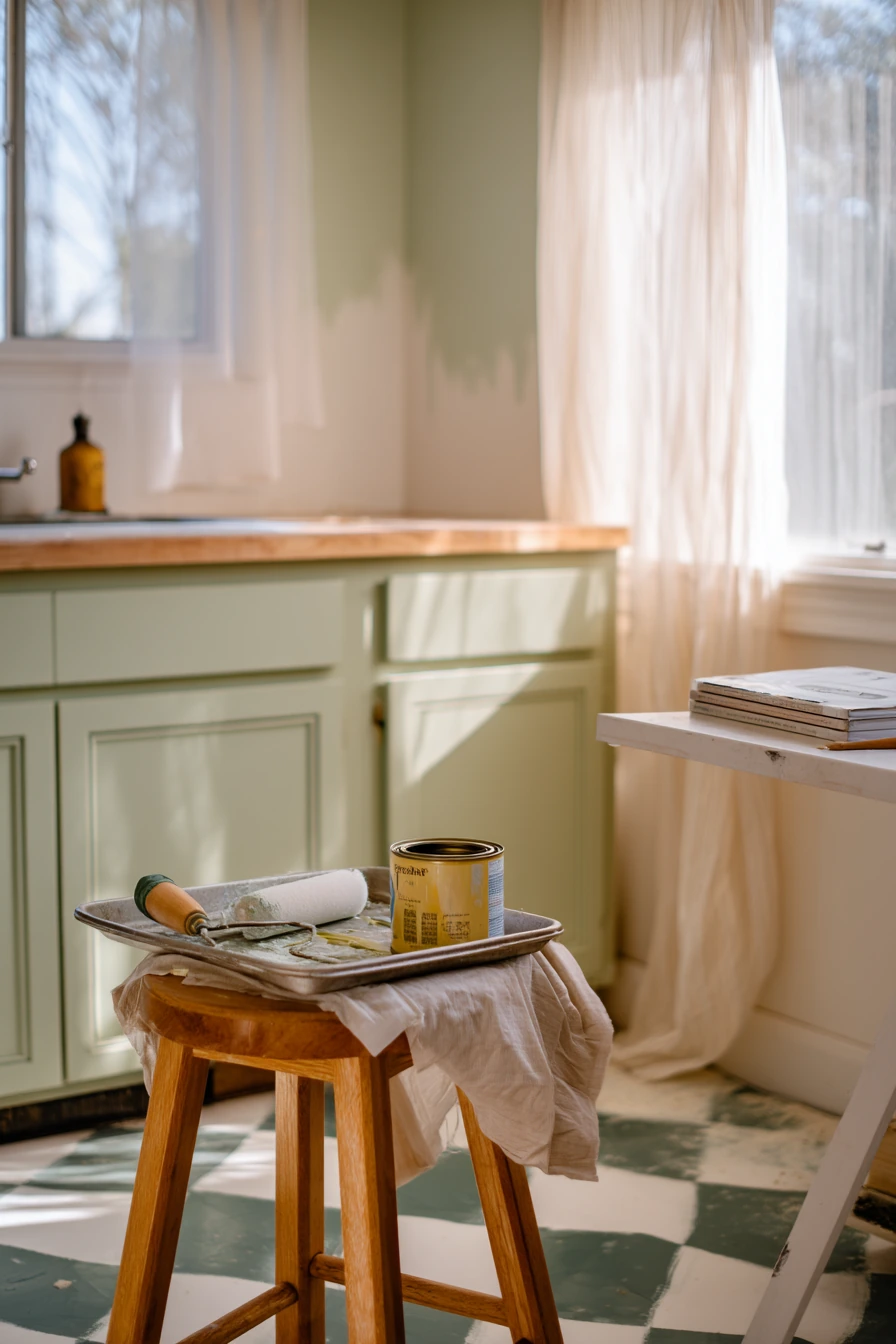
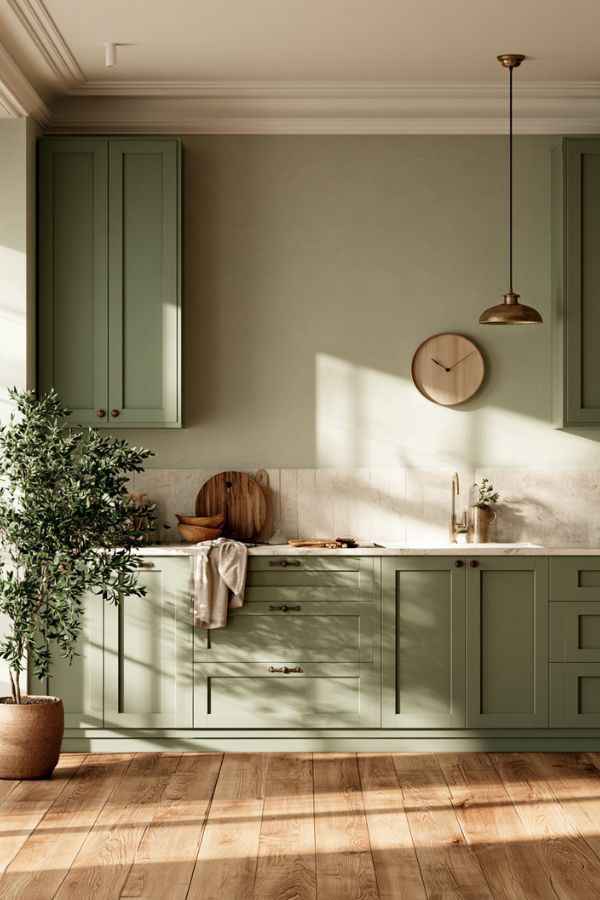
Repainting old oak cabinets is one of the fastest ways to update a quiet suburban kitchen. A soft sage color works well with warm wood, white counters, and a checker tile floor. Set a drop cloth down, keep an open paint can and roller tray close, and plan for a full day so you are not rushing between coats. Matte paint hides small flaws and feels more modern than glossy finishes.
Start by removing doors and hardware, then clean with a degreaser so the paint sticks. Lightly sand to dull the shine, especially on oak grain, and wipe away dust. Use a bonding primer if the cabinets have a strong stain or old varnish. Then roll on thin coats with a foam roller and use a small brush for corners. Let each coat dry fully before flipping doors or reinstalling.
To style it, keep the counter simple while you work: a slightly wrinkled linen towel, a wooden stool with a coffee mug, and a small cookbook stack near the window look natural and calm. Soft, sun-washed light through sheer curtains shows the new color clearly, so check your paint choice at different times of day.
- Label every door and hinge, so reassembly is easy.
- Use a sanding sponge for edges and detailed trim.
- Roll in one direction for a smoother matte finish.
- Do not paint over greasy spots near the stove.
- Wait at least 24 to 48 hours before heavy use.
Pro Design Tip: If you want sage cabinets to feel higher-end, pair them with warm metal pulls like brushed brass or bronze and keep the wall color a soft, clean white.
Budget Considerations: Paint and primer are usually cheaper than new doors. If funds are tight, repaint only the uppers or just the island first, then finish the rest later.
2. Install Rustic Pine Open Shelves
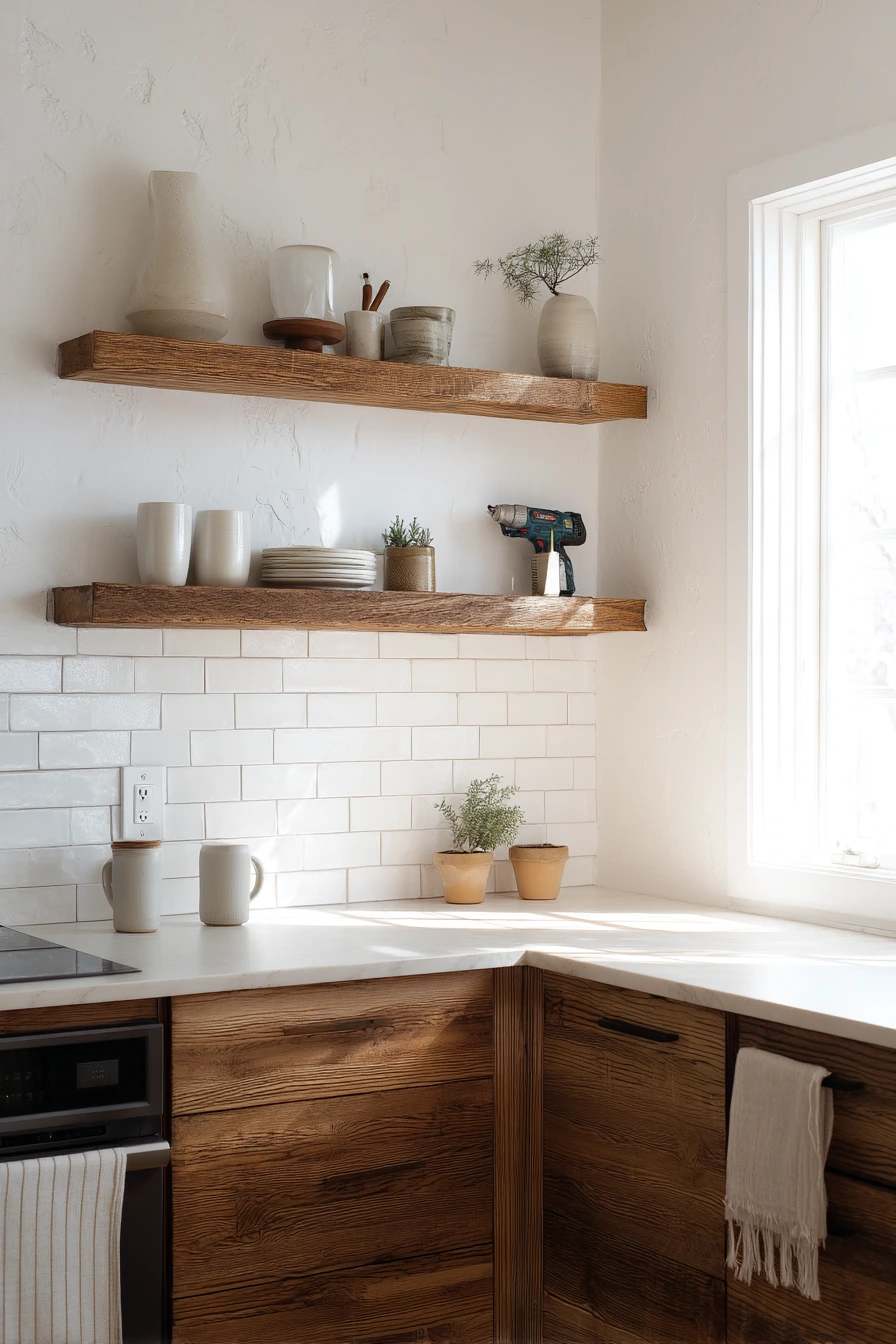
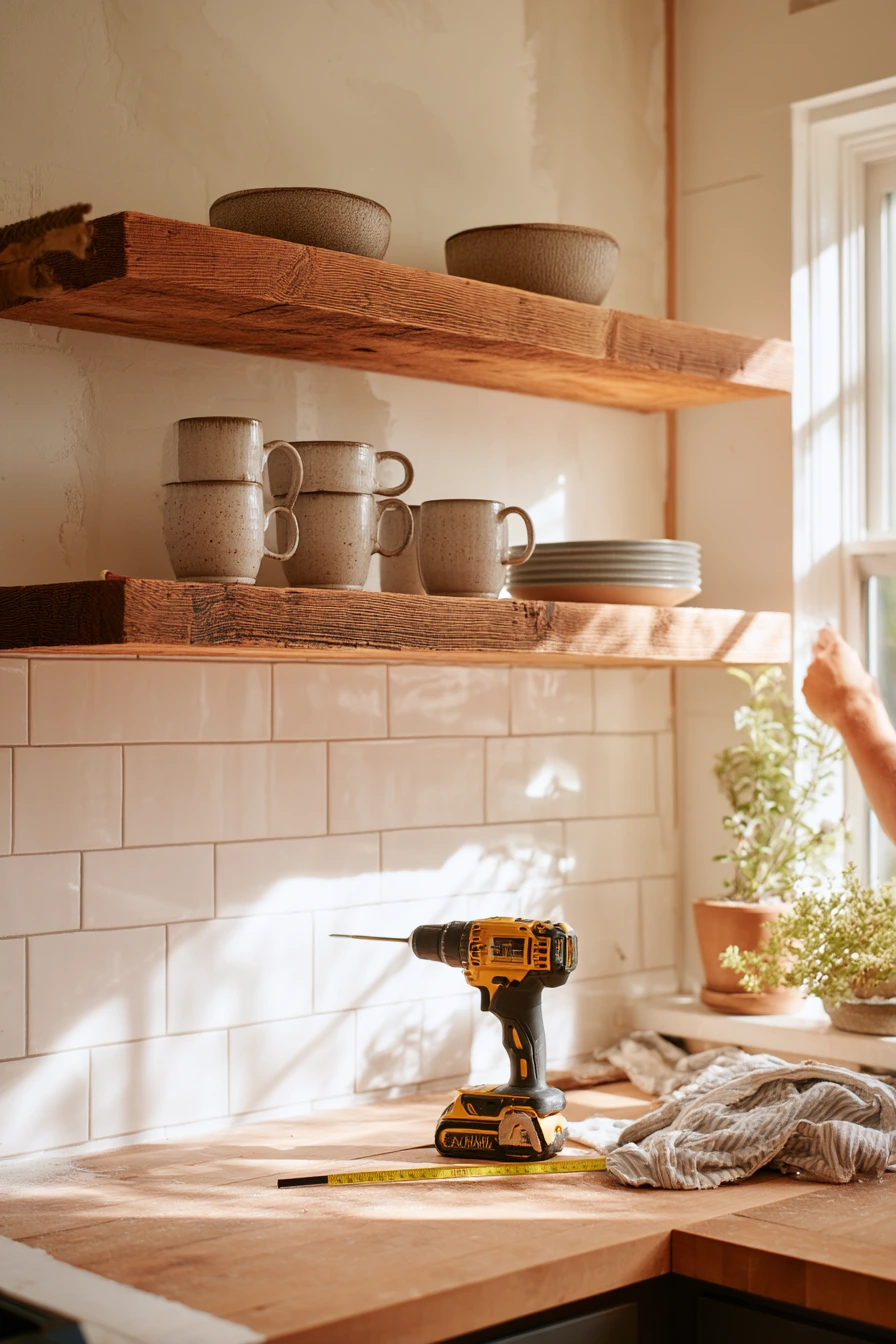
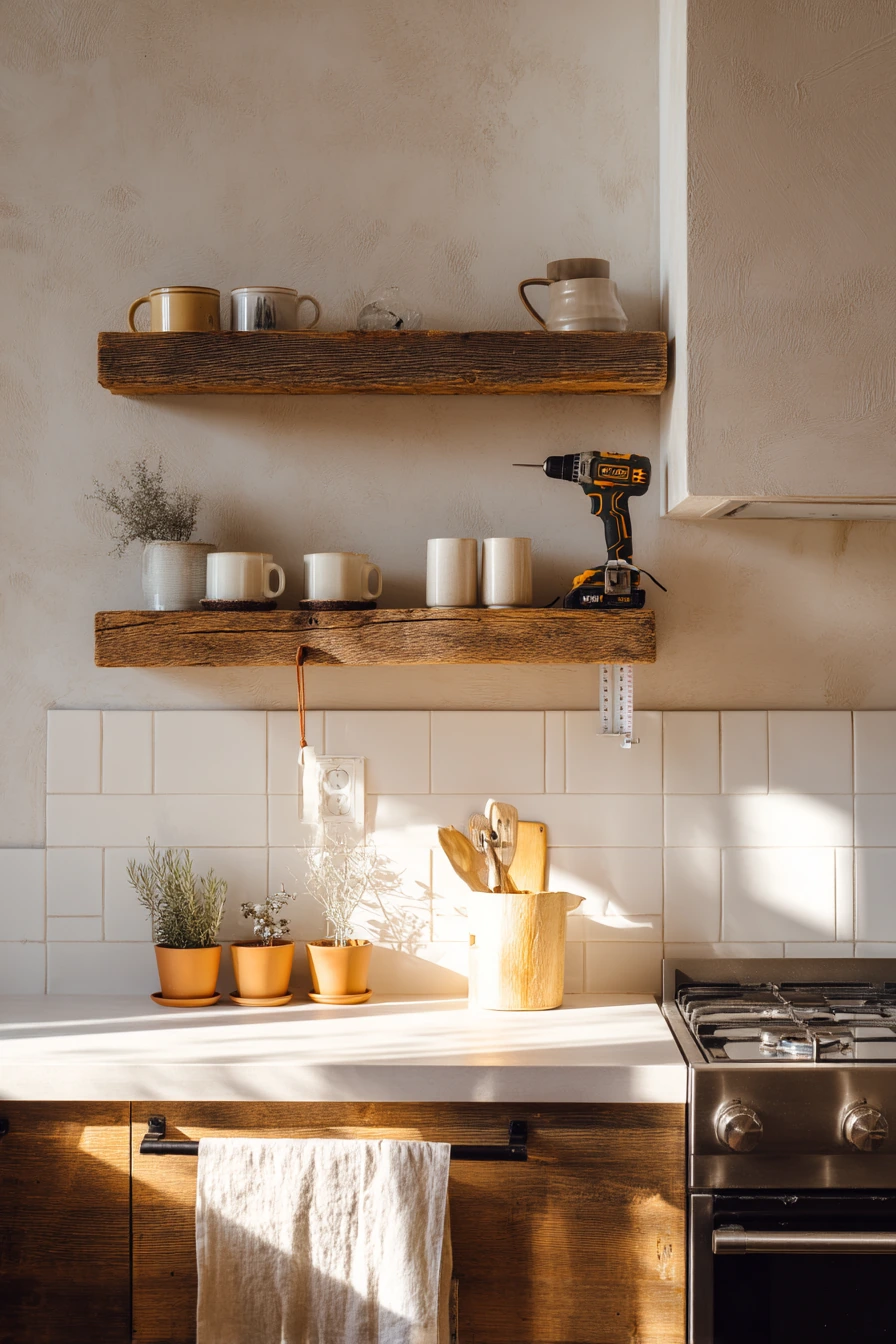
Rustic pine open shelves above a white tile backsplash add storage and a relaxed, airy look. This kitchen diy works best when your daily dishes look neat on display, like ceramic mugs and simple bowls. Plan shelf length first, then mark stud locations and height with a measuring tape so the shelves sit level and feel balanced.
Use a cordless drill to mount sturdy brackets into studs, not just drywall. If studs are not where you need them, use a high-rated wall anchor, but keep the load light. Sand the pine smooth, then seal it with a clear matte finish so it resists grease and water. Raw wood grain texture looks best when it is protected but not shiny.
How to style it: place the most-used mugs on the lower shelf and keep small herb pots near the window for a fresh, lived-in feel. Leave some open space so the shelf does not look crowded. A folded dish towel draped over the oven handle ties the look together, and the sun-striped wall glow makes the wood tone feel warmer.
- Keep shelves 18 to 20 inches above the counter for easy reach.
- Use a level for every bracket, even if the tile looks straight.
- Seal pine to prevent stains from coffee and oil.
- Group items in sets of three for a calm look.
- Wipe shelves weekly since open storage collects dust.
Pro Design Tip: For a clean layout, match shelf thickness to your countertop depth and use brackets that tuck under the shelf so the focus stays on the wood grain.
Budget Considerations: Pine is affordable, but brackets can add up. To save money, use fewer longer shelves with strong brackets, or shop salvage and refinish.

3. Renter-Friendly Peel-and-Stick Subway Tile

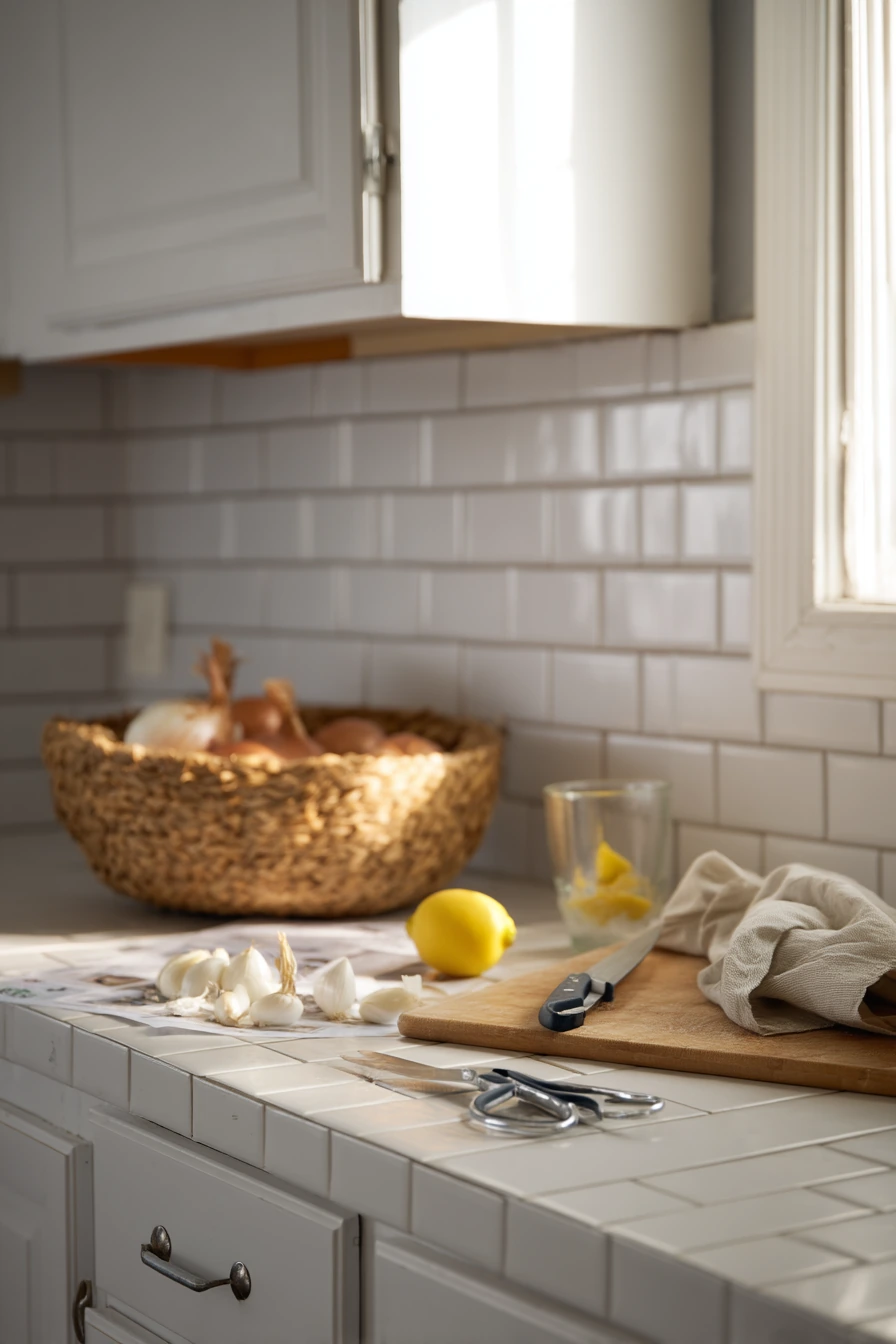
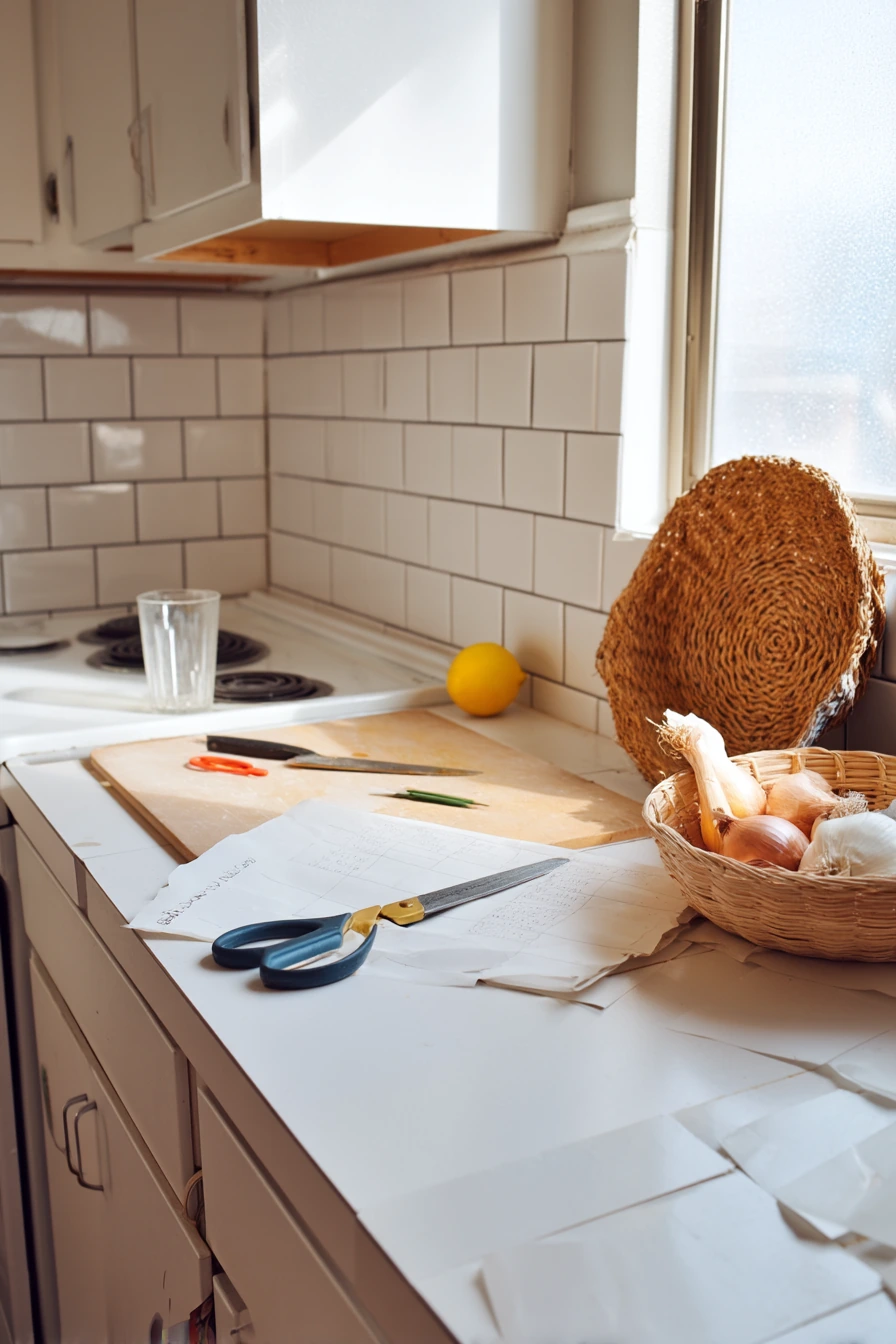
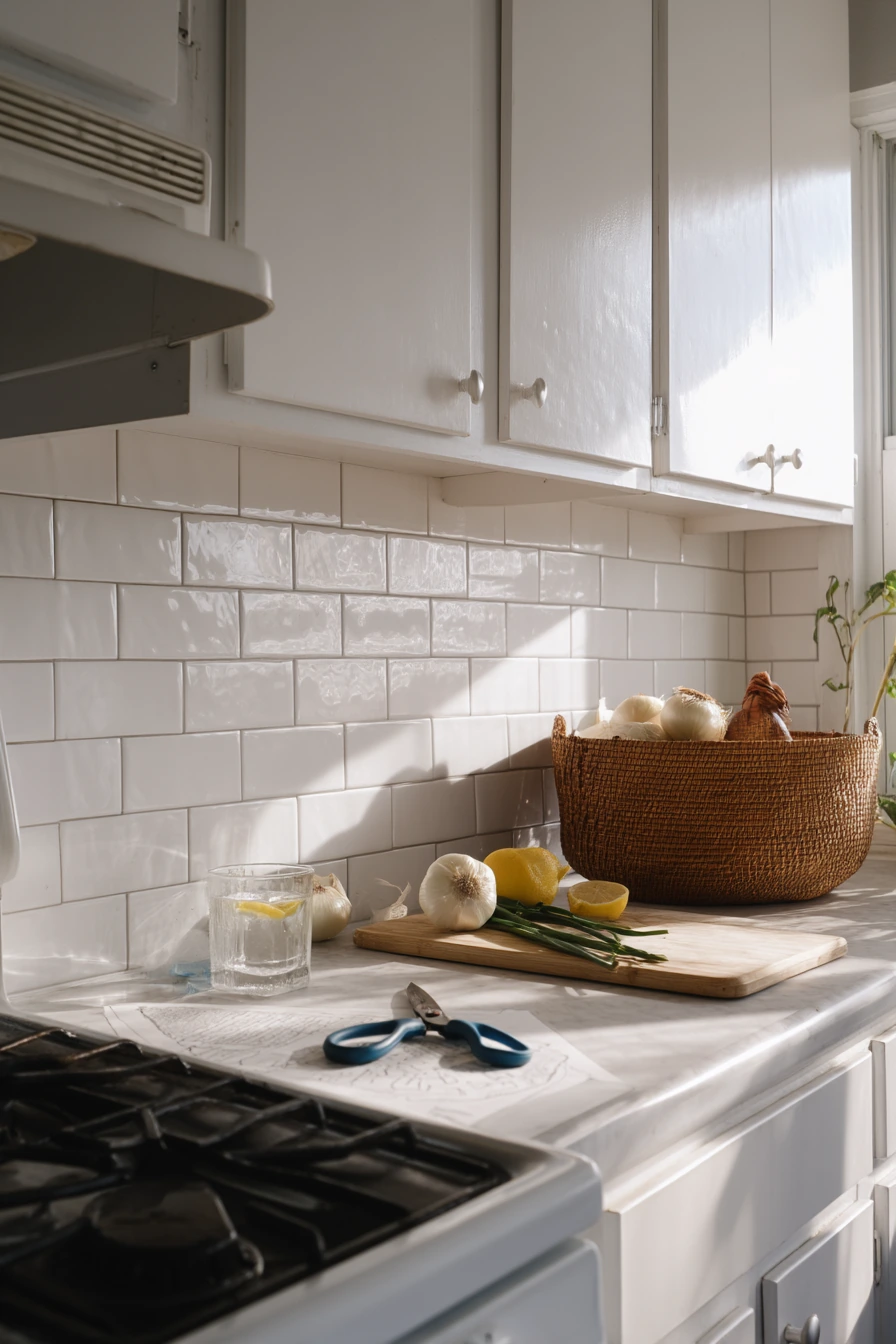
Peel-and-stick subway tiles are a smart DIY renter kitchen transformation because they change the backsplash without permanent work. They are great behind a compact stove where the wall gets splatters. Work slowly and follow the instruction sheet, even if it feels basic, because alignment matters more than speed.
Prep is everything. Clean the wall with soap and water, then wipe with rubbing alcohol so the adhesive bonds well. Measure the area and plan your layout so cut edges land in less noticeable spots. Use scissors for small trims and a utility knife for straight cuts on a cutting board. Install from the bottom up, pressing firmly and smoothing bubbles as you go.
How to style it: keep your counter practical but pretty during the project, like a lemon water glass, a woven basket with onions and garlic, and matte white cabinet fronts. The crisp tile sheen looks best when your accessories are simple. When finished, add a small framed print or a slim rail shelf if your lease allows, but keep it minimal so the backsplash stays the star.
- Buy 10 percent extra tiles for mistakes and future repairs.
- Use a level line for the first row to avoid a crooked look.
- Warm tiles slightly with a hair dryer for better adhesion.
- Seal the top edge with removable caulk if needed near steam.
- Test one tile behind an appliance before doing the whole wall.
Pro Design Tip: Choose a tile with a slightly thicker edge and a soft grout line look so it reads more like real ceramic from a few feet away.
Budget Considerations: Peel-and-stick costs less than real tile but can still add up. Cover only the main splash zone behind the stove if you want a smaller spend.
4. Build a Reclaimed Wood Butcher Block Island
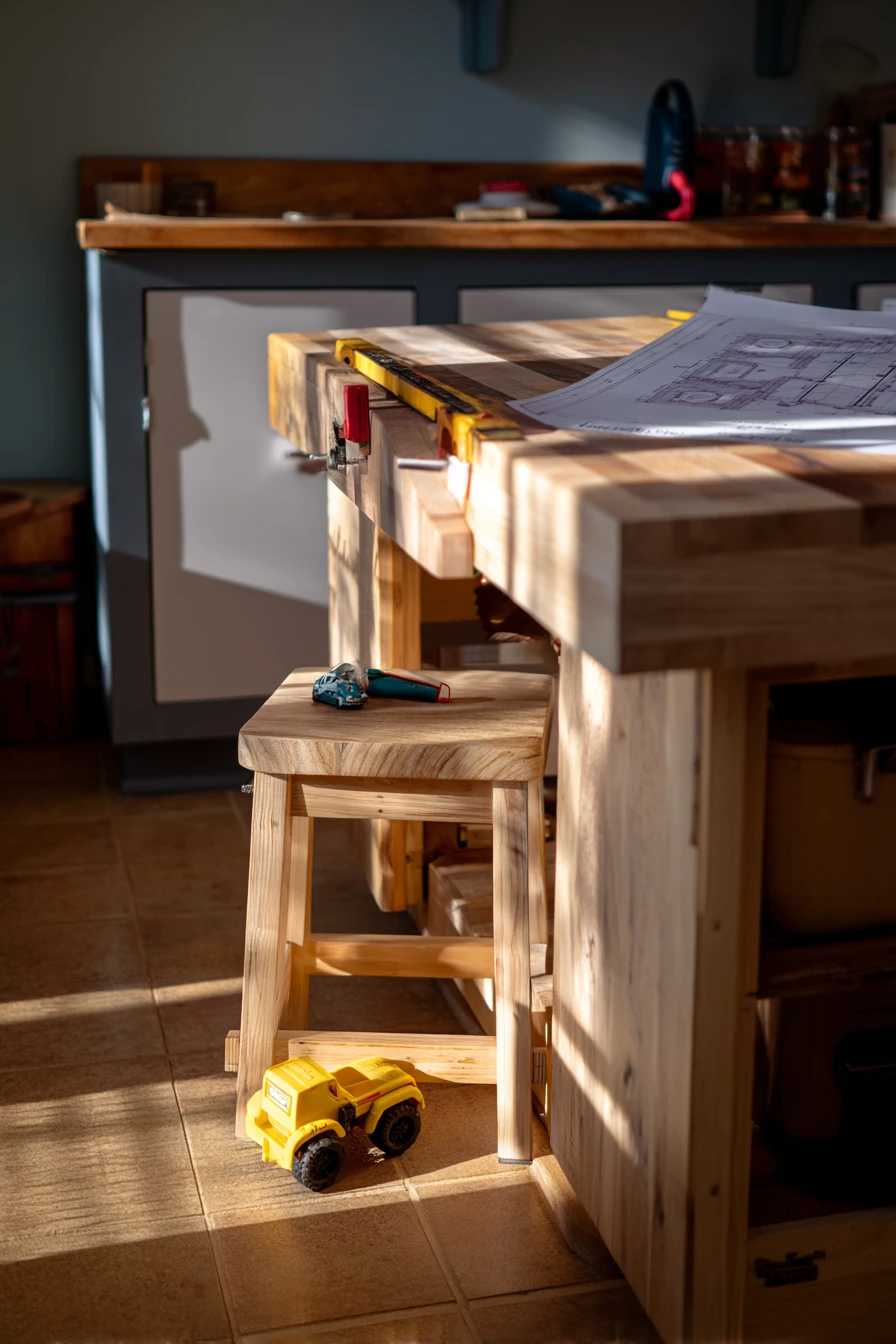
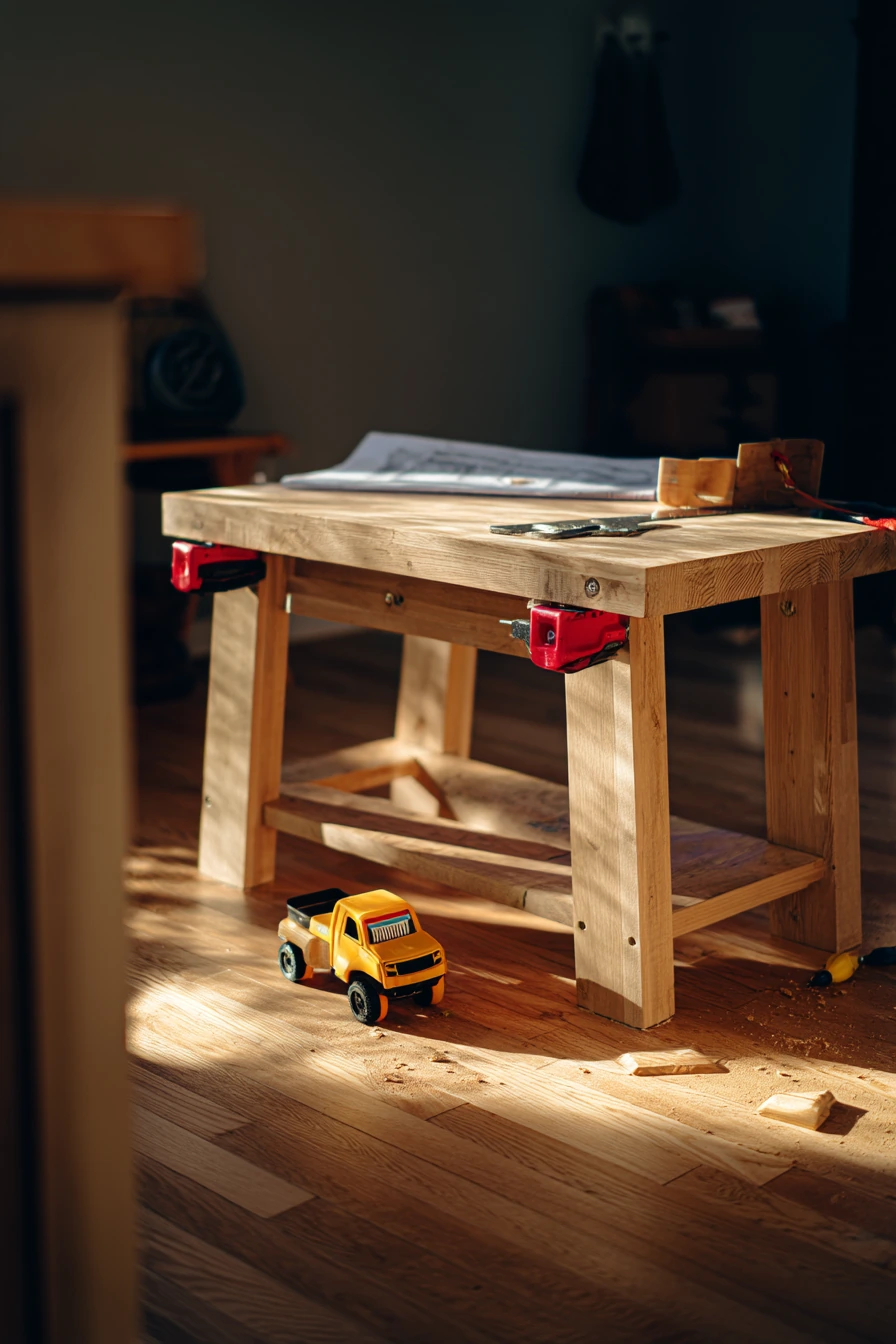
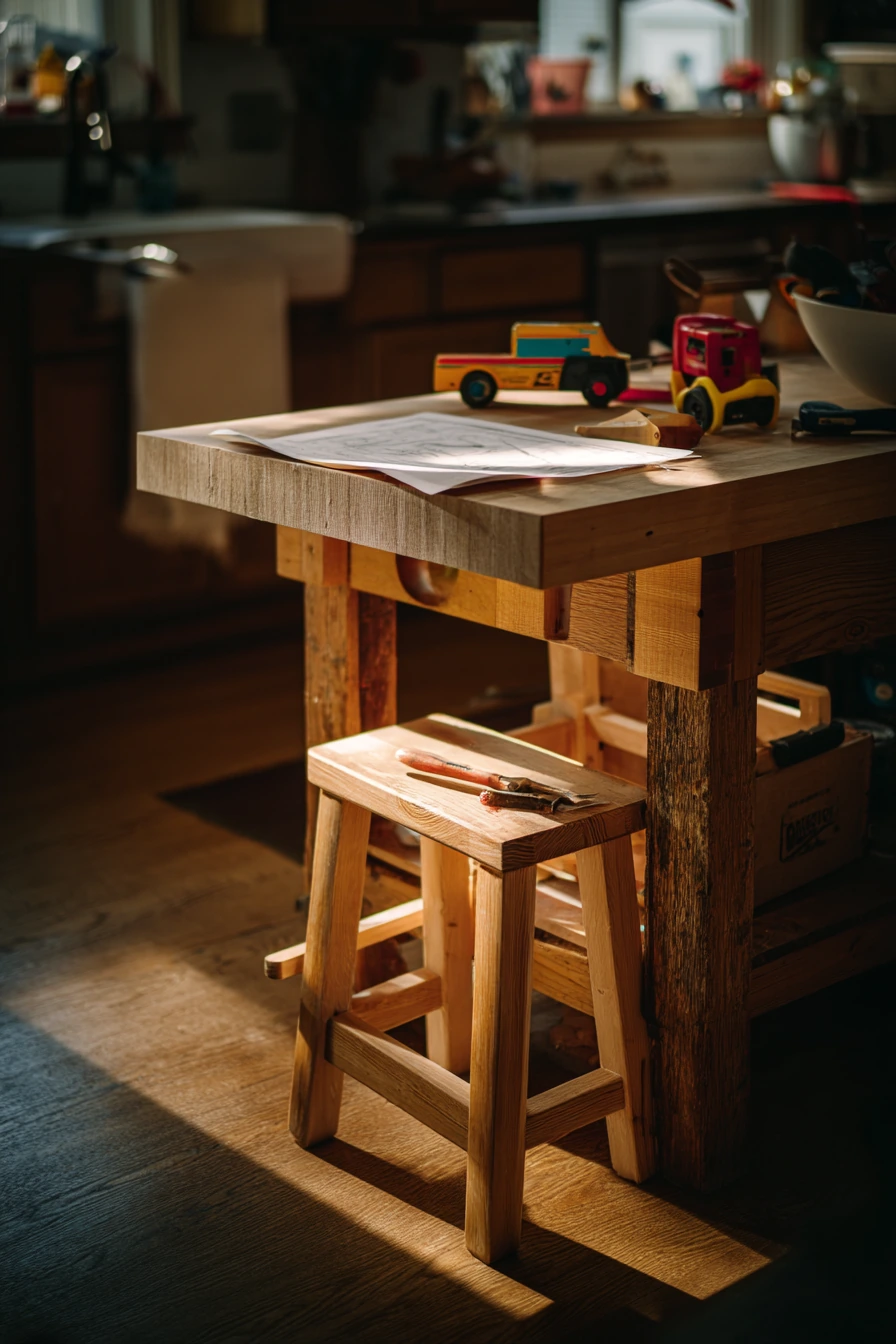
A homemade butcher block island can bring warm farmhouse mood and extra prep space, even in a family kitchen. Reclaimed wood adds character with visible grain and small marks. If you are building in stages, it can look like a real weekend garage-to-kitchen project, with clamps still attached and a toolbox open on the floor.
Start by deciding the size based on walking space. You want at least 36 inches of clearance on all sides if possible. Build a strong base first, then laminate the top boards with wood glue and clamps. After it dries, sand it smooth and seal it with a food-safe finish if you will cut on it. If you prefer low maintenance, use it as a prep and serving surface and keep cutting boards on top.
How to style it: add two stools, a simple tray for oils, and a folded blueprint page or small recipe card stand for a casual work zone look. If you have kids, keep tools out of reach and give them a safe spot like a toddler toy truck near a stool leg, away from sharp items, so you can keep working without stress.
- Check your floor is level before you build the base height.
- Use straight boards to avoid gaps in the top.
- Round the corners slightly for safer walkways.
- Seal all sides of the top to prevent warping.
- Add locking casters if you need the island to move.
Pro Design Tip: Mix reclaimed wood with one modern element, like slim black hardware or a clean white base, so the island feels intentional, not heavy.
Budget Considerations: Reclaimed lumber prices vary. If it is costly, use new wood for the base and reclaimed boards only for the top where it shows.

5. Paint a Chalkboard Pantry Door
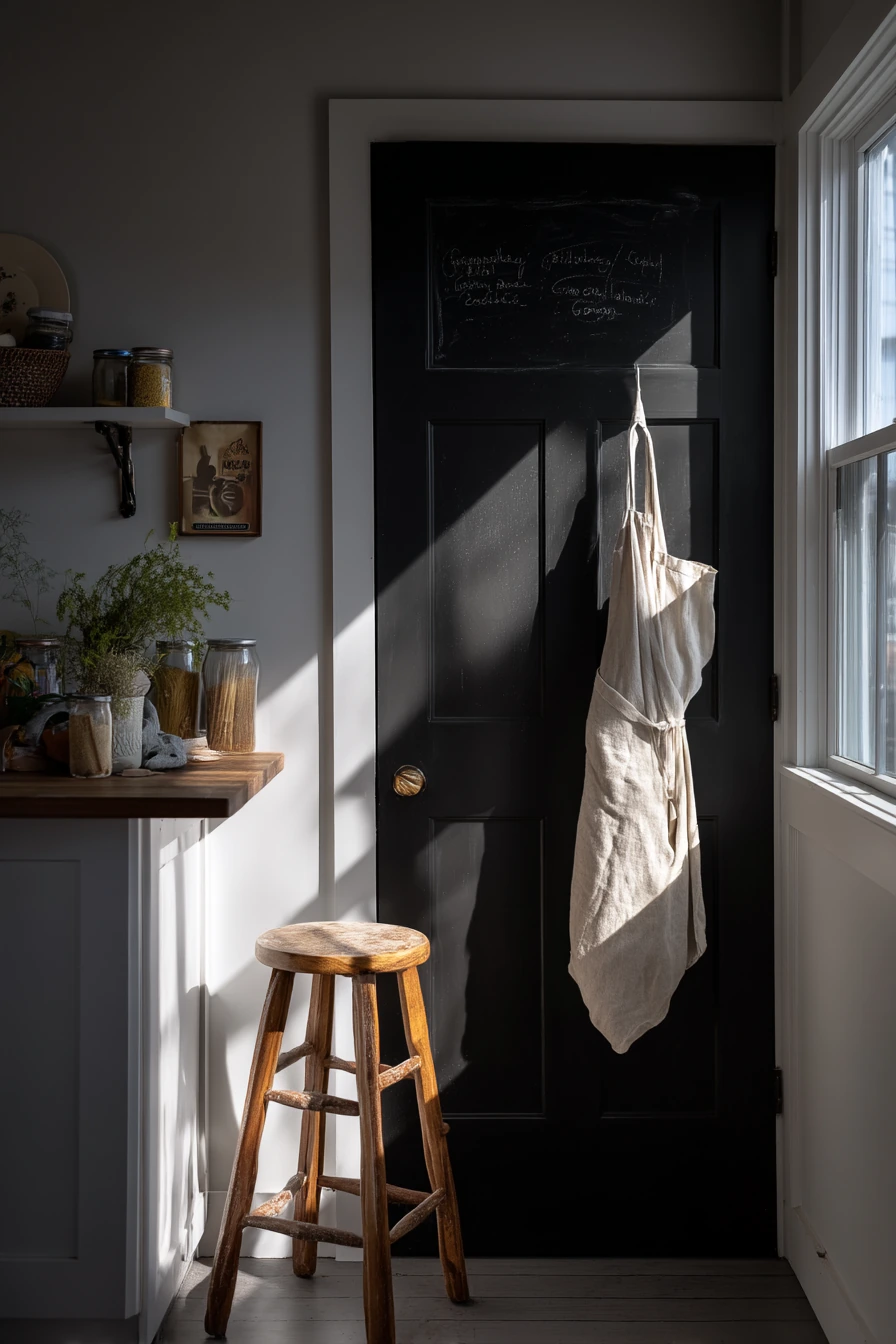
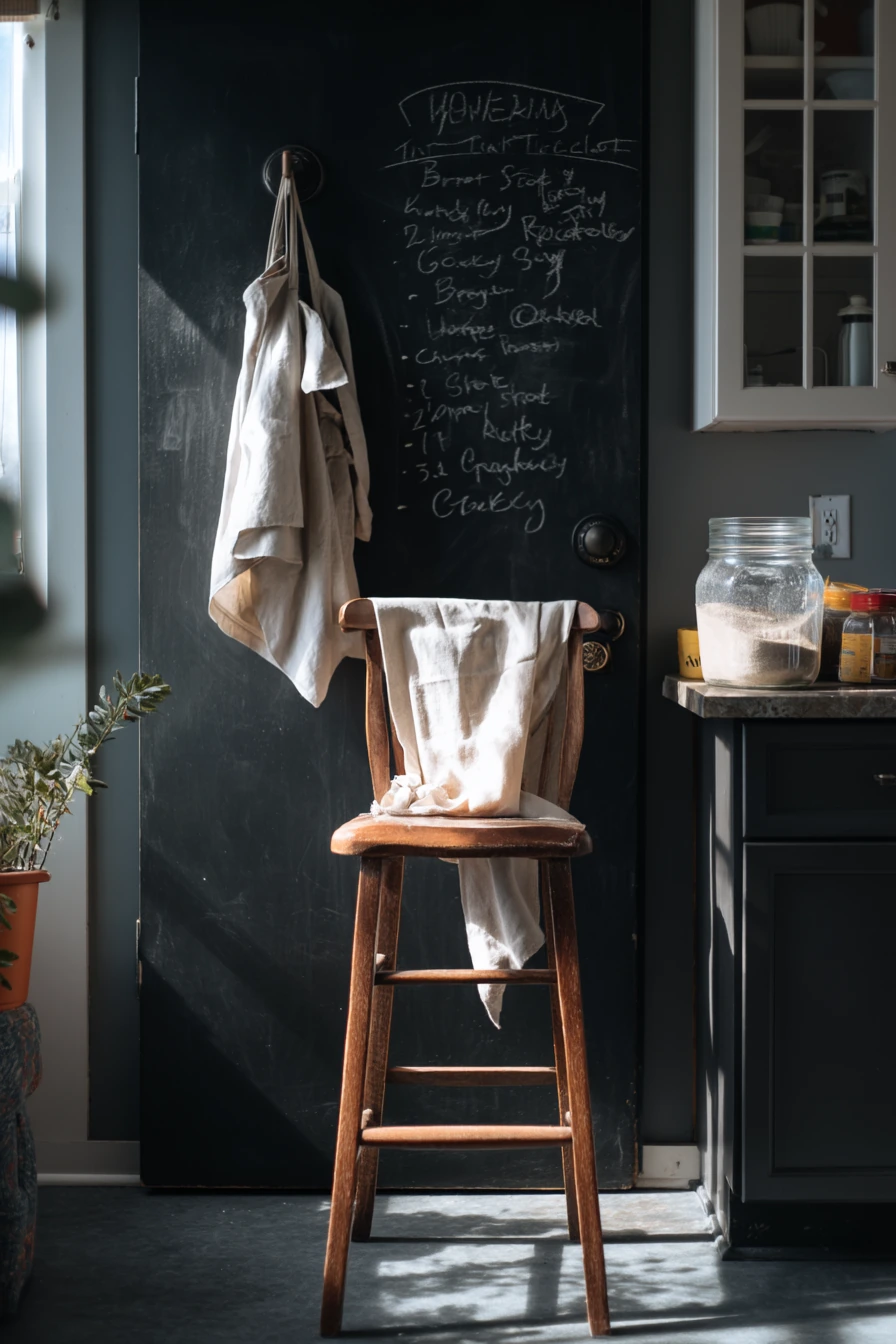
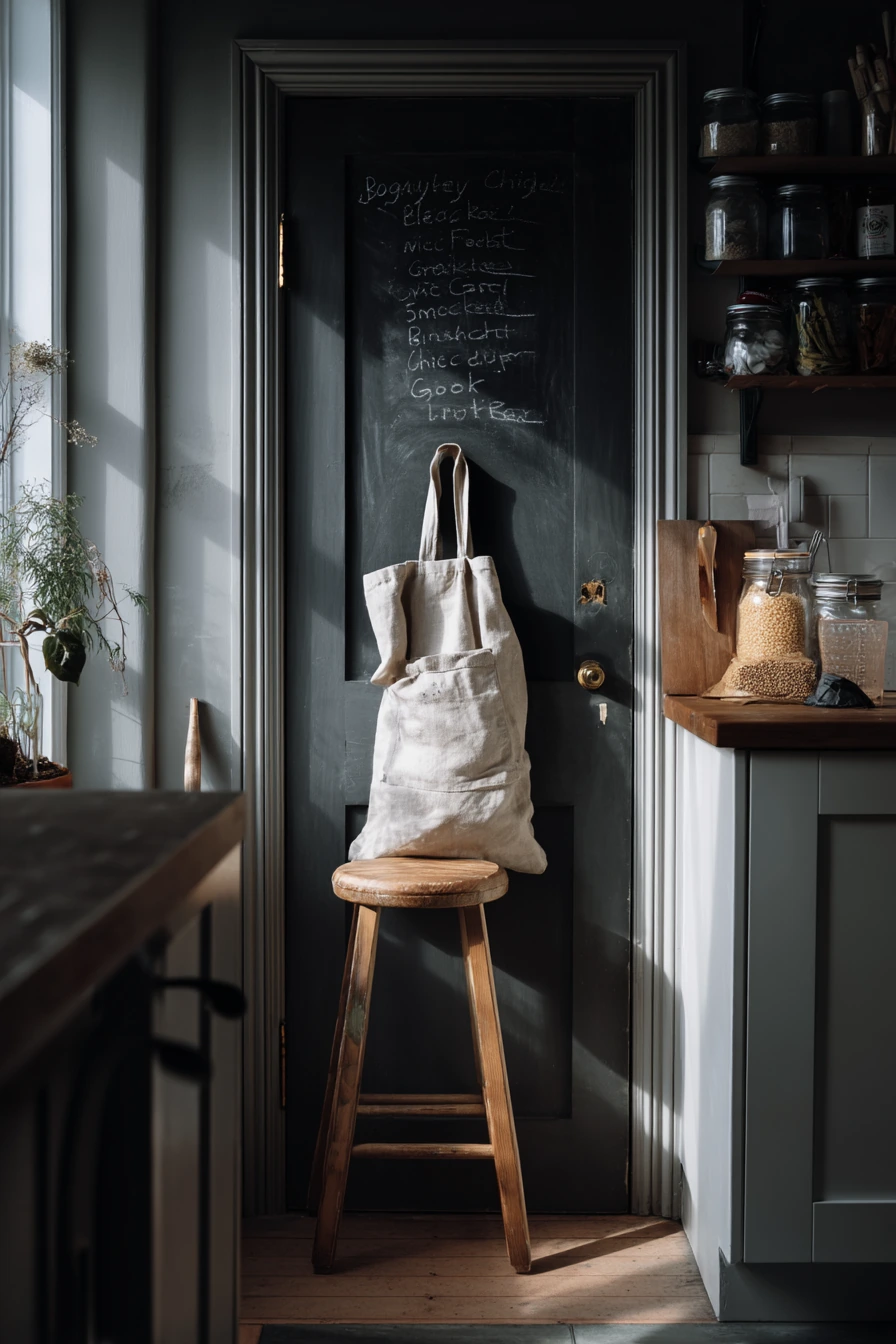
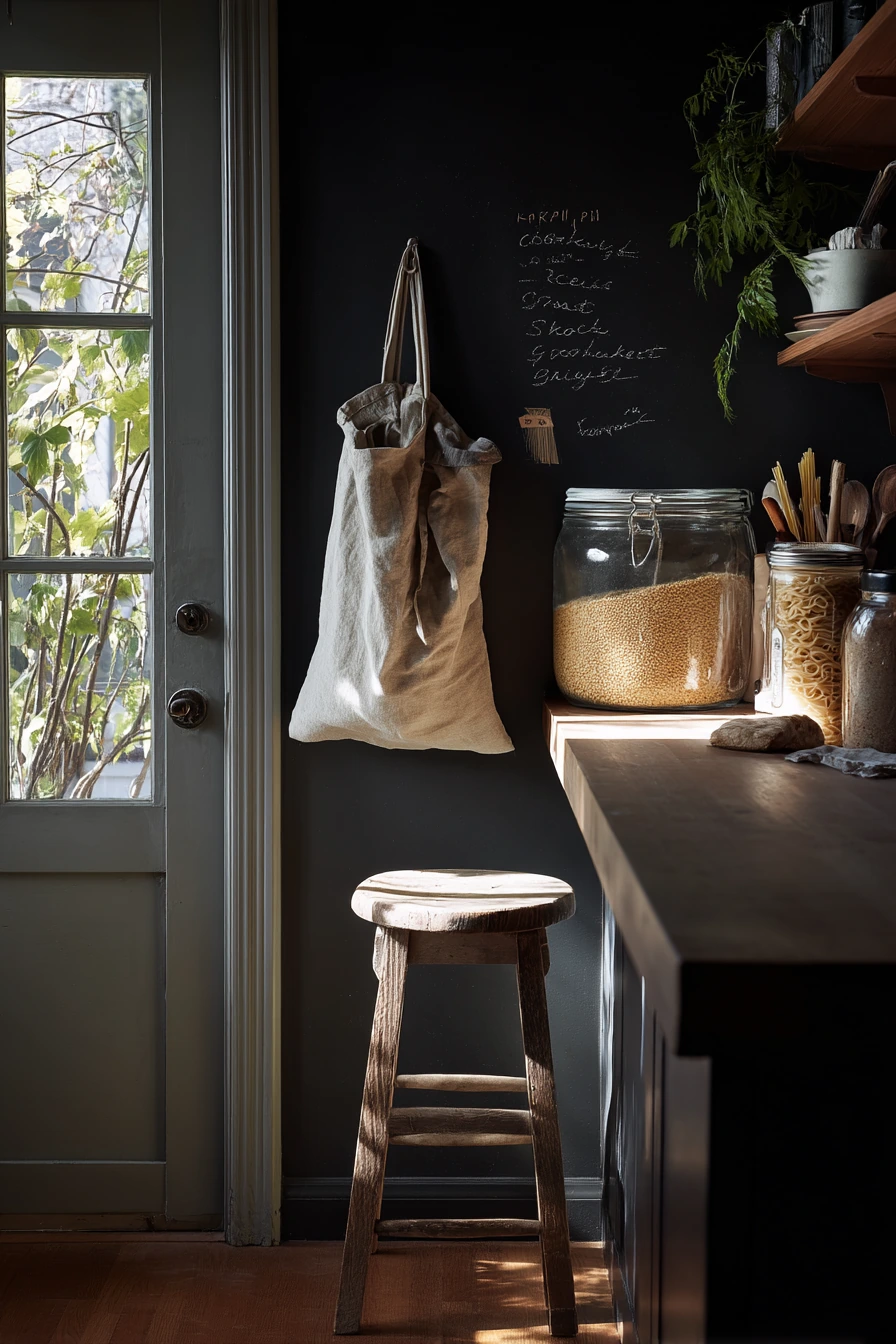
Painting a pantry door matte chalkboard black adds function and personality without taking up space. It is useful for a handwritten grocery list, meal plan, or reminders. The soft graphite texture looks best when the rest of the kitchen stays simple and cozy, with everyday items like a flour bag and pasta jar on the counter.
To do it, remove the door hardware or tape it off. Clean the door, lightly sand if it is glossy, and wipe it down. Apply a primer if needed, then roll on chalkboard paint in thin coats. Let it cure fully, then season the surface by rubbing chalk across it and wiping it off. This helps prevent ghost marks later.
How to style it: hang a slightly wrinkled linen apron from a hook nearby and keep a small jar with paintbrushes on a stool until you are done. Add a small plant so gentle window light can cast soft shadows across the door. Use clean, simple handwriting and leave blank space so the door still looks tidy.
- Pick a door area that is easy to reach for daily notes.
- Use a foam roller to reduce streaks.
- Wait the full cure time before writing on it.
- Keep chalk in a small container so it does not get lost.
- Wipe weekly with a damp cloth for a fresh look.
Pro Design Tip: Frame the chalkboard area with thin wood trim painted to match the door so it looks like a built-in panel, not just paint.
Budget Considerations: A quart of chalkboard paint goes far. If you want a lower-cost option, use removable chalkboard vinyl on a smooth door.
6. Make a Mason Jar Spice Holder Board
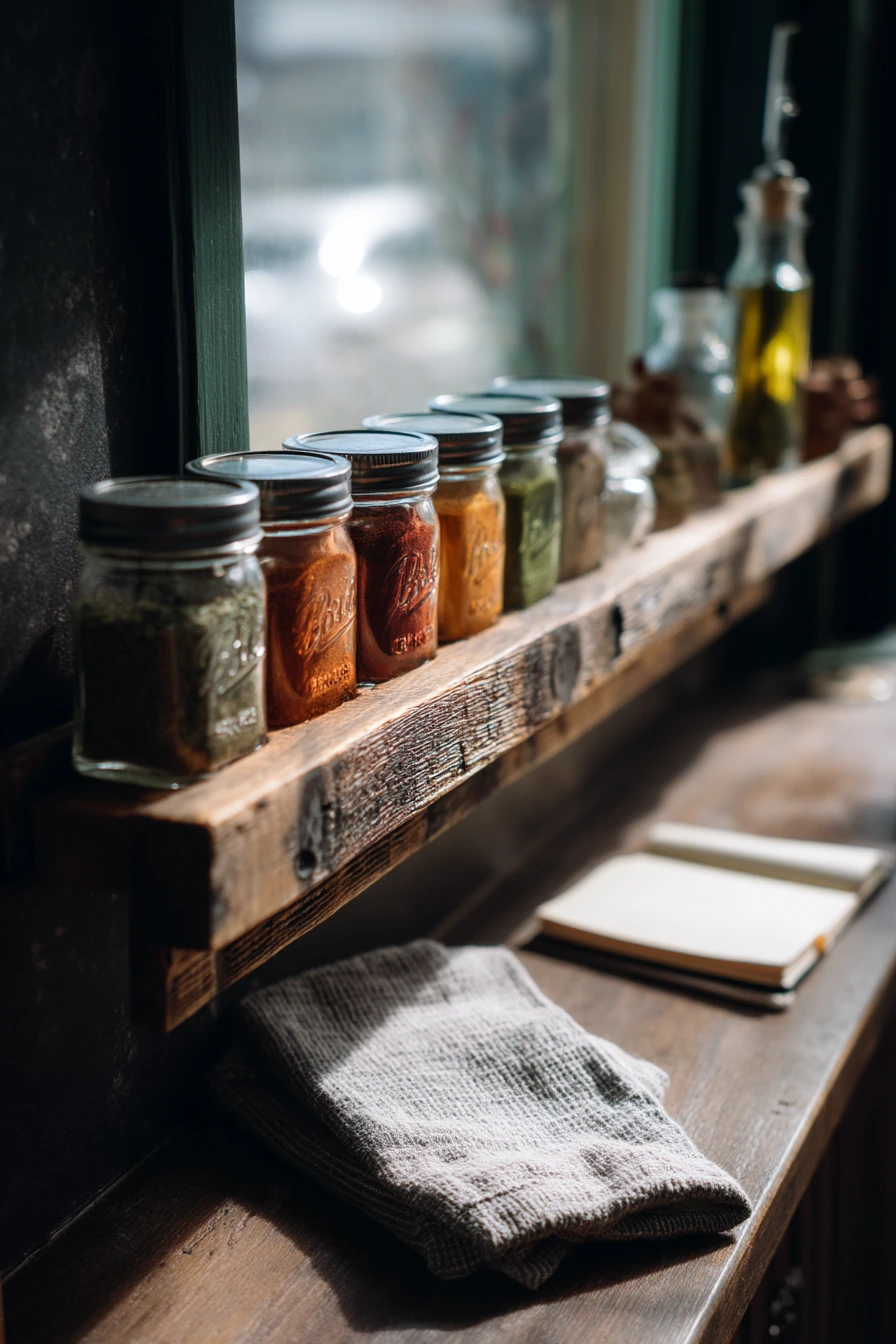
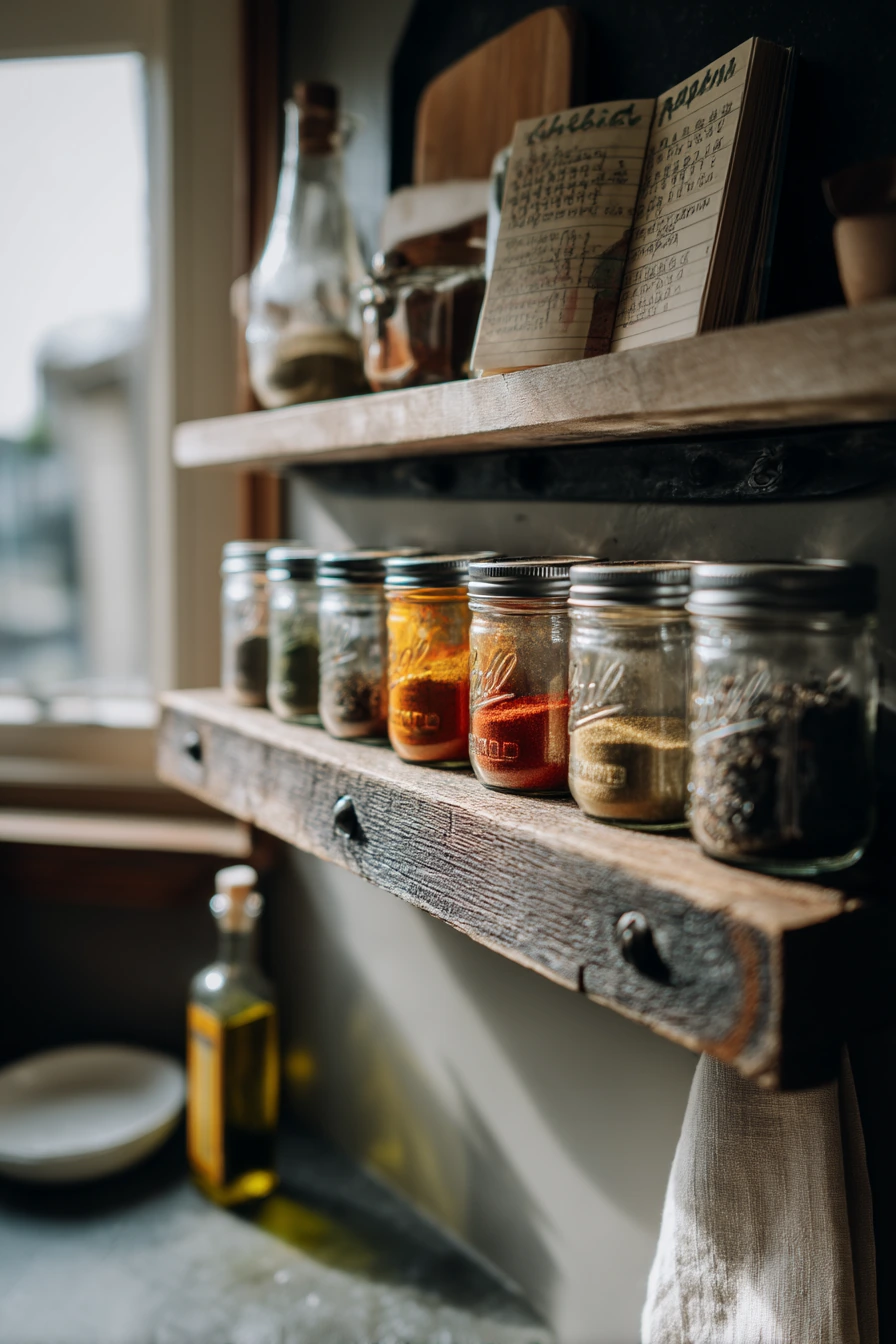
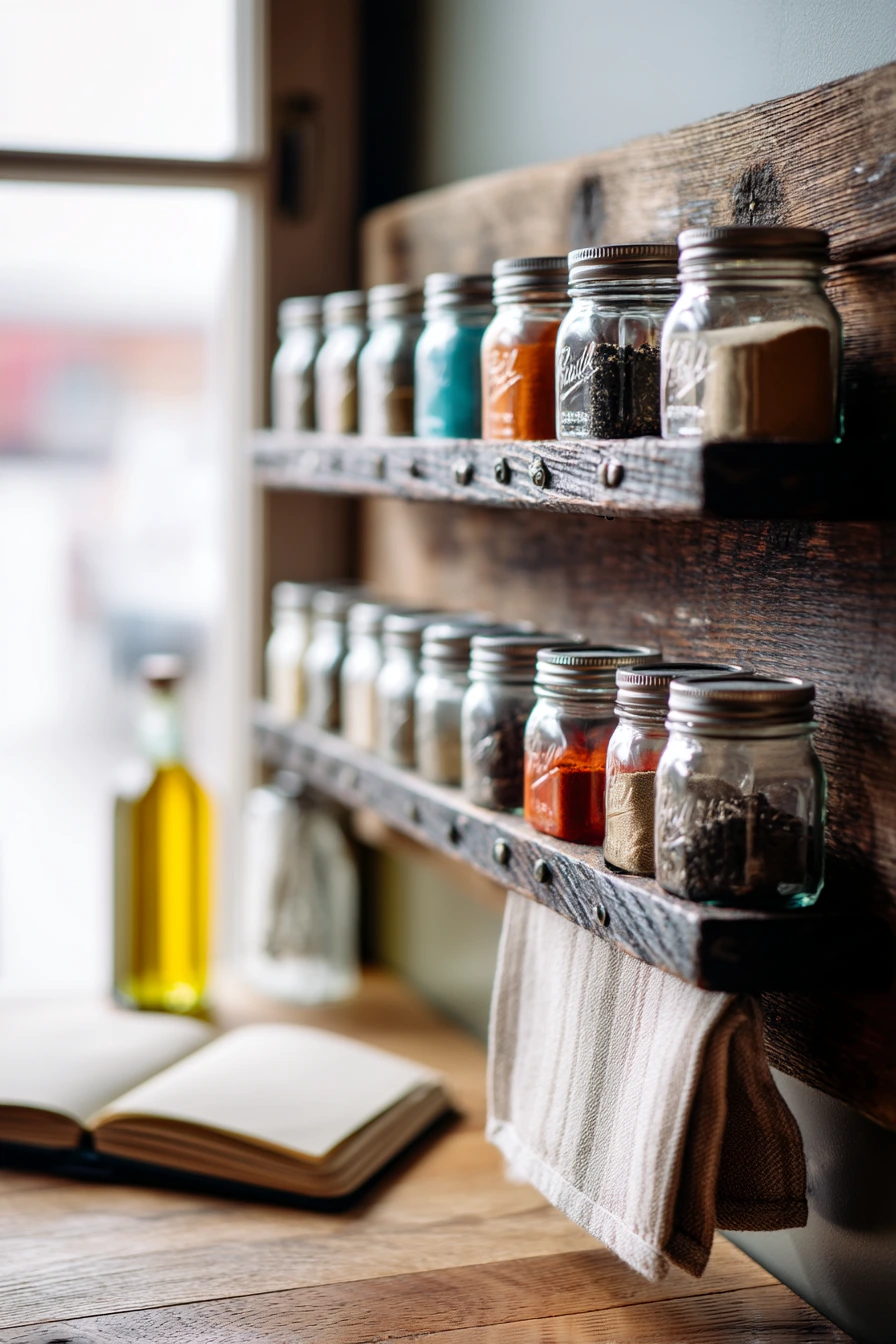
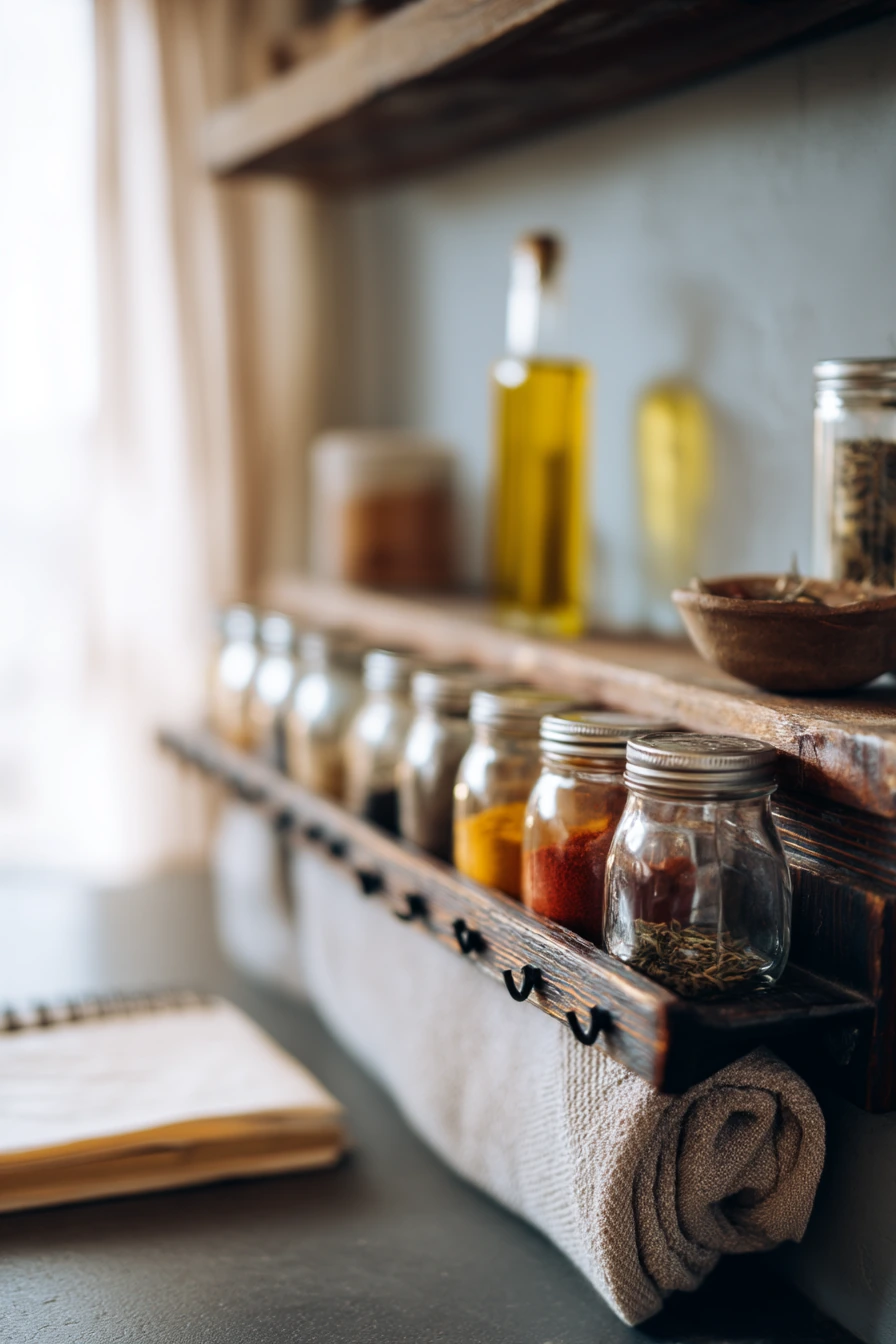
A reclaimed wood board with mounted mason jar spice holders is a simple kitchen diy that clears cabinet clutter. The jars let you see colorful spices glowing through glass, so you grab what you need faster while cooking. It also turns your spice collection into decor when it is kept neat.
To build it, cut and sand a wood board, then stain or seal it for a rustic finish. Screw jar lids beneath a shelf or onto the board, making sure the spacing fits your jars. Fill jars with spices and label them clearly on the side or lid. Mount the board into studs so it can hold the weight safely, especially if you keep larger jars.
How to style it: keep a recipe notebook open nearby and place a small olive oil bottle on a tray for a calm culinary workspace. Add a folded cotton towel in a neutral color so the jars stand out. Try to keep the labels consistent, either all black text or all white, so it looks organized instead of busy.
- Use jars with the same size for a cleaner layout.
- Leave space for your fingers to twist jars on and off.
- Label both the lid and the jar for quick finding.
- Keep the rack away from direct stove heat.
- Refill spices in small batches so they stay fresh.
Pro Design Tip: Choose one label style and one jar shape, then line them up in rows by color or use, like baking, savory, and spicy, for a display that looks planned.
Budget Considerations: If you already have jars, this project is mostly screws and a board. For a low-cost start, mount just 8 to 10 jars and expand later.
7. Create a Compact DIY Coffee Nook
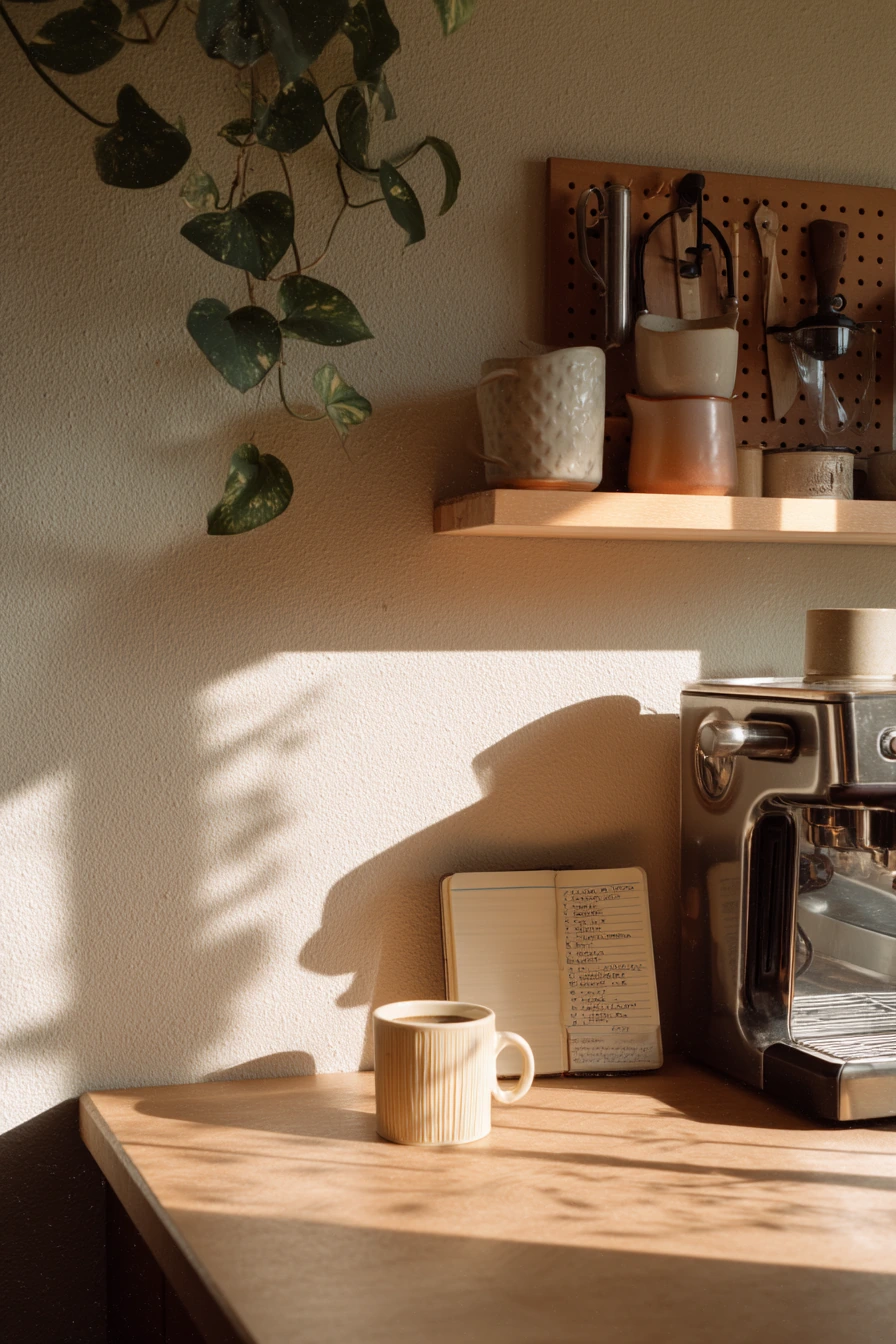
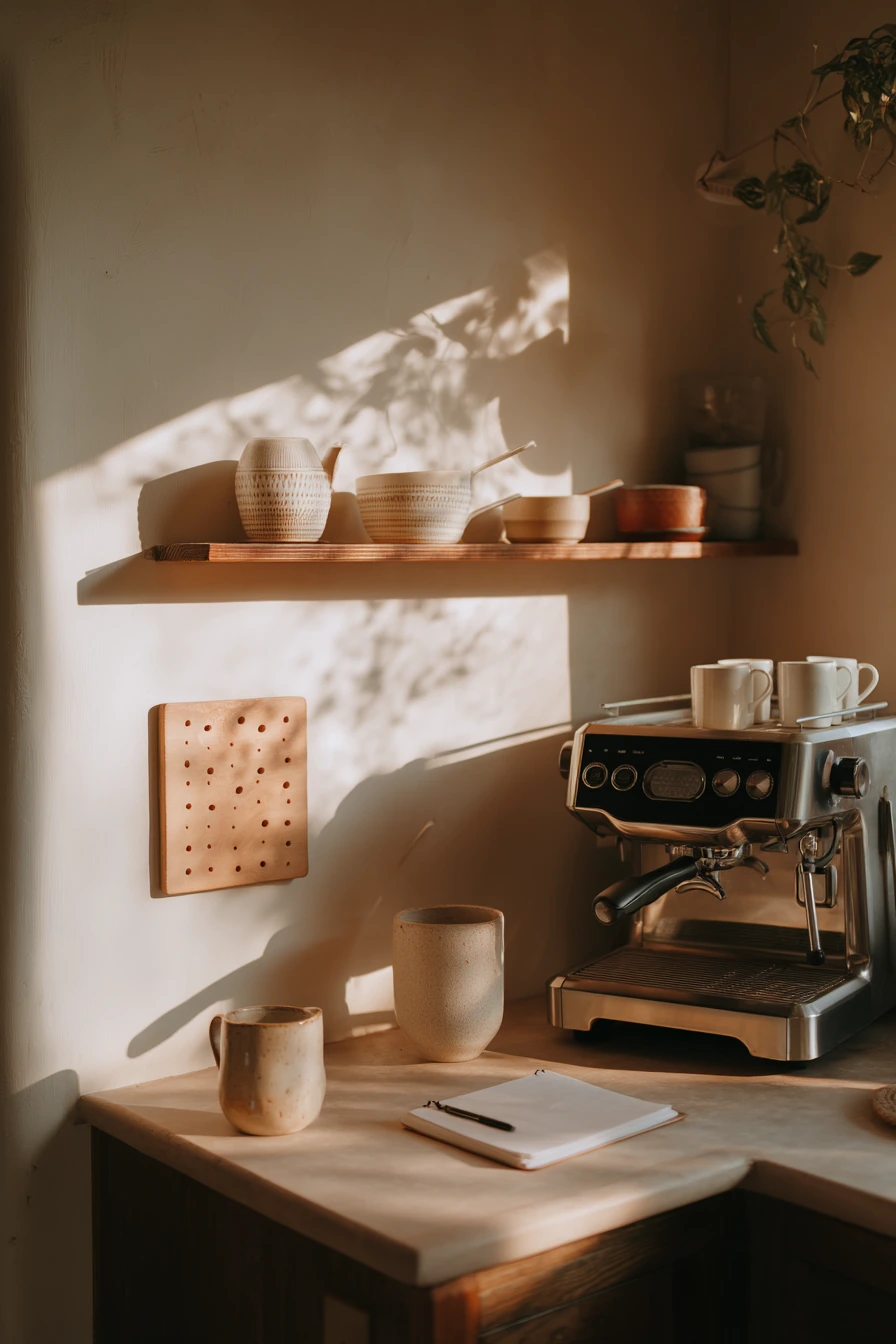
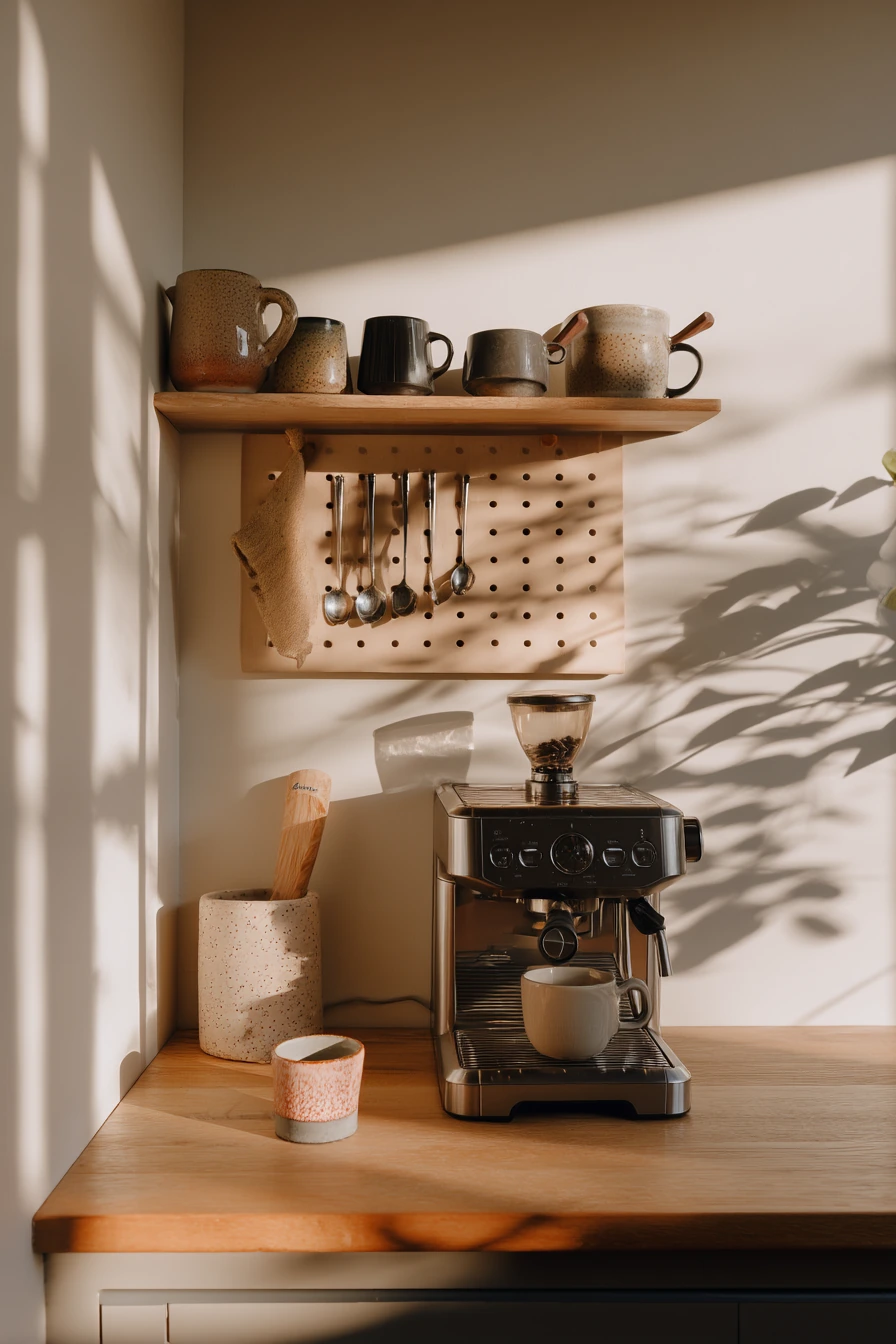
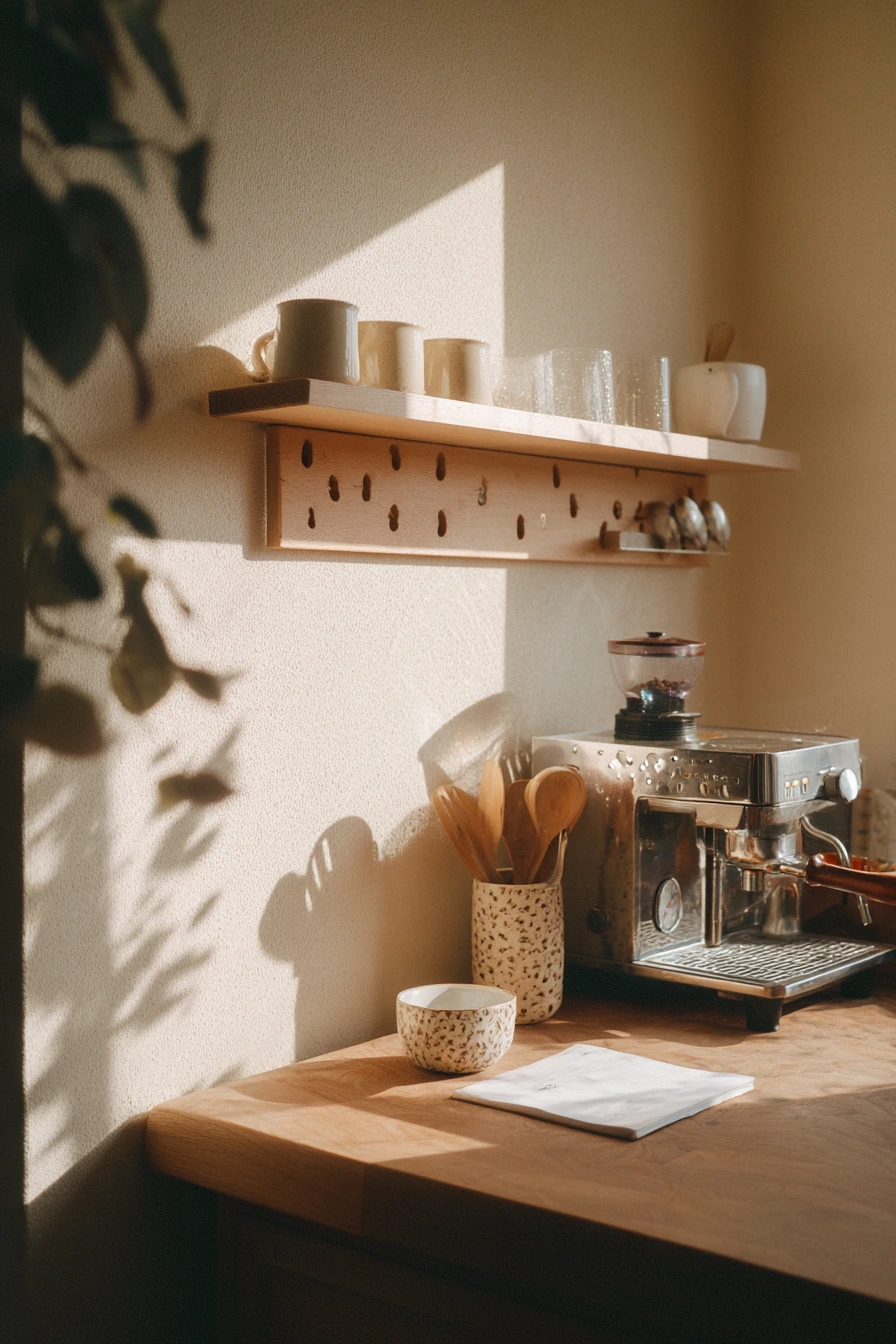
A compact kitchen DIY coffee nook makes mornings easier and keeps supplies in one place. A floating shelf for mugs, a manual grinder, and a small pegboard for spoons can fit in a tight corner. When the espresso machine is out and ready, you are more likely to use it and less likely to clutter other counters.
Start by choosing a spot near an outlet and away from the sink splash. Install a sturdy shelf anchored into studs, then add a pegboard below or beside it for tools. Keep the countertop clear except for the machine, a small container for pods or beans, and one canister for sugar. Wipe the area often since coffee oils can build up.
How to style it: use one or two mug colors so the shelf looks calm. Add a small notebook with a morning to-do list and a ceramic cup half full for a lived-in feel. A plant nearby makes the corner look fresh, and the plant shadow on a pale wall adds soft texture without more items.
- Store beans in an airtight jar to keep flavor longer.
- Hang only the tools you use daily on the pegboard.
- Add a small tray to catch drips and crumbs.
- Use a warm bulb or under-shelf light for early mornings.
- Keep a small trash cup for used grounds or pods.
Pro Design Tip: Keep the coffee zone in one material family, like oak counter plus wood shelf, then add contrast with one black accent for a clean, modern look.
Budget Considerations: A basic shelf and pegboard setup is low cost. If you are renting, use removable wall anchors rated for the load and keep the shelf shorter.
8. Add Under-Cabinet LED Strip Lighting
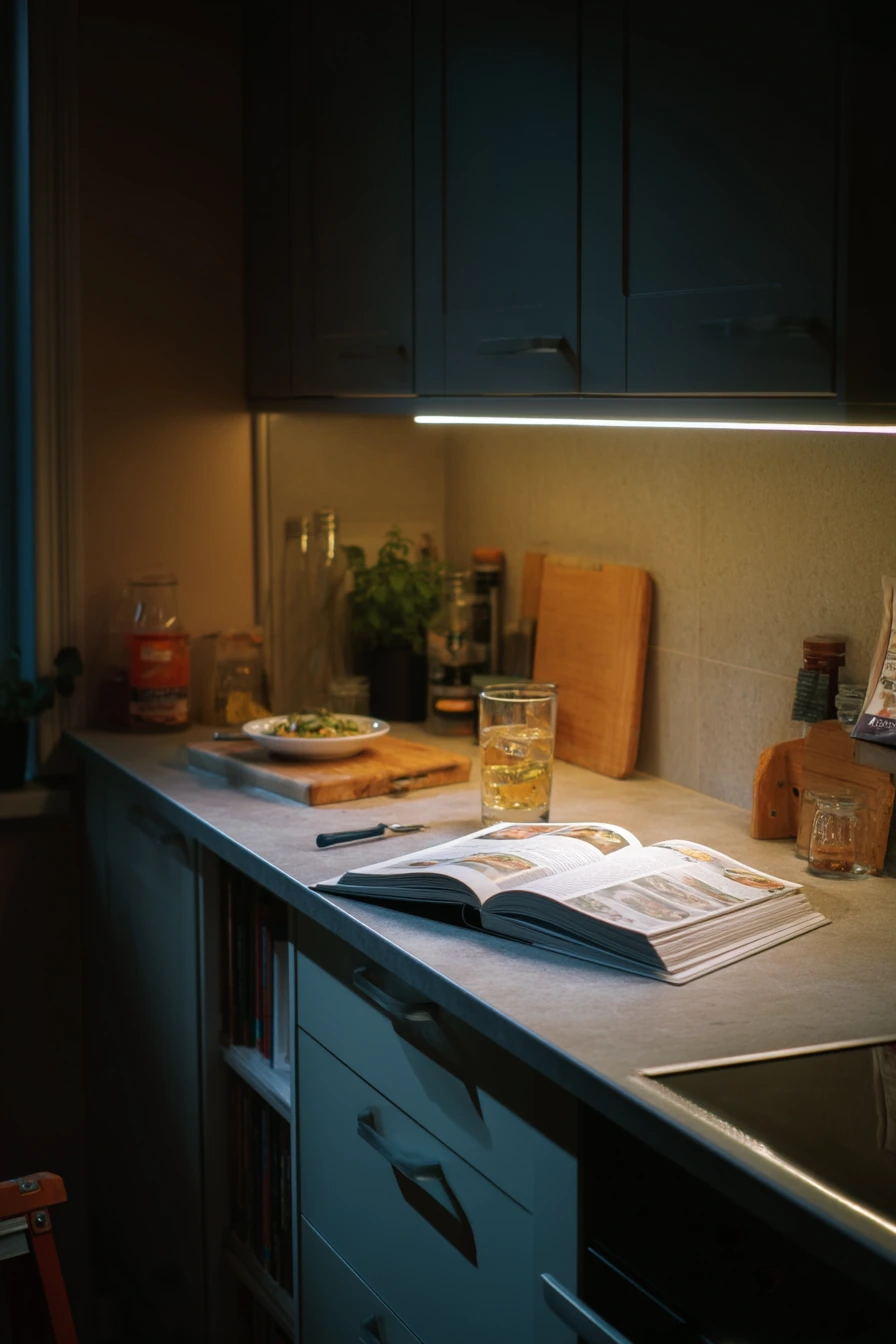

Installing a slim LED strip beneath cabinets is a high-impact evening kitchen upgrade. It improves task lighting for chopping and reading recipes, and it makes matte cabinets glow softly at night. This is one of the easiest kitchen diy projects when you choose a plug-in kit and plan your cord path.
Before you start, decide if you want warm white or neutral white light. Warm white feels cozy and works well with wood and cream tones. Clean the underside of cabinets so adhesive sticks, then measure and cut strips only where the kit allows. Use clips for extra hold and hide the power cord along cabinet edges. If you are using a screwdriver and small ladder, take your time and keep the workspace clear.
How to style it: leave a cookbook open to a dinner recipe and keep a glass of iced tea on the counter while you work. Once installed, place a few reflective items, like a simple glass jar or a light tray, to catch the luminous countertop reflections. Avoid too many shiny pieces so it still feels calm.
- Test the lights at night before final sticking.
- Pick a dimmable strip for better control.
- Hide wires with paintable cord covers.
- Place strips closer to the cabinet front to reduce shadows.
- Choose a kit with high CRI for more accurate food color.
Pro Design Tip: Use warm LEDs around 2700K to 3000K and add a dimmer so the lighting works for both cooking and relaxing.
Budget Considerations: Plug-in LED strips are cheaper than hardwired lighting. If money is tight, light only the main prep run first, then add more later.
9. Refresh Tile with a Painted Stencil Floor Pattern
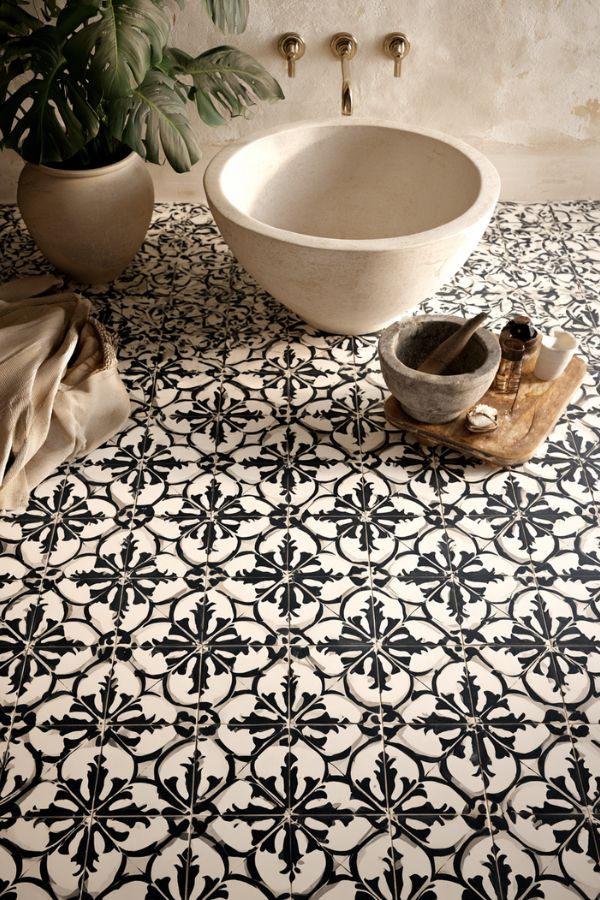
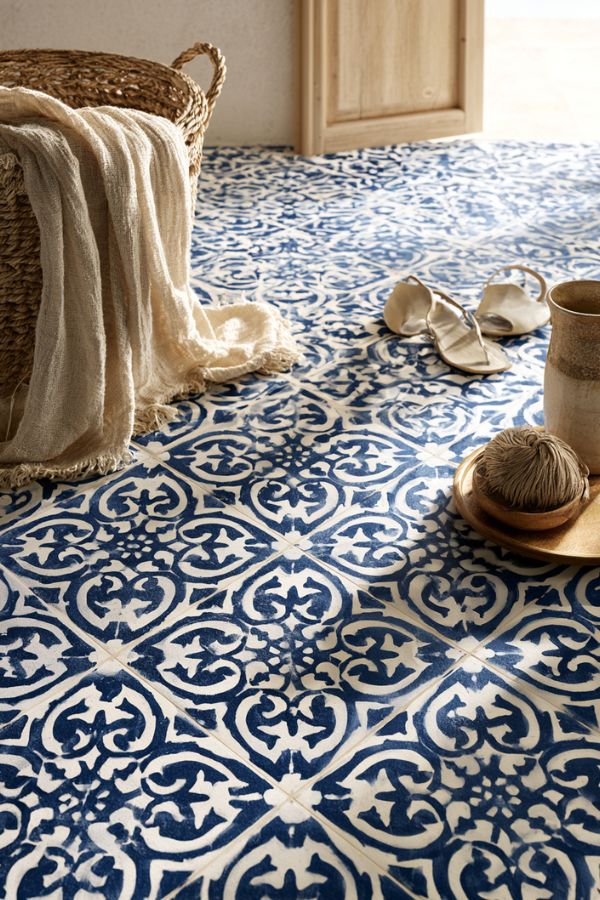
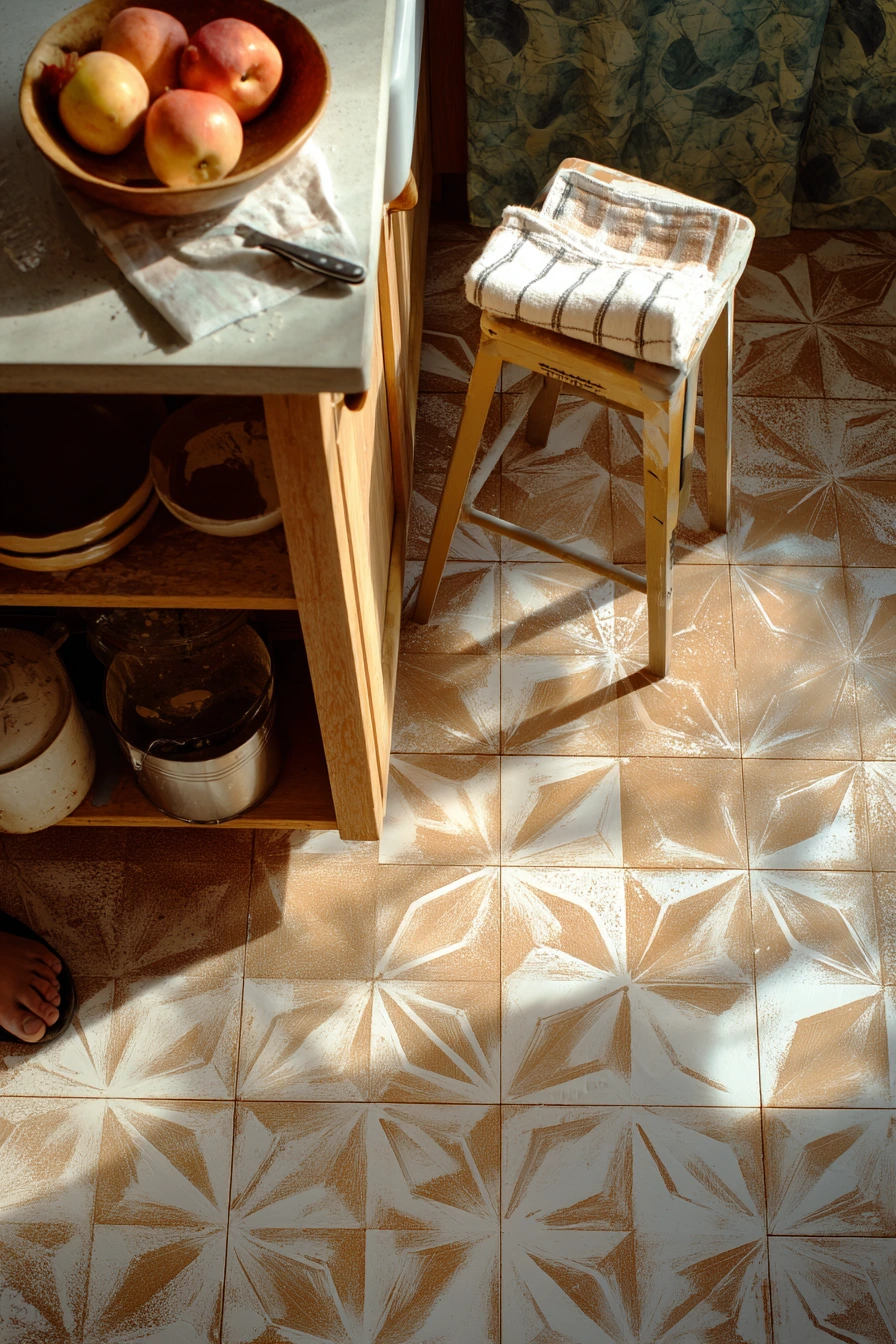
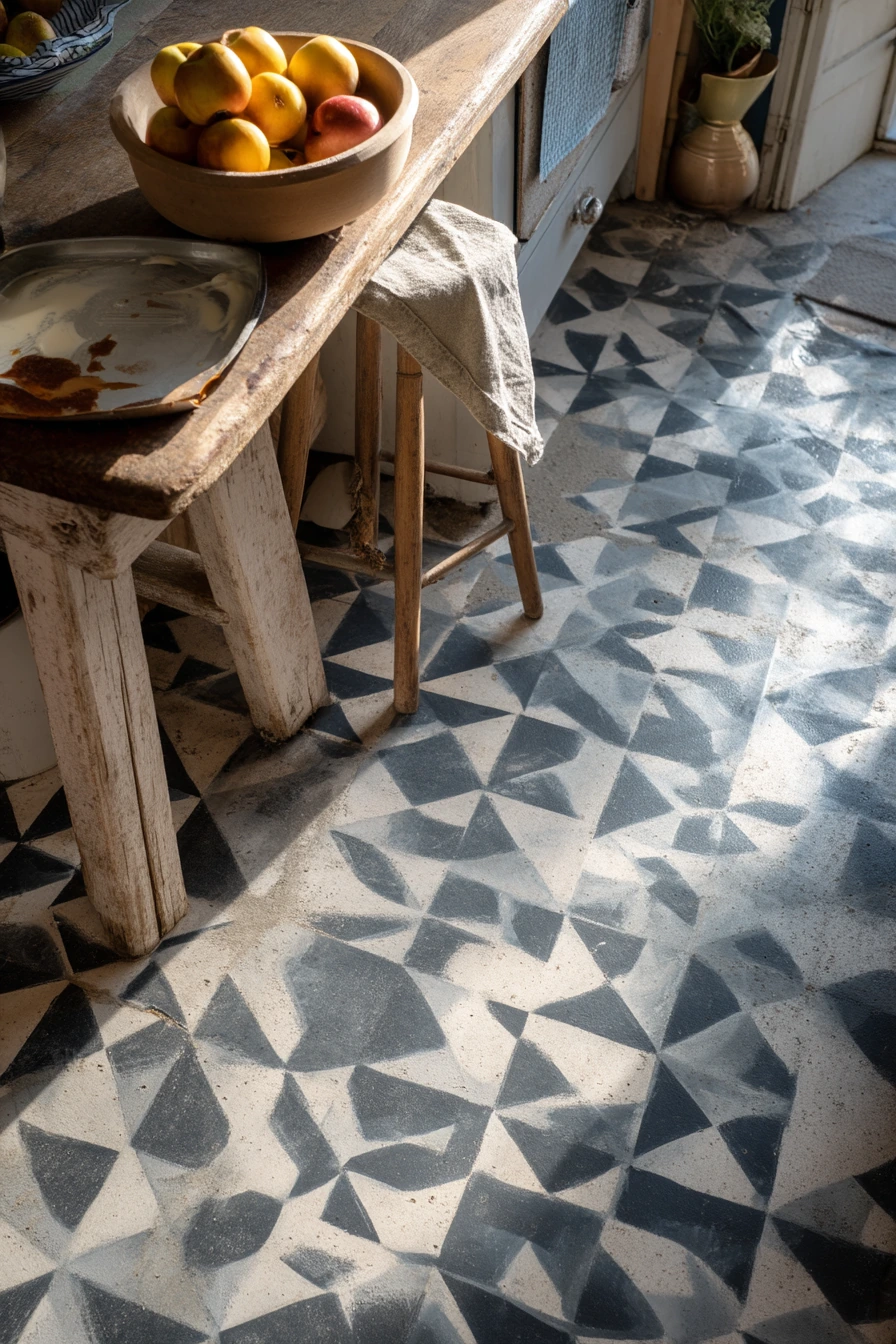
A painted stencil pattern can refresh worn tile without replacing the whole floor. Geometric designs look modern and hide scuffs well. This kitchen diy works best when you prep carefully and give the paint enough time to dry, especially if you are walking around in bare feet during the project.
Start by cleaning the tile deeply and removing any wax or residue. Lightly sand glossy tile so primer can grip. Use a bonding primer, then paint a base coat. When it is dry, tape the stencil in place and apply paint with a dense foam roller or stencil brush in light layers. Move the stencil carefully and keep the paint tray nearby so you do not drip across the room.
How to style it: keep the counters simple with a bowl of apples and a folded tea towel on a stool so the floor becomes the focus. Choose two colors that match the rest of the kitchen, like warm white and soft gray, or cream and muted blue. Afternoon sun stretching across the pattern will show flaws, so do touch-ups before sealing.
- Pick floor paint rated for high-traffic areas.
- Work in small sections to keep edges crisp.
- Use a repositionable spray adhesive on the stencil back.
- Seal with a clear water-based topcoat for durability.
- Wait the full cure time before mopping or moving heavy items.
Pro Design Tip: Repeat one stencil color in small accents, like a dish towel stripe or a bowl, so the new pattern feels connected to the room.
Budget Considerations: Stenciling costs far less than new flooring, but quality paint and sealer matter. If you need to save, use a simpler one-color pattern and spend on the topcoat.
10. Build a DIY Ceiling Pot Rack from a Reclaimed Beam

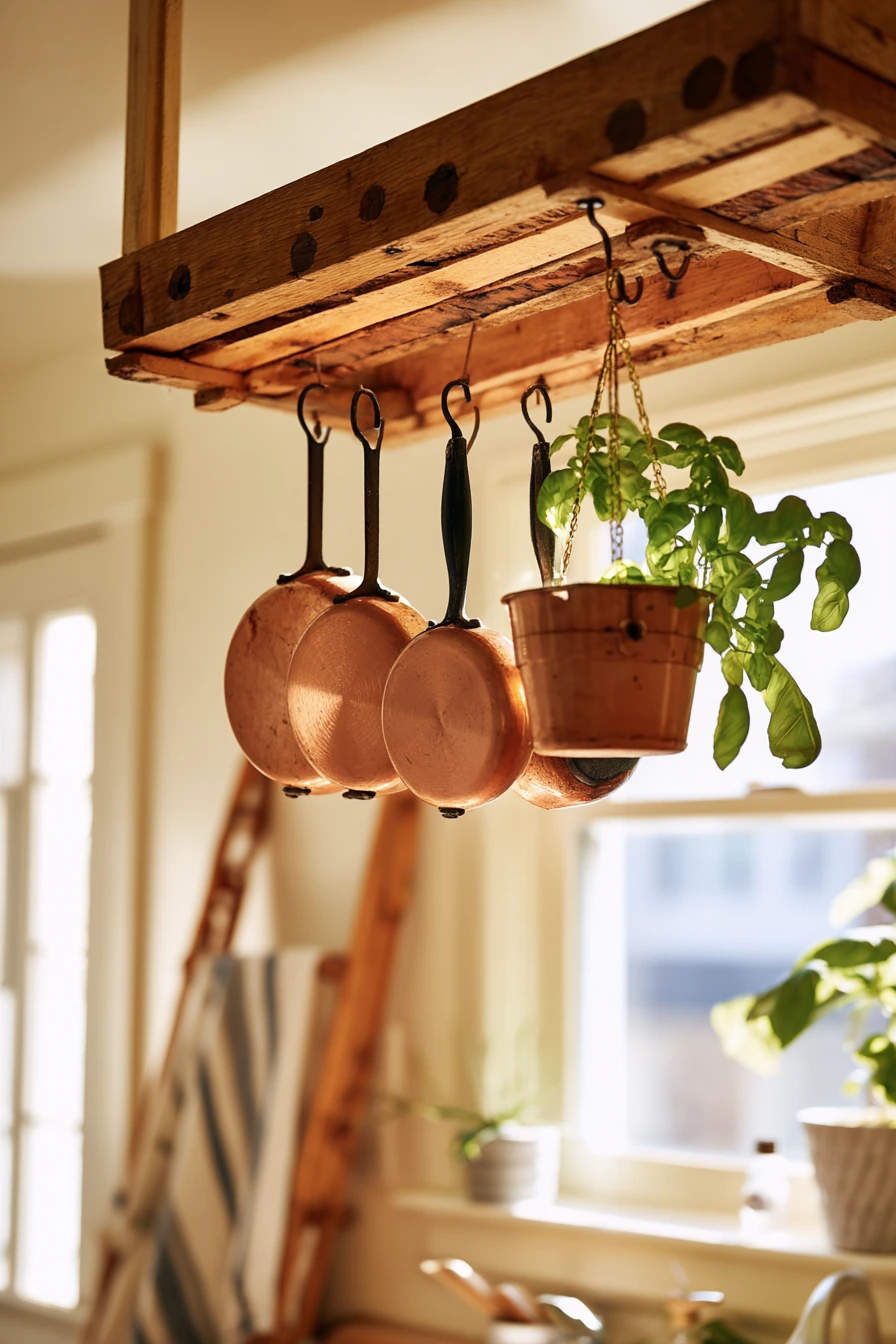
A DIY ceiling pot rack made from a reclaimed beam and iron hooks frees up cabinet space and adds warmth. Hanging copper pans gently swaying can make the kitchen feel active and practical. This project is best for a quiet Sunday when you can measure carefully and work safely from a ladder.
First, find ceiling joists with a stud finder and mark the locations. The rack must be anchored into solid framing, not just drywall. Pre-drill holes in the beam, then attach strong eye bolts or hooks. Hang the beam with lag screws and rated hardware. Keep the drill and screws on a stable surface like a butcher block so nothing rolls off.
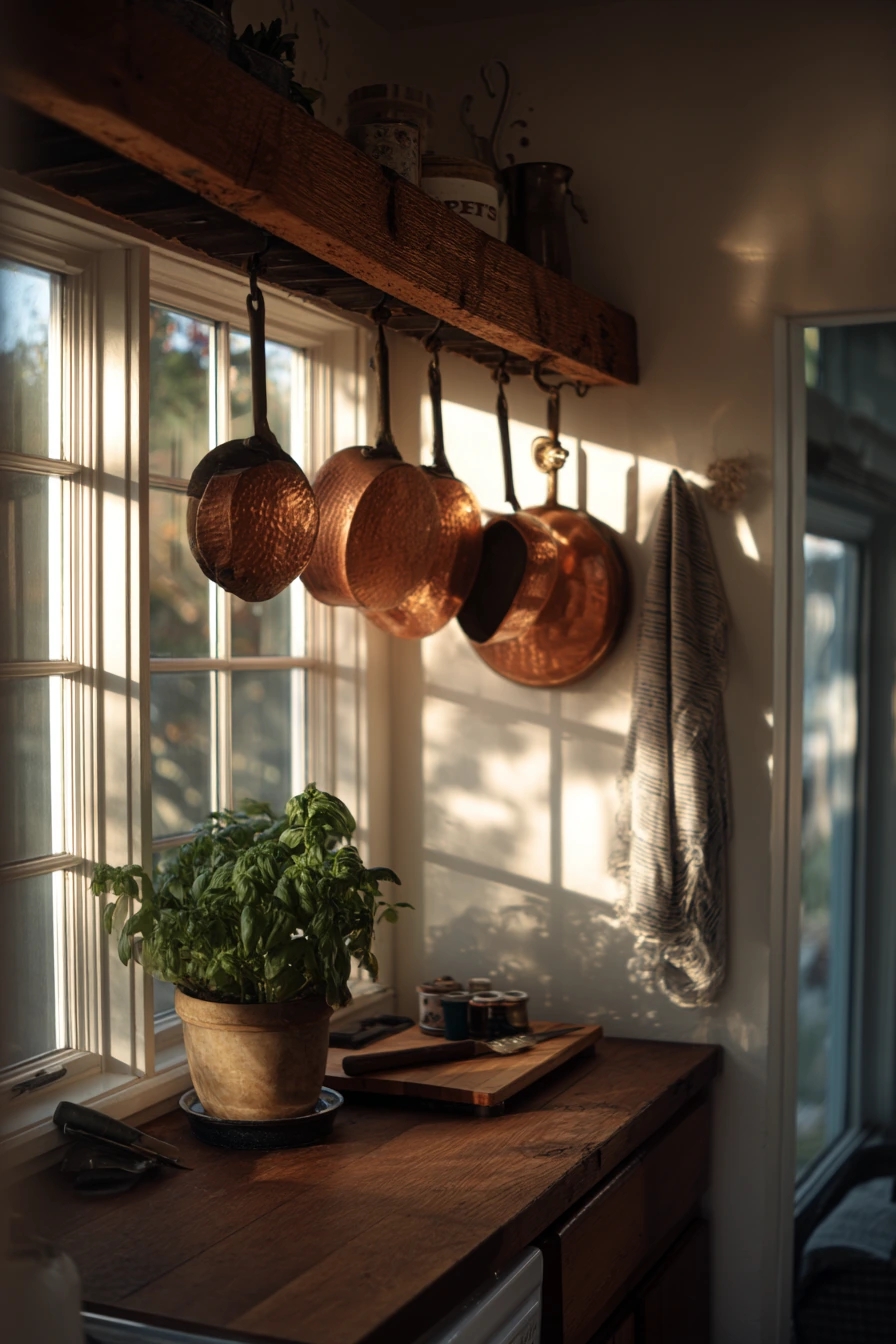
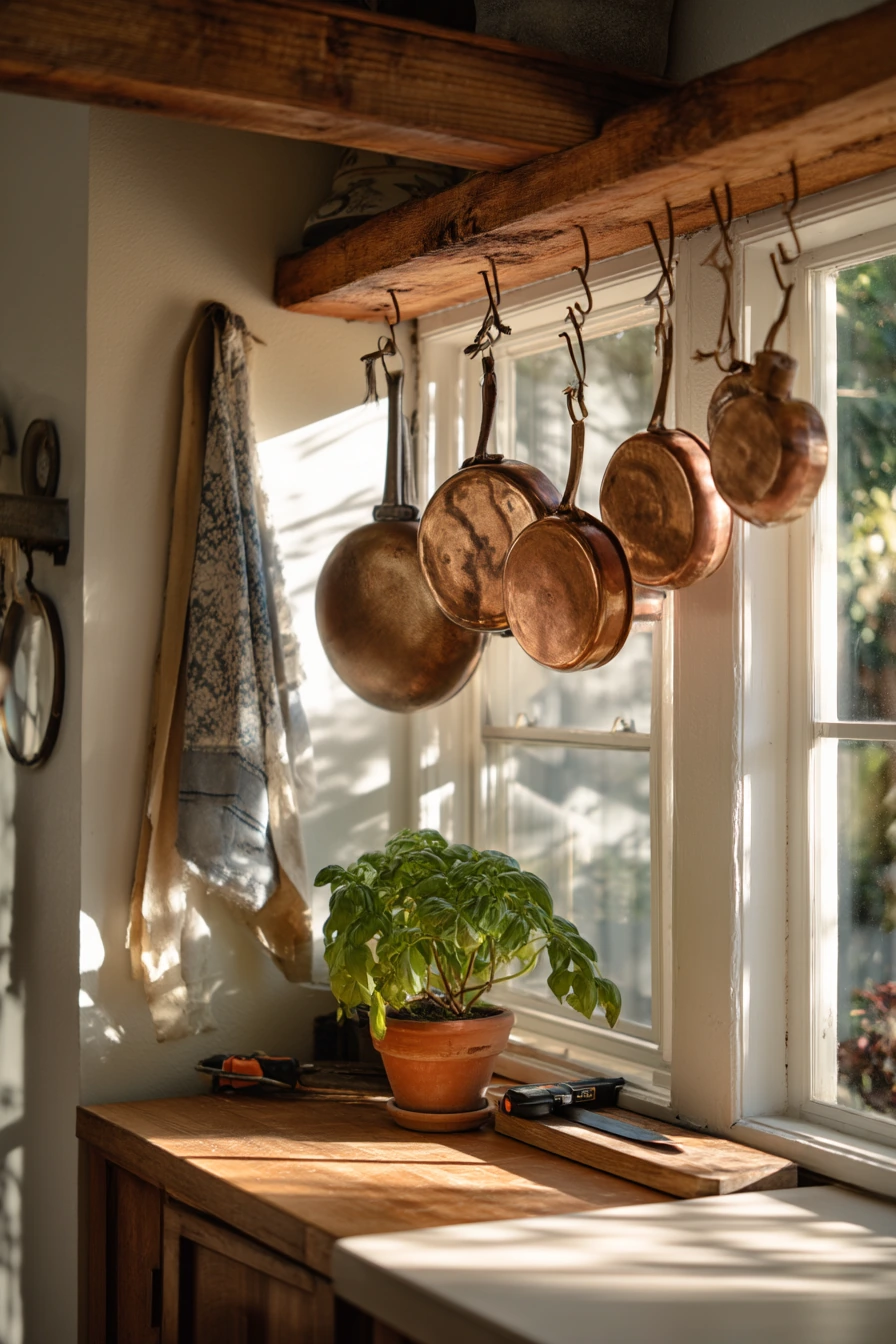
How to style it: mix copper pans with a few black or stainless pieces so it looks balanced. Leave some hooks empty to avoid a crowded look. Add a basil plant near the window and a dish towel casually draped nearby to keep it feeling like a working kitchen, not a showroom.
- Check ceiling height so pans do not block sight lines.
- Hang heavier items closer to the support points.
- Use matching hooks for a cleaner look.
- Keep the rack centered over an island or open area.
- Polish copper sometimes, or let it age for a softer tone.
Pro Design Tip: Choose hardware in one finish, like matte black iron, and repeat it on cabinet pulls so the pot rack feels like part of the plan.
Budget Considerations: Reclaimed beams can be pricey depending on size. To lower cost, use a new wood beam and add character with stain, then invest in strong, safe mounting hardware.
Kitchen diy projects work best when you choose one clear goal, plan the steps, and keep materials simple. Paint, shelves, renter-friendly tile, and lighting can all change the feel of a space without a full renovation.
Pick one project from this list and finish it before starting the next. Small upgrades add up, and a few well-styled details can make your kitchen look more put together.
If you want an easy next step, start with under-cabinet LED lighting or a chalkboard pantry door, then move on to bigger builds like an island or pot rack.
Frequently Asked Questions
1. What are the best kitchen DIY projects for beginners or renters?
Beginners and renters can easily update their space with non-permanent, high-impact changes. Great options include peel-and-stick subway tile backsplashes, peel-and-stick chalkboard vinyl on pantry doors, plug-in under-cabinet LED light strips, and café curtains. These projects require minimal tools and remove easily without damaging walls or cabinetry.
2. How do I properly prep kitchen cabinets before painting them so the paint doesn’t chip?
Thorough preparation is key to a long-lasting finish. Start by removing all doors and hardware, then scrub the cabinets with a heavy-duty degreaser to remove cooking oils. Lightly sand the surfaces with a fine-grit sanding sponge to dull the existing gloss or varnish, wipe away all dust, and apply a high-adhesion bonding primer before rolling on your final paint coats.
3. How do I safely hang heavy shelves, pot racks, or cabinets on kitchen walls?
Always anchor heavy items directly into wall studs using heavy-duty brackets and screws rather than relying solely on drywall. If studs are not aligned with your desired placement, use high-rated toggle bolts or wall anchors, and for overhead items like ceiling pot racks, ensure the hardware is securely bolted straight into solid ceiling framing joists.
4. How can I get a high-end, custom kitchen look on a tight budget?
Focus your spending where it makes the biggest visual impact. Swap out dated cabinet pulls for matching brushed brass or matte black hardware, add warm under-cabinet lighting, use peel-and-stick tiles, and style your open shelves or counters with simple, organic accents like terracotta pots, glass jars, and fresh herbs.
5. How do I maintain DIY updates like butcher-block islands and chalkboards?
- Butcher-block islands: Sand away light scratches and seal them regularly with a food-safe mineral oil or beeswax to prevent water damage and warping.
- Chalkboards: Season the surface before writing on it by rubbing chalk all over and wiping it clean, and wipe the board weekly with a damp microfiber cloth to avoid ghosting or chalk buildup.
Would you like me to help generate social media captions or Pinterest pin text to go along with this kitchen DIY guide?