
DIY Thanksgiving centerpieces do not need fancy supplies or perfect styling. With a few grocery store flowers, small pumpkins, candles, and simple baskets, you can set a table that feels warm and welcoming.
This guide shares 10 easy centerpiece ideas based on real home scenes like a scratched farmhouse table, a narrow apartment setup, and a calm modern dining room. Each one is simple to copy, easy to adjust for your space, and friendly for busy schedules.
You will also get quick styling moves, a short supply list, and ways to make each look work with what you already have. These centerpieces are made to look good in photos, so Pinterest visitors will want to stop scrolling and read.
Use these ideas for Thanksgiving dinner, Friendsgiving, or any fall meal. Most can be built in under 30 minutes, with items from a thrift shop, your pantry, or the grocery store.
1. Painted Mason Jar Mum Centerpiece


Painted mason jars make an easy DIY Thanksgiving centerpiece, especially on a farmhouse table. Start with clean jars, then paint the outside in soft fall tones like cream, sage, or clay. When they dry, wrap the rims with twine for a simple handmade finish.
Fill each jar with grocery store mums and a few eucalyptus stems for shape. Keep the stems loose so the flowers look full, not tight. If you have kids at the table, this works well because it is low, sturdy, and not easy to tip, even with placemats, scissors, and ribbon scraps nearby.
To style it, group three jars in the center and add one small bowl of extra stems or mini pumpkins beside them. Let the table look lived in, with a water glass, a coloring book edge peeking out, and a few natural textures. Warm window light will make the paint finish look soft and cozy.
- Use chalk paint or matte acrylic for a farmhouse look.
- Pick mums that are still a little closed so they last longer.
- Add eucalyptus last so it does not crowd the blooms.
- Keep jar heights mixed for a casual line.
- Place jars on a small tray to protect a scratched tabletop.
Pro Design Tip: Paint only the bottom two-thirds of each jar and leave a clear band at the top for a layered look that still feels light.
Budget Considerations: Save jars from pasta sauce, then buy one bundle of mums and split it across three jars to stretch the flowers.


2. Mini Pumpkin Vase Centerpiece With Dried Wheat

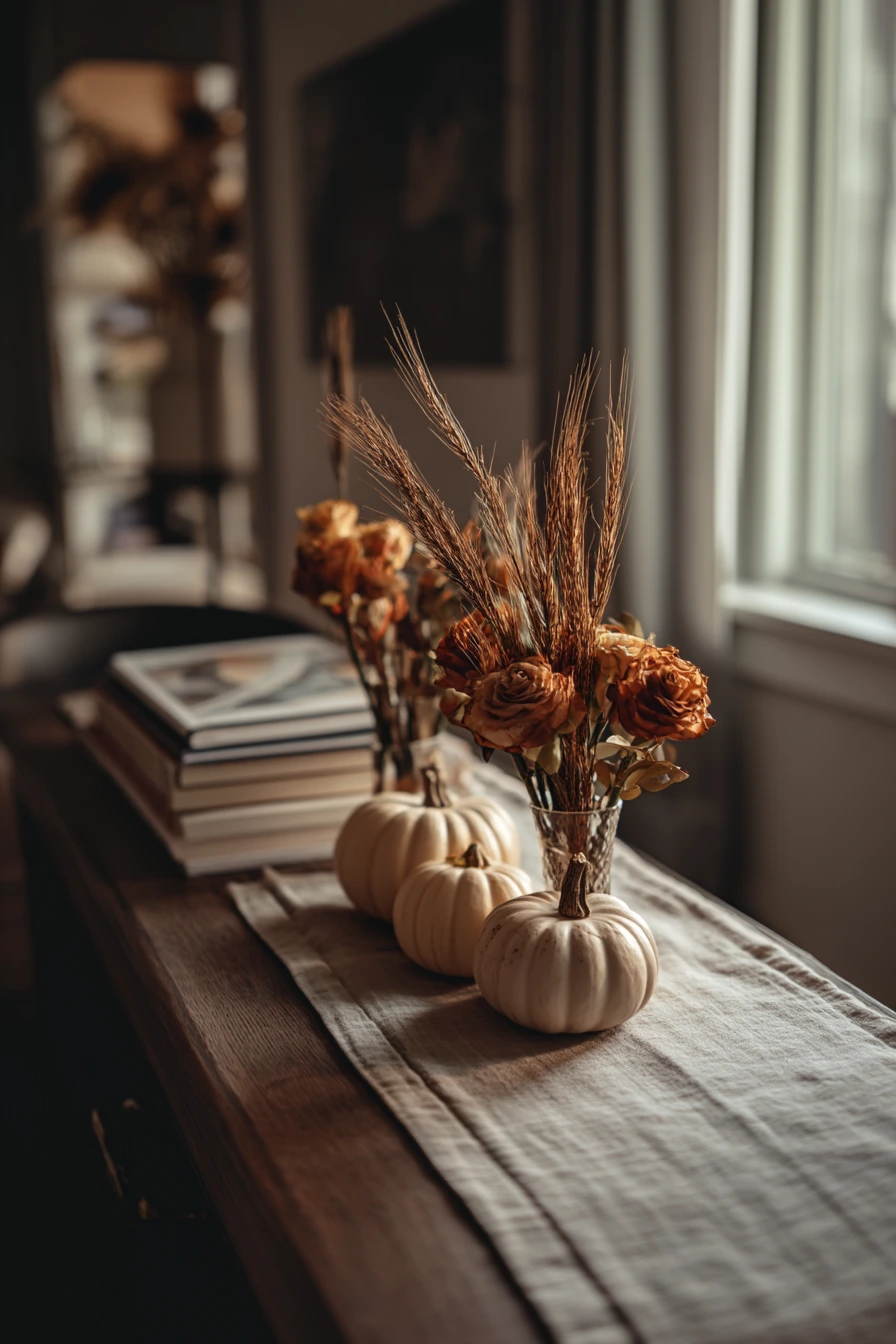
Hollowed mini pumpkins used as vases are a strong choice for a narrow apartment table. Choose small pumpkins that sit flat. Cut a small hole on top, scoop out the inside, and place a small cup or floral tube inside to hold water. This keeps the pumpkin from getting soggy.
Use dried wheat for height and add a few rust colored roses for a soft fall touch. The dried pieces help the arrangement stay upright without much work. Set the pumpkins in a loose row down a thrifted linen runner, even if it is slightly wrinkled. That relaxed texture reads natural in photos.
To style it in a real-life space, keep it close to what is already there, like a stack of cookbooks on one end or a laptop on a sideboard. The centerpiece still feels special, but not staged. If your table is tight, use fewer pumpkins and leave space for plates and serving dishes.
- Pick pumpkins in similar sizes so the row looks calm.
- Use a sharp spoon or ice cream scoop to clean the inside fast.
- Keep the flowers short so guests can talk across the table.
- Mix dried wheat with a few seed pods for extra texture.
- Set pumpkins on a board so cleanup is easy.
Pro Design Tip: Repeat one color, like rust, three times along the table to make the whole setup feel planned.
Budget Considerations: Dried wheat lasts for years; buy one bundle and store the rest for next fall or winter tables.


3. Floating Candle and Cranberry Bowl Centerpiece
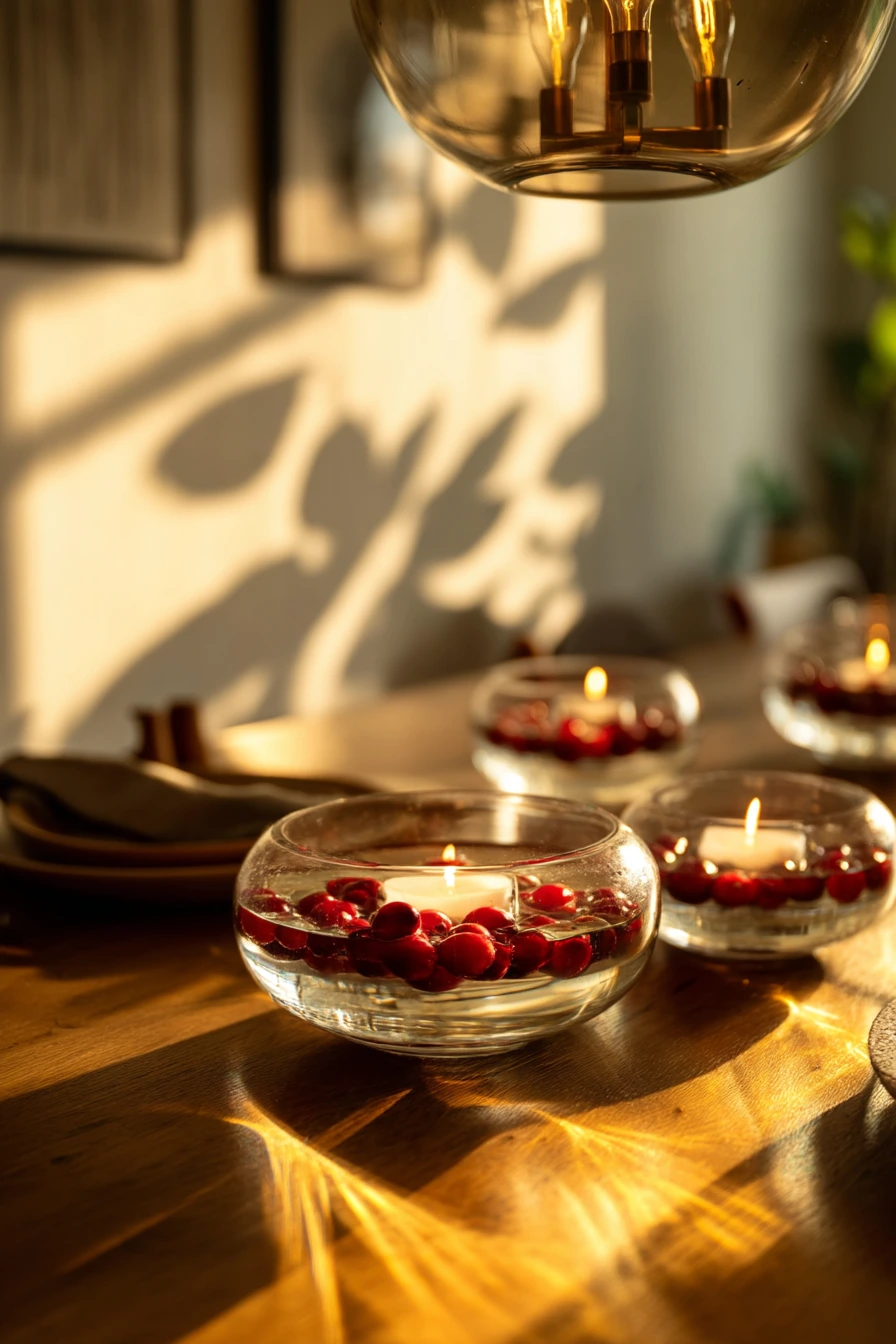

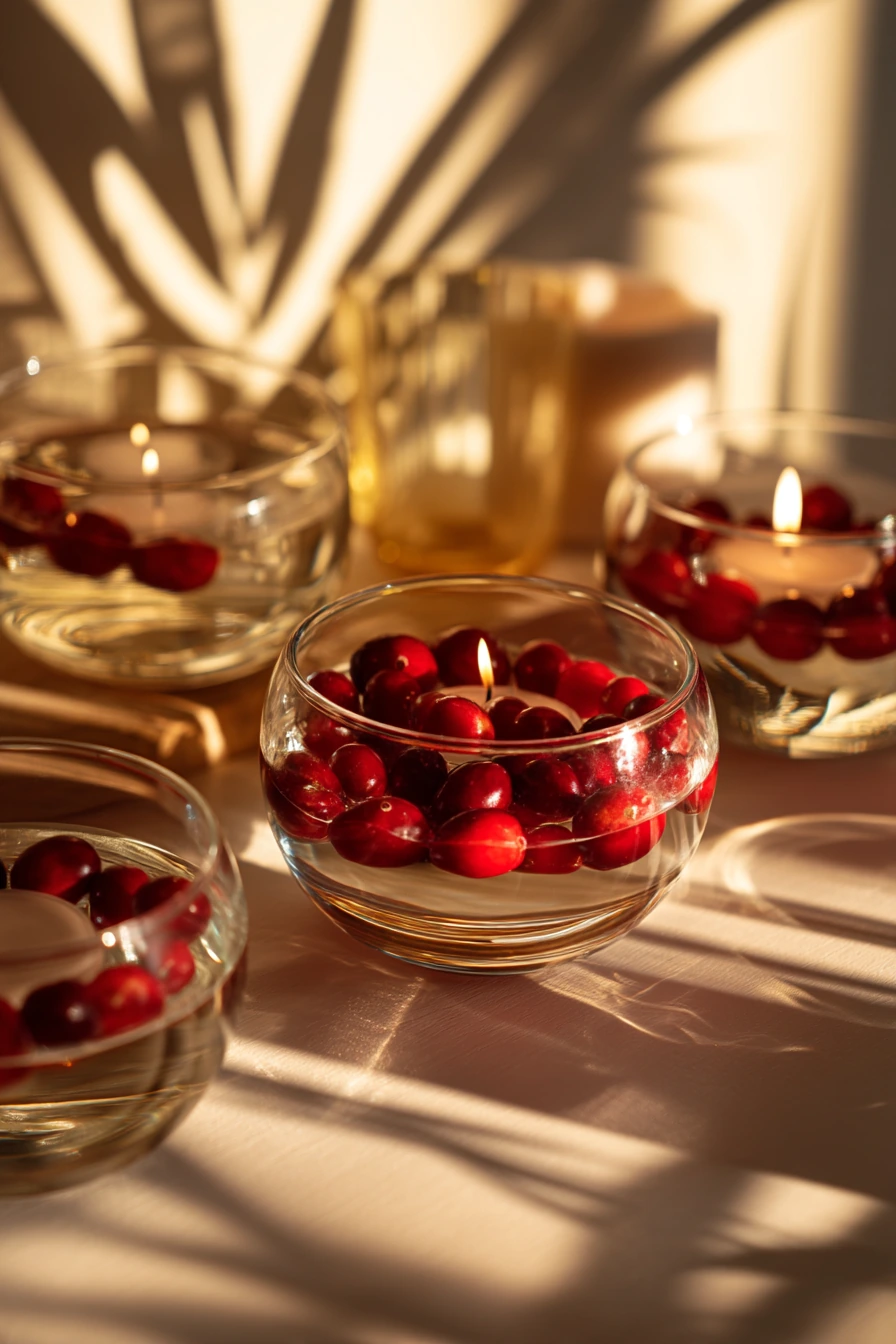
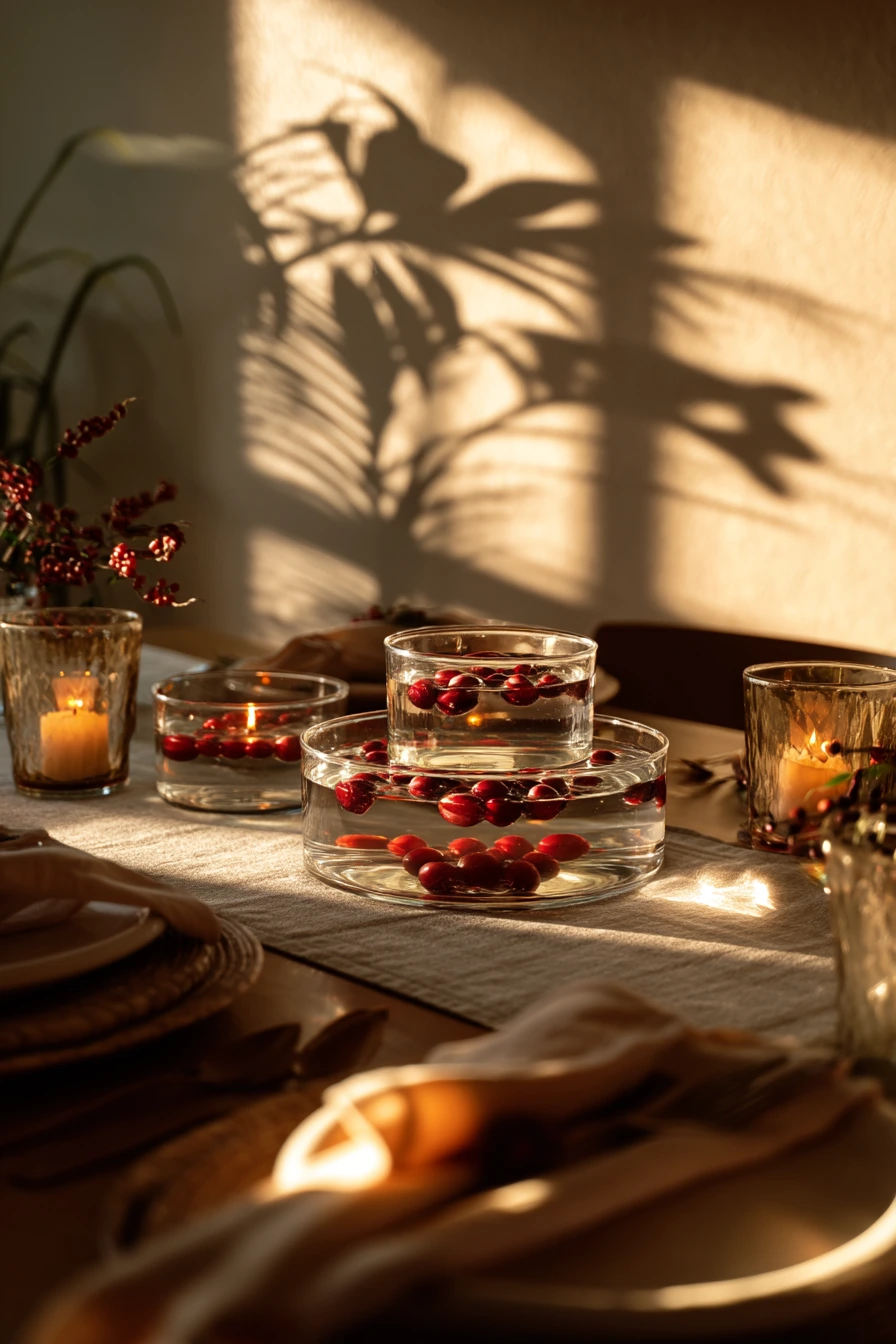
Clear glass bowls with floating candles and fresh cranberries are one of the simplest DIY Thanksgiving centerpieces. They look bright in a kitchen with warm pendant light and give a soft glow for Friendsgiving. Use any clear bowl you already own, from salad bowls to wide vases.
Fill each bowl with water, then add a layer of cranberries. Drop in floating candles last so they stay centered. If you want more scent, tuck in a few rosemary sprigs, but do not overfill. The best look is clean, reflective, and easy to see from a seated guest view.
To style it, use two or three bowls in a line and keep the rest of the table simple. Casual folded napkins, a half-sipped cider glass, and a few plant shadows on the wall make the scene feel real. If kids or pets are around, place bowls toward the middle and keep flames away from loose paper.
- Use bowls that are wide enough so candles do not crowd the edges.
- Rinse cranberries first so the water stays clear.
- Trim rosemary short so it floats neatly.
- Light candles right before guests sit down.
- Swap cranberries for sliced citrus after Thanksgiving.
Pro Design Tip: Use candles with the same diameter in every bowl so the light looks even across the table.
Budget Considerations: Buy a big bag of cranberries and use leftovers for baking or freeze them for later.
4. Wood Crate Centerpiece With Gourds and Brass Candles

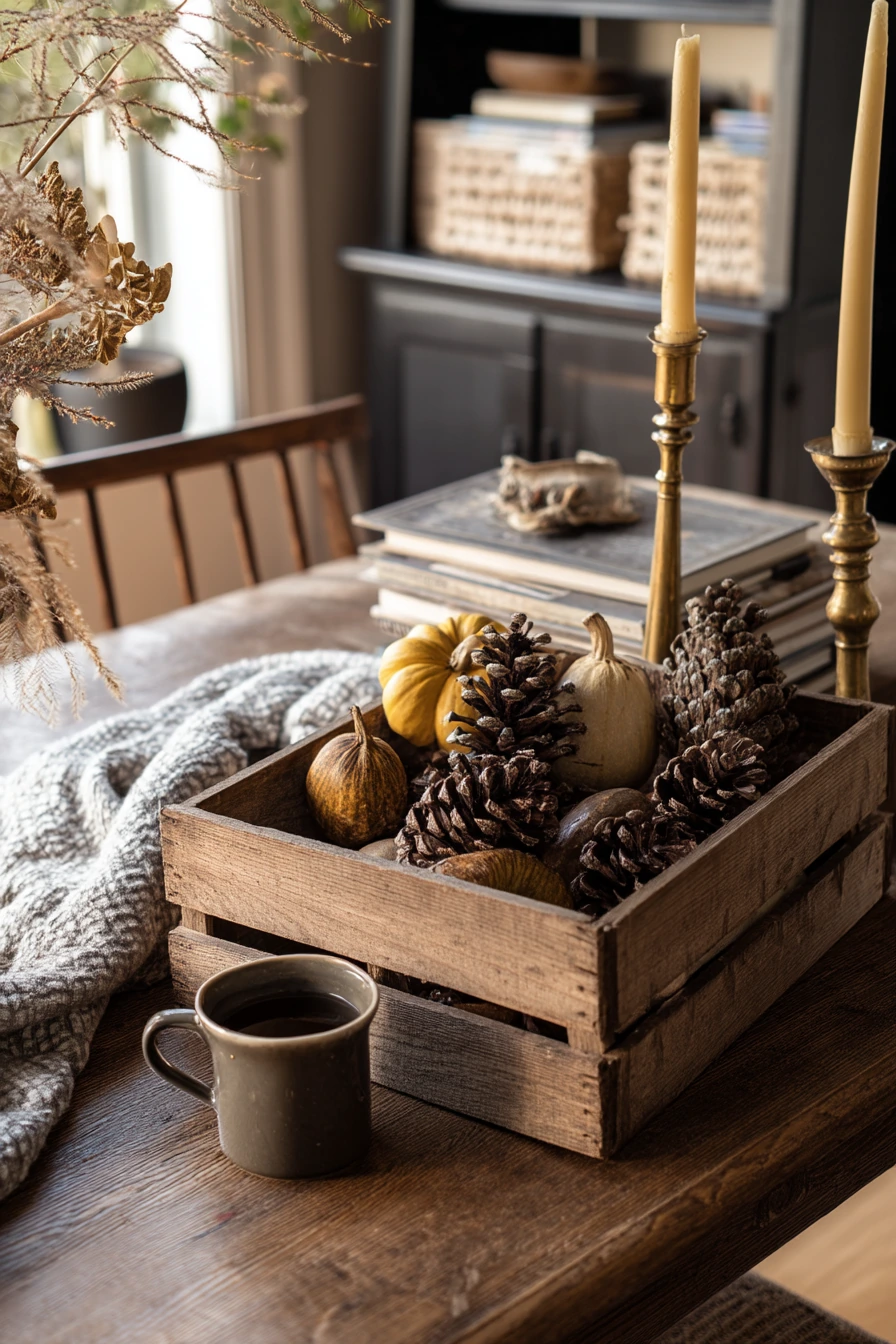
A small reclaimed wood crate makes a strong base for a rustic DIY Thanksgiving centerpiece. It keeps everything contained, which helps in a cozy townhouse dining room where the table may also hold serving plates. Look for a shallow crate so it stays low and does not block views.
Fill the crate with mixed gourds, pinecones, and thrifted brass candlesticks. Start with the tallest items in the back, then work forward with smaller shapes. Keep the finish matte and textured, so the display feels warm in slanted afternoon light. If you have a mail stack on a console or a rumpled throw on the bench, the table can still look styled without being perfect.
To style it, add one neutral runner under the crate and keep place settings simple. A ceramic mug left nearby can fit the mood, like a relaxed holiday at home. If the crate feels too full, remove one gourd and leave some negative space so the eye can rest.
- Place a liner or kraft paper inside the crate to catch pinecone bits.
- Mix round gourds with long ones for variety.
- Use LED tapers if you want a safer setup.
- Add a few dried leaves for color without extra height.
- Keep candlesticks grouped in odd numbers for balance.
Pro Design Tip: Let one metal finish lead, like brass, then keep other metals off the table so the centerpiece feels calm.
Budget Considerations: Thrifted candlesticks are often cheap; polish them lightly or leave them aged for a softer look.

5. Wheat Bundle and White Taper Candle Centerpiece

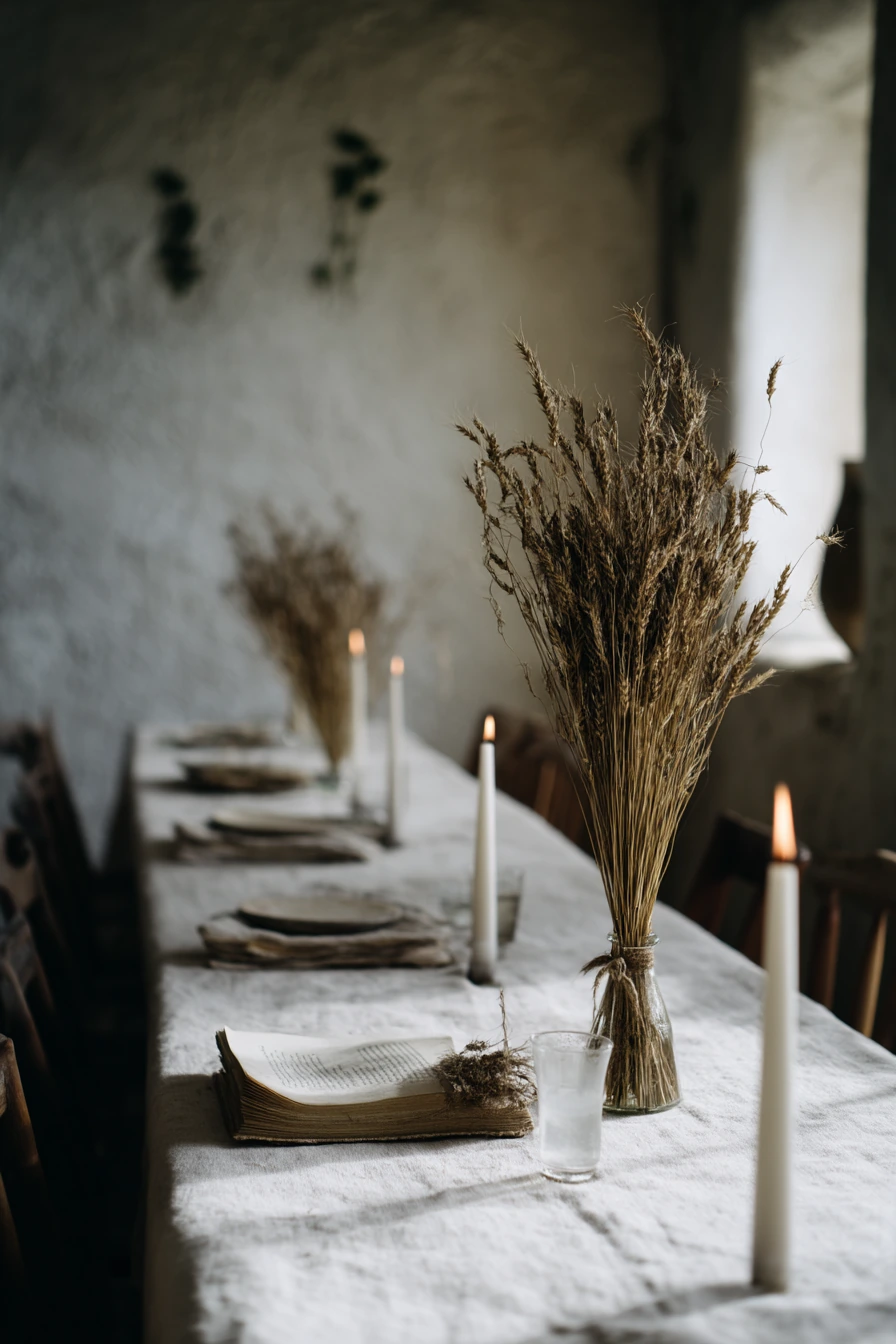
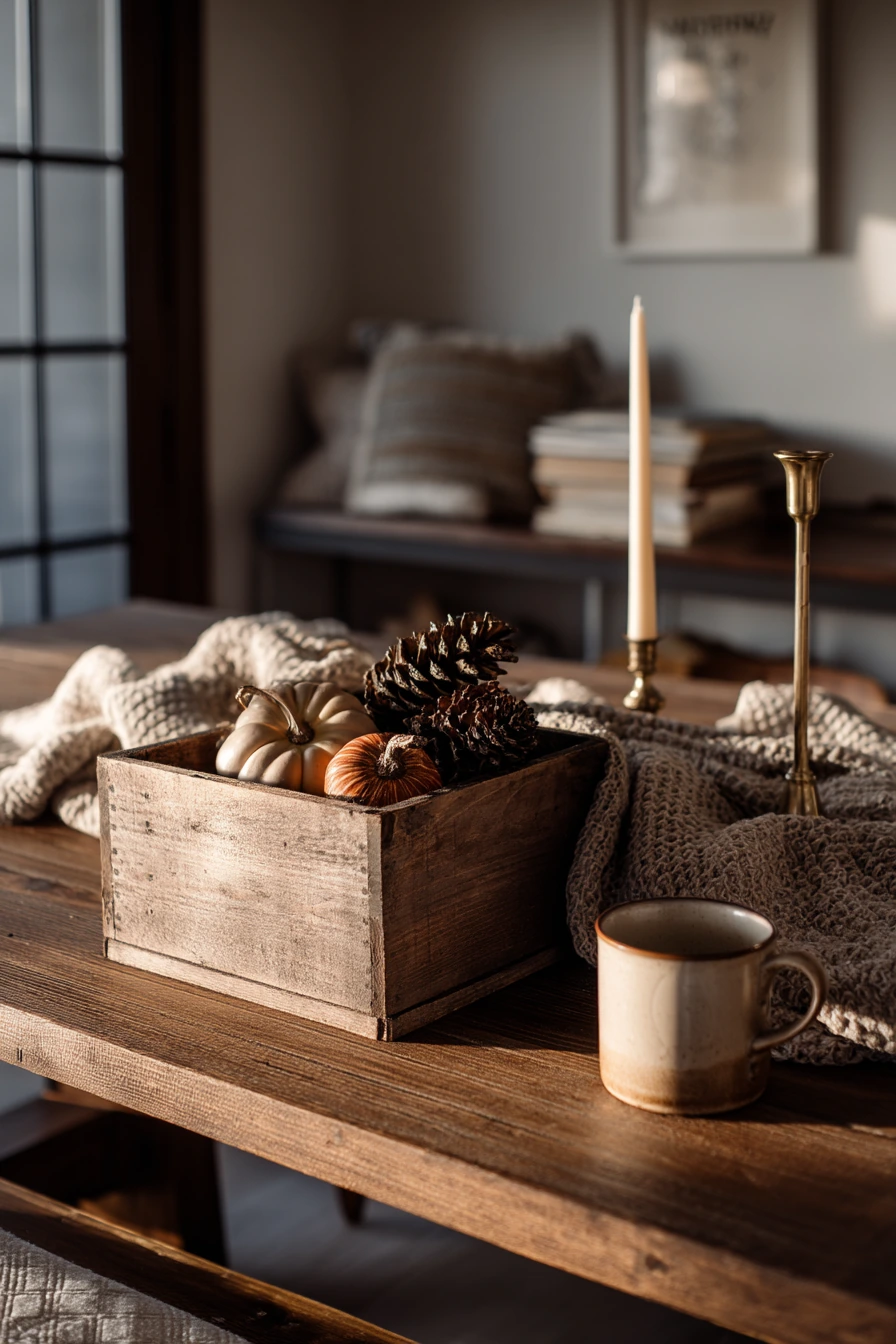
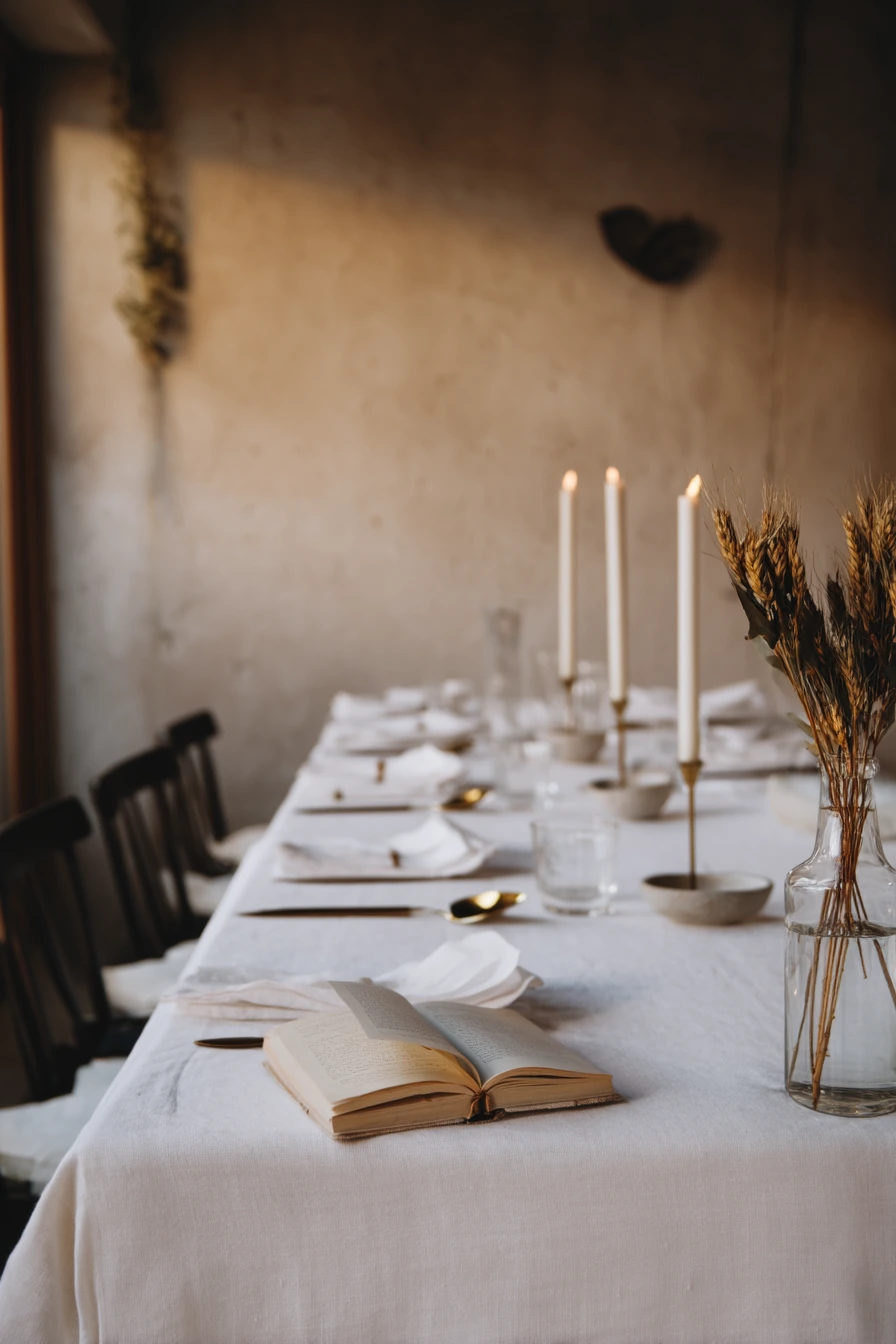
Tied wheat bundles across a long Scandinavian table create DIY elegance with very little effort. This is a good option for a quiet Thanksgiving dinner where you want an airy, restrained look. Use slim holders and white taper candles for clean lines.
Lay two or three wheat bundles along the center, then place candles between them. Keep the wheat low and flat so it does not shed too much. The pale gold color works well with sun-washed light and simple tableware. If you have a slim poetry book open or a clear water carafe on the table, it adds a soft everyday detail without taking away from the holiday feel.
To style it, aim for eye-level symmetry. Keep the bundles evenly spaced and line the candles up so the table looks tidy. Add one small bowl of nuts or pears at each end if you want more food-based decor. This centerpiece also photographs well because it is light, bright, and uncluttered.
- Use thin jute or twine to tie the wheat so it stays neat.
- Keep candles away from dry wheat; leave a safe gap.
- Choose unscented candles if food is the focus.
- Repeat the same holder shape for a clean look.
- Brush wheat gently outside to remove loose bits.
Pro Design Tip: Keep the tallest item under 10 inches so the table stays open for conversation and photos.
Budget Considerations: One bunch of dried wheat can be split into several small bundles, so you can decorate a long table for less.

6. Woven Basket Apple and Rosemary Centerpiece
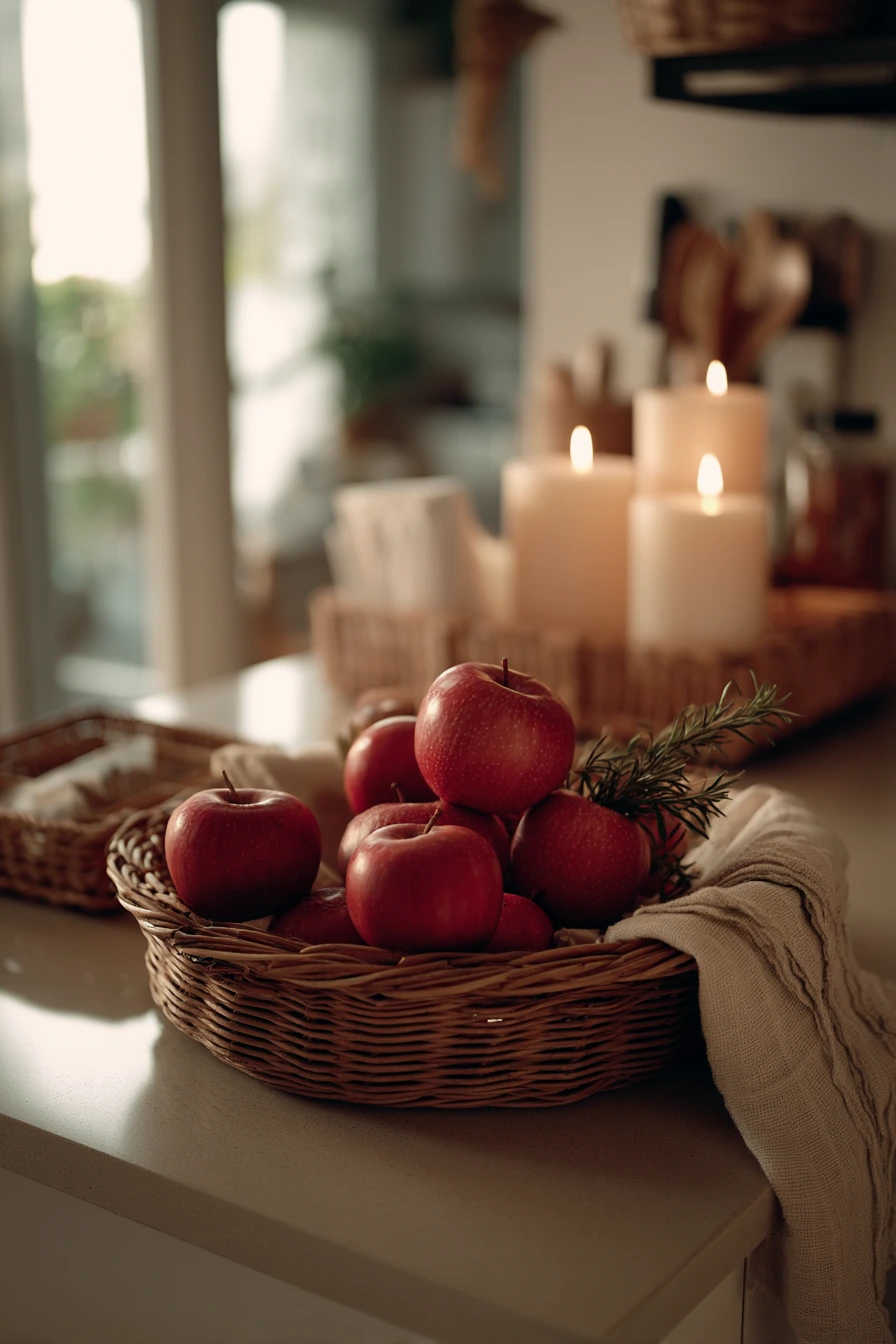

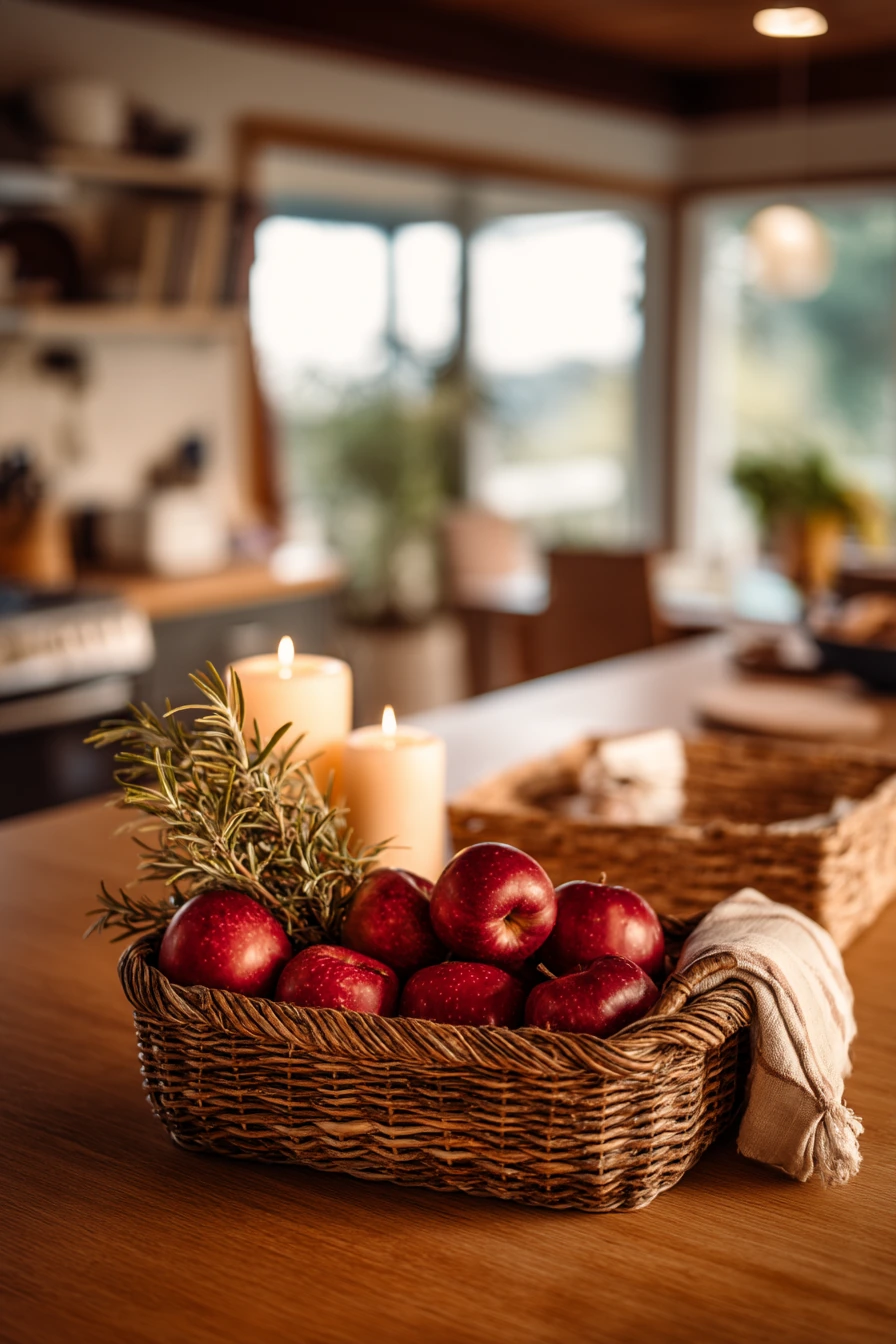
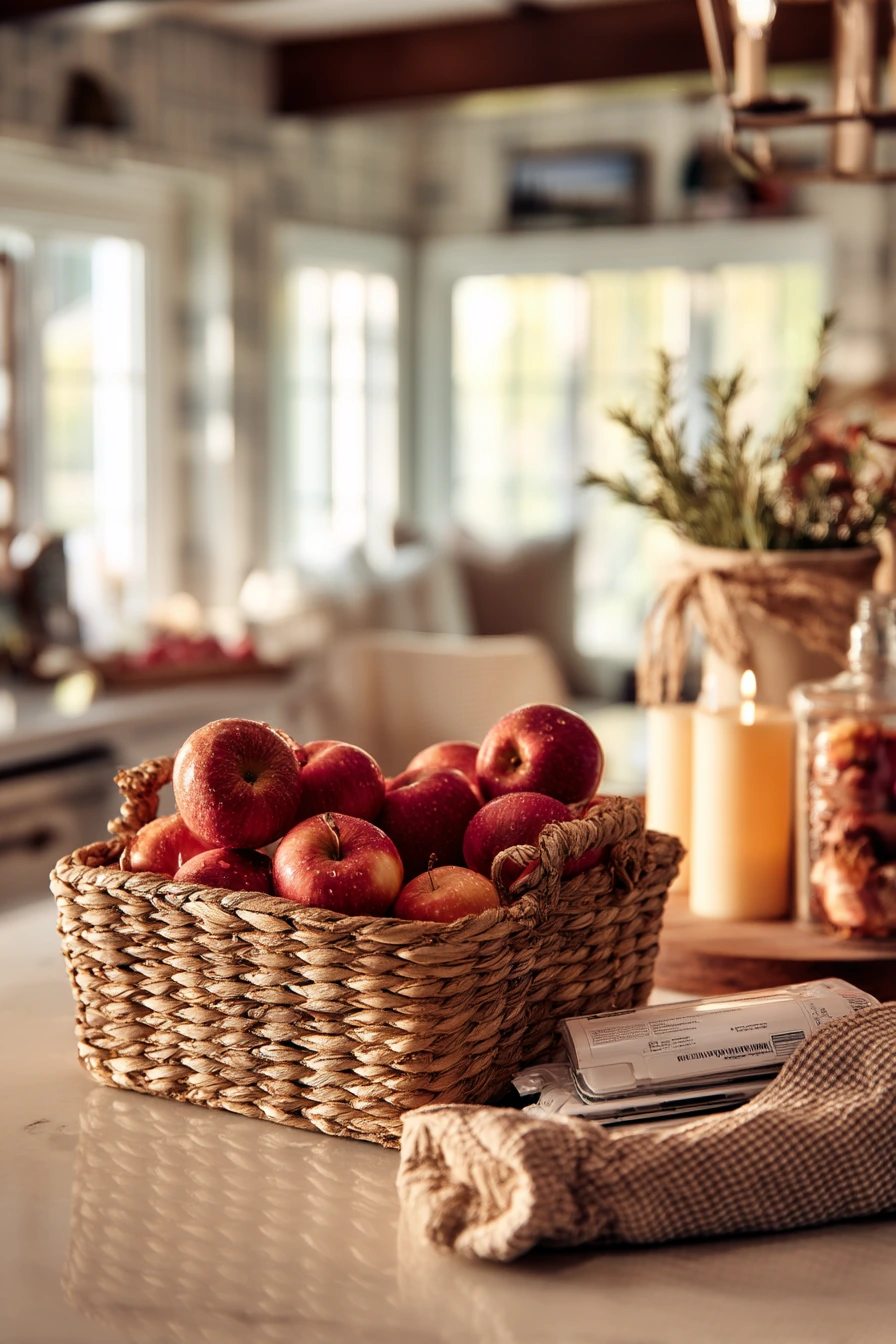
A shallow woven basket filled with red apples, rosemary sprigs, and pillar candles feels wholesome and easy for a busy home. It fits well in an open-plan kitchen where there may be a grocery receipt on the counter and a kid toy basket nearby. The basket keeps the centerpiece contained, so you can move it when serving.
Start by placing pillar candles in the basket first, then nestle apples around them. Tuck rosemary sprigs between the fruit to add green and a fresh scent. Keep the arrangement low and wide. The orchard colors look rich in luminous light from sliding doors, and the textures read well in photos.
To style it, set the basket on the island for prep, then move it to the table right before dinner. Add a folded dish towel nearby and simple plates to keep the look relaxed. If your table is small, use a smaller basket and fewer candles, or swap pillars for one larger candle in a glass hurricane.
- Pick apples with stems for a more natural look.
- Use battery pillar candles if kids will be close.
- Trim rosemary ends so they sit flat and tidy.
- Add a few walnuts for extra texture if you have them.
- Keep candle wicks short to reduce smoke.
Pro Design Tip: Choose candles in a warm ivory tone instead of bright white so they match the apples and feel more fall.
Budget Considerations: Use apples you will eat later and buy one herb bundle of rosemary to split across the basket and place settings.
7. Dried Orange and Bay Leaf Candle Runner
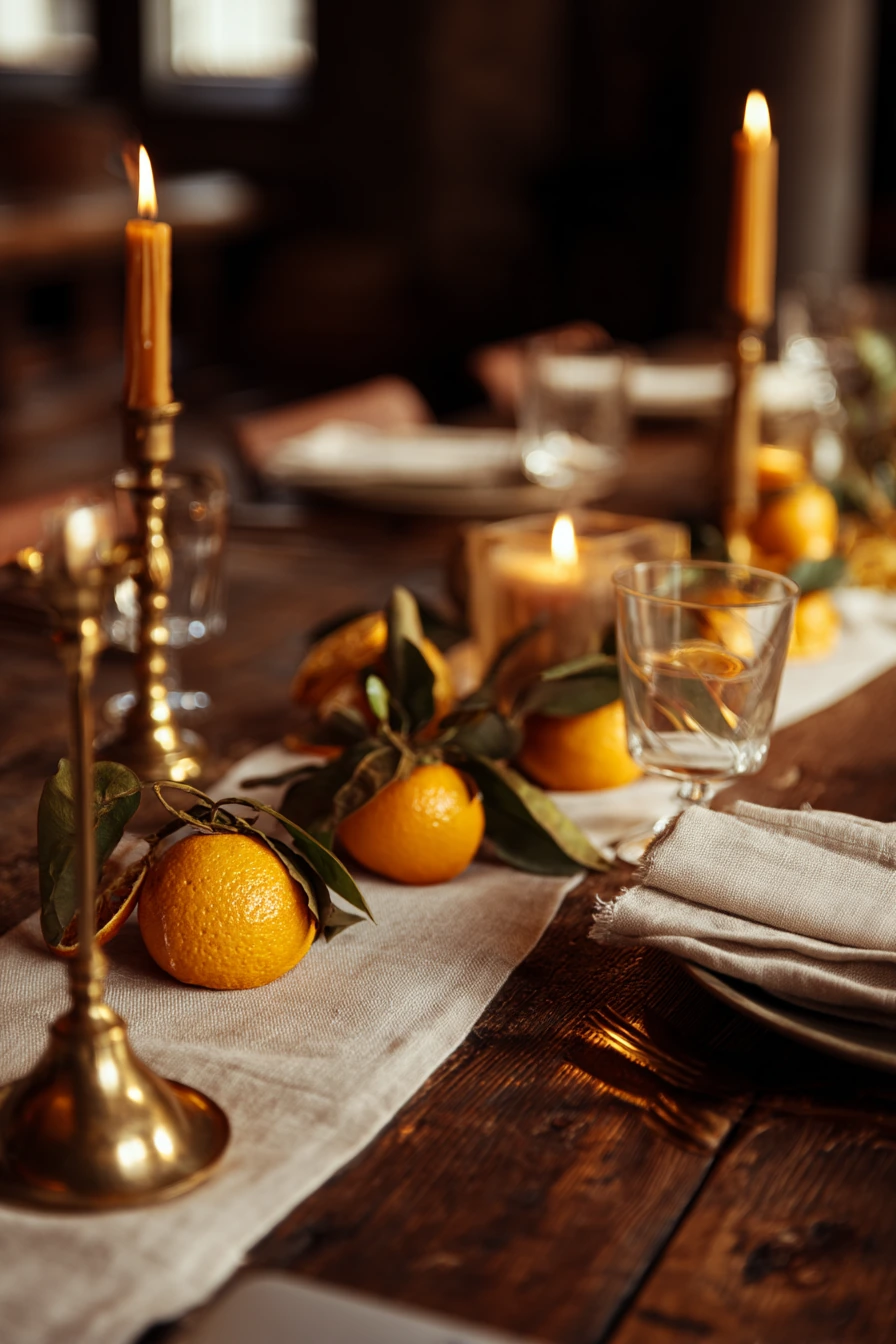
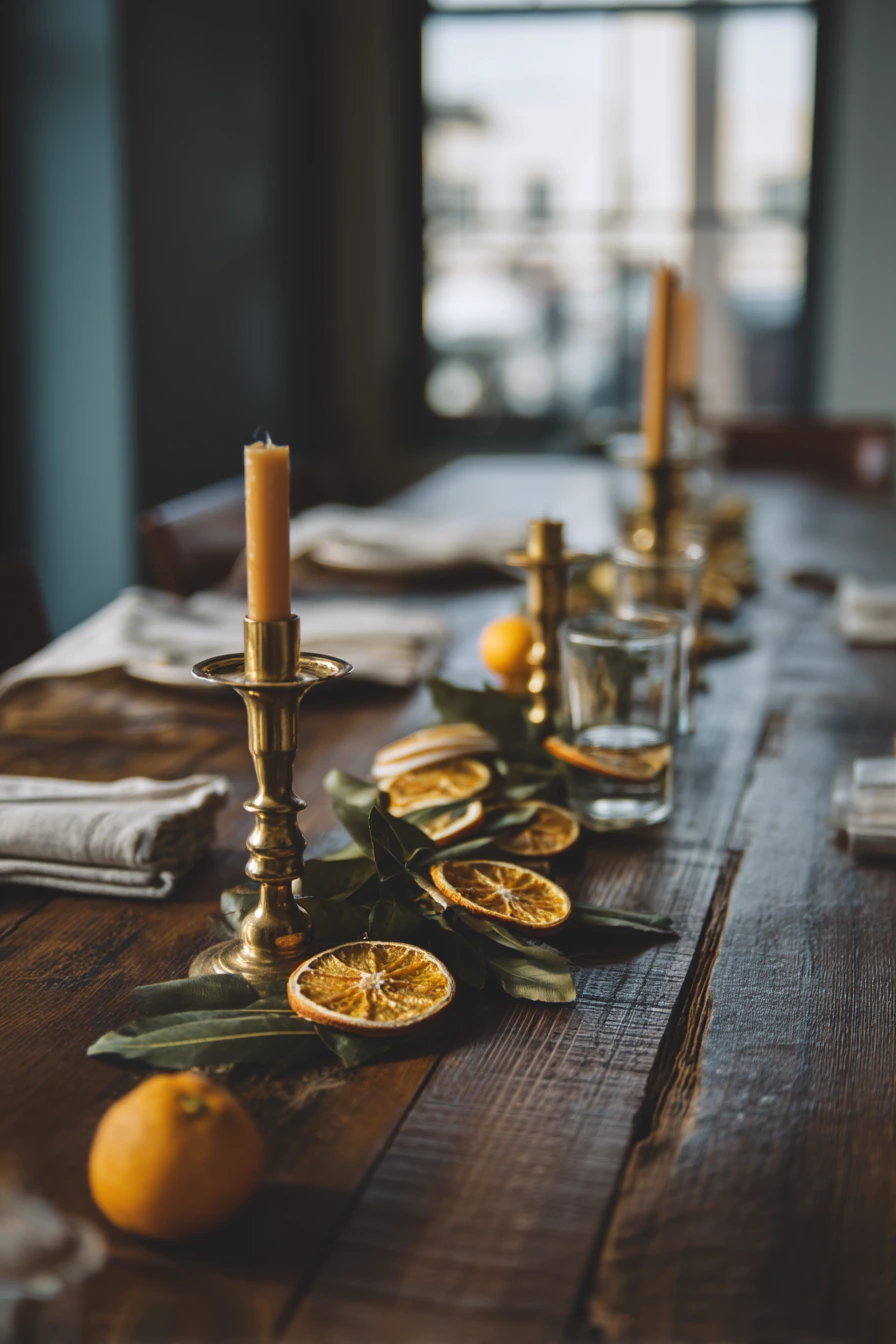
Hand-strung dried orange slices and bay leaves make a simple runner that looks detailed but is easy to build. This DIY Thanksgiving centerpiece works well on a reclaimed dining table in a small city loft, where you may have a closed laptop at one end and slightly creased linen napkins.
Dry orange slices in the oven ahead of time, then string them with bay leaves using a needle and twine. Weave the garland around brass candlesticks or lay it in a loose line down the center. The citrus color and warm metal look good in late afternoon glow, and the table still feels natural, not overdone.
To style it, keep the candlesticks spaced out and add simple glassware that catches highlights. If you want a fuller look, add a few extra bay leaves around the bases of the holders. Keep the garland low so it does not interfere with serving bowls. This idea also packs away well for next year.
- Slice oranges evenly so they dry at the same speed.
- Use parchment paper to keep slices from sticking.
- Double-knot twine ends so the garland stays secure.
- Pair with brass or gold-toned holders for warmth.
- Keep garland away from open flames; place it beside candles, not under them.
Pro Design Tip: Repeat the same spacing pattern, like candle, garland loop, candle, to make the runner feel intentional.
Budget Considerations: Oranges and bay leaves are low cost; you can also use dried slices from store-bought packs to save time.


8. Vintage Bottle Flower Centerpiece With Backyard Clippings

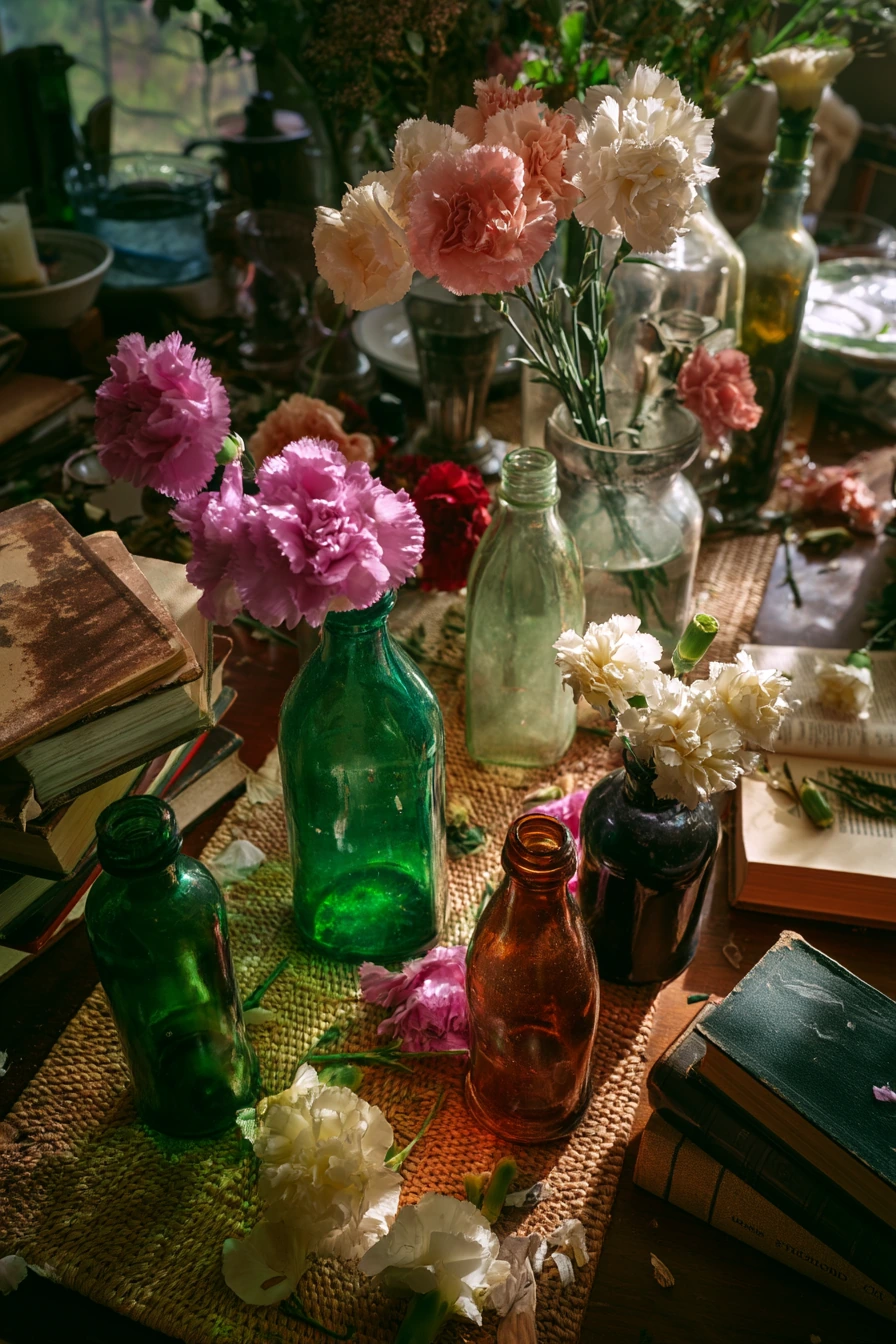
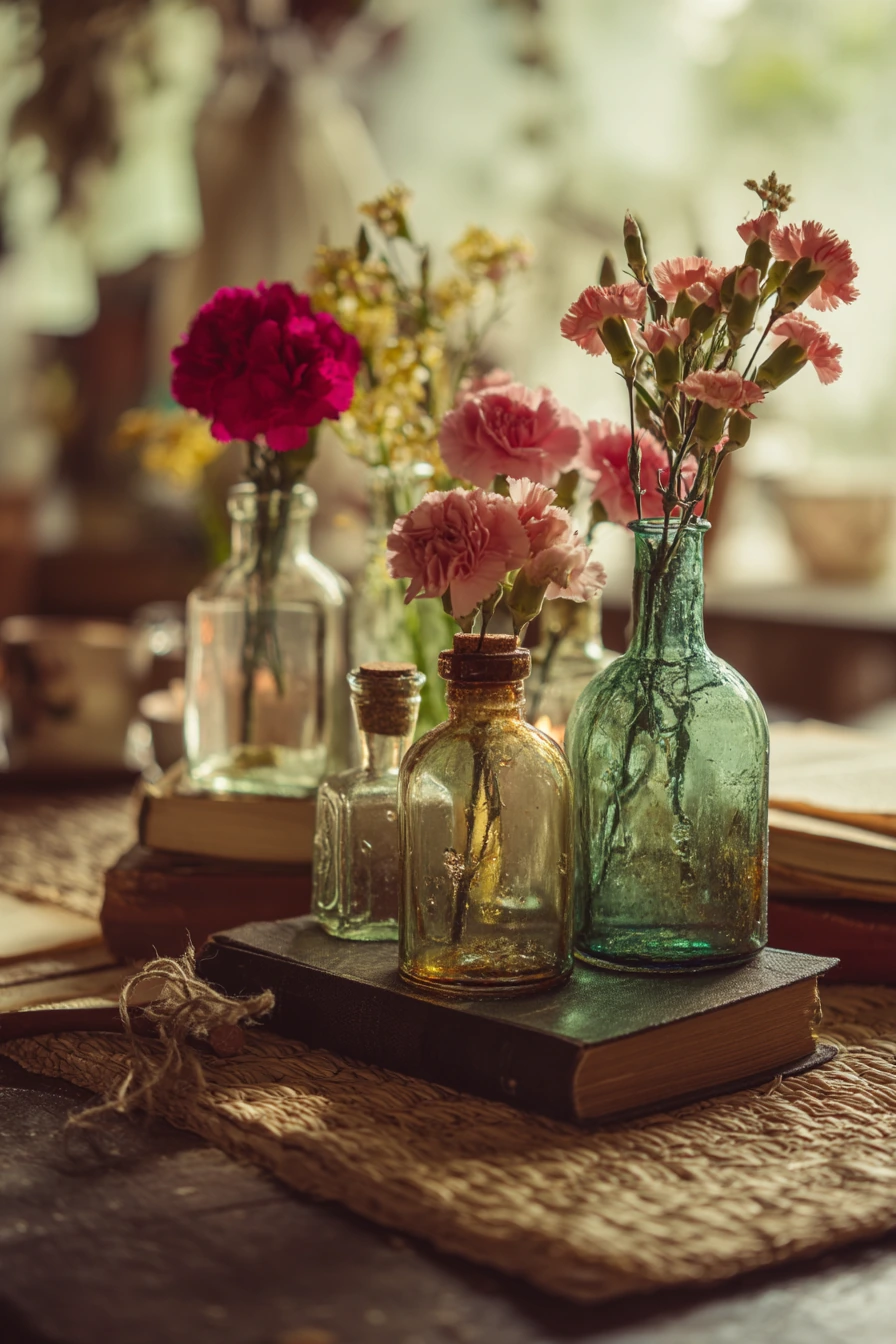
Collected vintage glass bottles holding backyard clippings and supermarket carnations create a soft, nostalgic DIY Thanksgiving centerpiece. It works on a cottage dining table where woven placemats might not line up perfectly, and candle wax drips show a bit of real life.
Gather bottles in different shapes and heights, then fill them with water. Add a few green clippings from your yard, like small branches or leaves, and mix in carnations for color. Keep the stems simple and let the bottles look slightly mismatched. This kind of centerpiece feels tender in diffused daylight and photographs well from an angled overhead view.
To style it, spread bottles in small groups, not one straight line. Leave room for dishes and passable food. Add a stack of thrifted novels nearby or one small candle between bottle clusters. If you want a more Thanksgiving look, choose flowers in cream, blush, rust, or deep red, and keep greens softer, not too bright.
- Rinse bottles well so the water looks clear.
- Trim stems at an angle so they drink better.
- Use odd numbers in each cluster, like 3 or 5 bottles.
- Add one taller branch per cluster for height control.
- Keep flowers below eye level so guests can talk across the table.
Pro Design Tip: Limit your color palette to two flower colors plus green to keep the mixed bottles from looking messy.
Budget Considerations: Buy one bunch of carnations and split stems across bottles, then add free yard clippings for volume.

9. Neutral Gourd and Tealight Centerpiece on Linen Runner

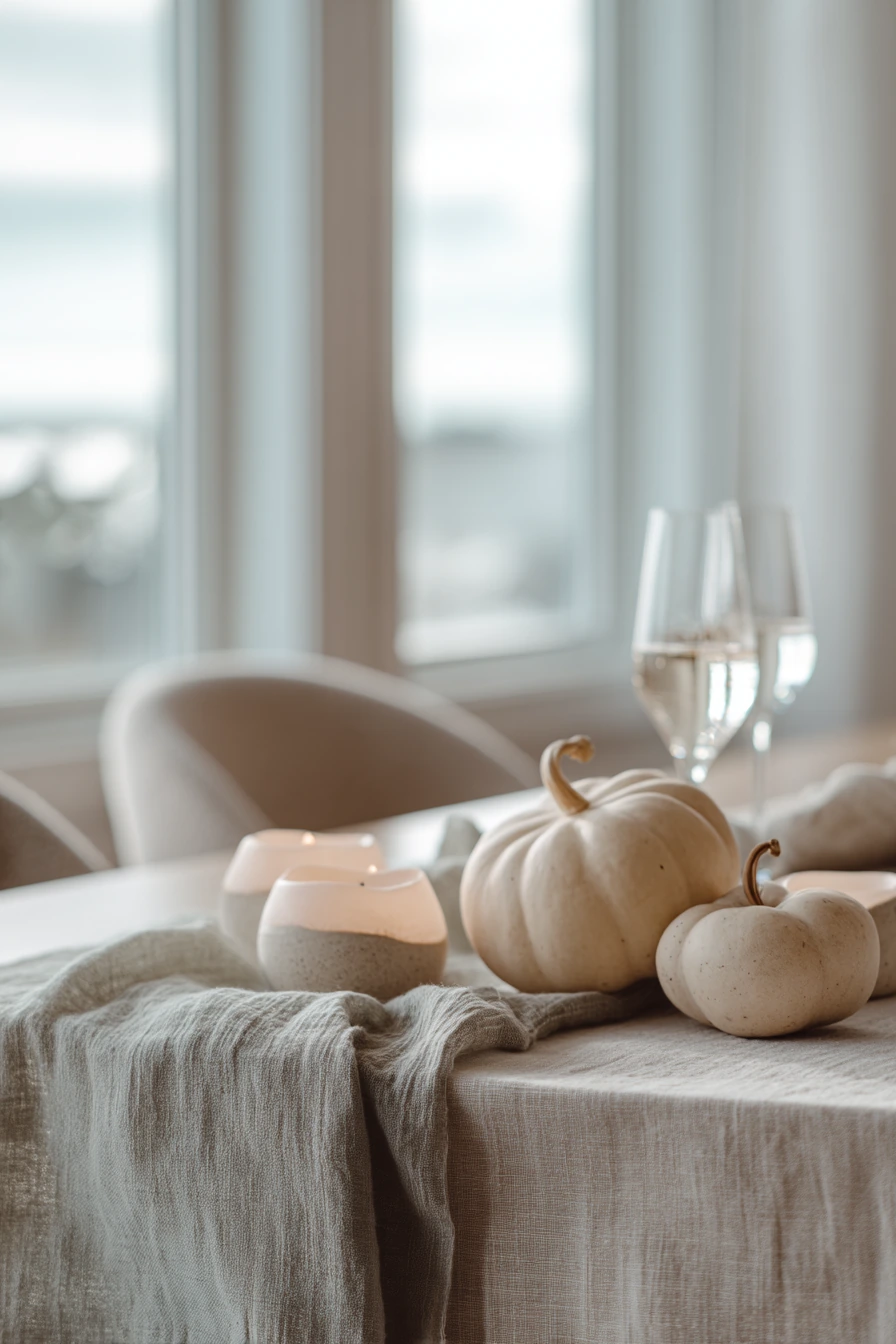
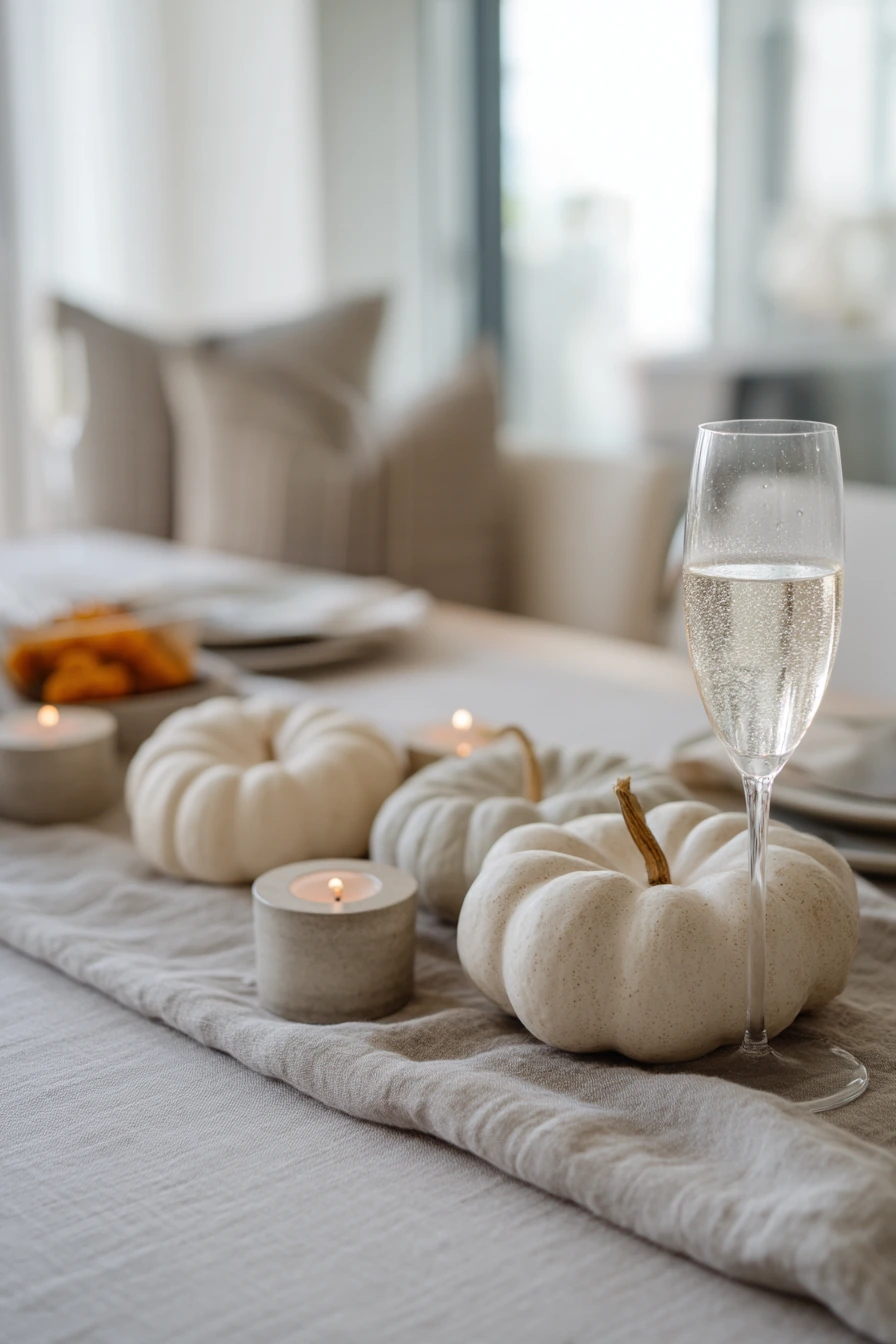
Neutral-toned gourds on a soft linen runner with ceramic tealights make a calm, modern DIY Thanksgiving centerpiece. This works well in a family home where a remote control may sit on a side chair, and the tablecloth edge might be a bit wrinkled. The look is simple and forgiving.
Start with a runner in cream, flax, or light gray. Arrange gourds in a loose group down the center, mixing sizes but keeping colors soft. Add ceramic tealights between them for a warm glow. The window-filtered light and creamy palette make the whole table feel quiet and clean.
To style it, keep the centerpiece low and spread out so it does not take over the table. Pair it with simple plates and clear glasses, like sparkling water mid-meal. If you want a little more texture, add a few small leaves or a thin garland, but keep it minimal so it stays modern.
- Choose gourds in beige, pale green, and soft white for a neutral set.
- Use unscented tealights so food smells stay clear.
- Place tealights in ceramic cups for a safer, cleaner look.
- Leave small gaps so the runner shows through.
- Use a mix of matte and slightly glossy gourds for subtle contrast.
Pro Design Tip: Group gourds in threes and fives, then repeat the same spacing rhythm down the runner for a balanced layout.
Budget Considerations: Neutral gourds can be reused; store them in a cool, dry spot and bring them out again for fall decor.

10. Lantern and Fairy Light Greenery Centerpiece

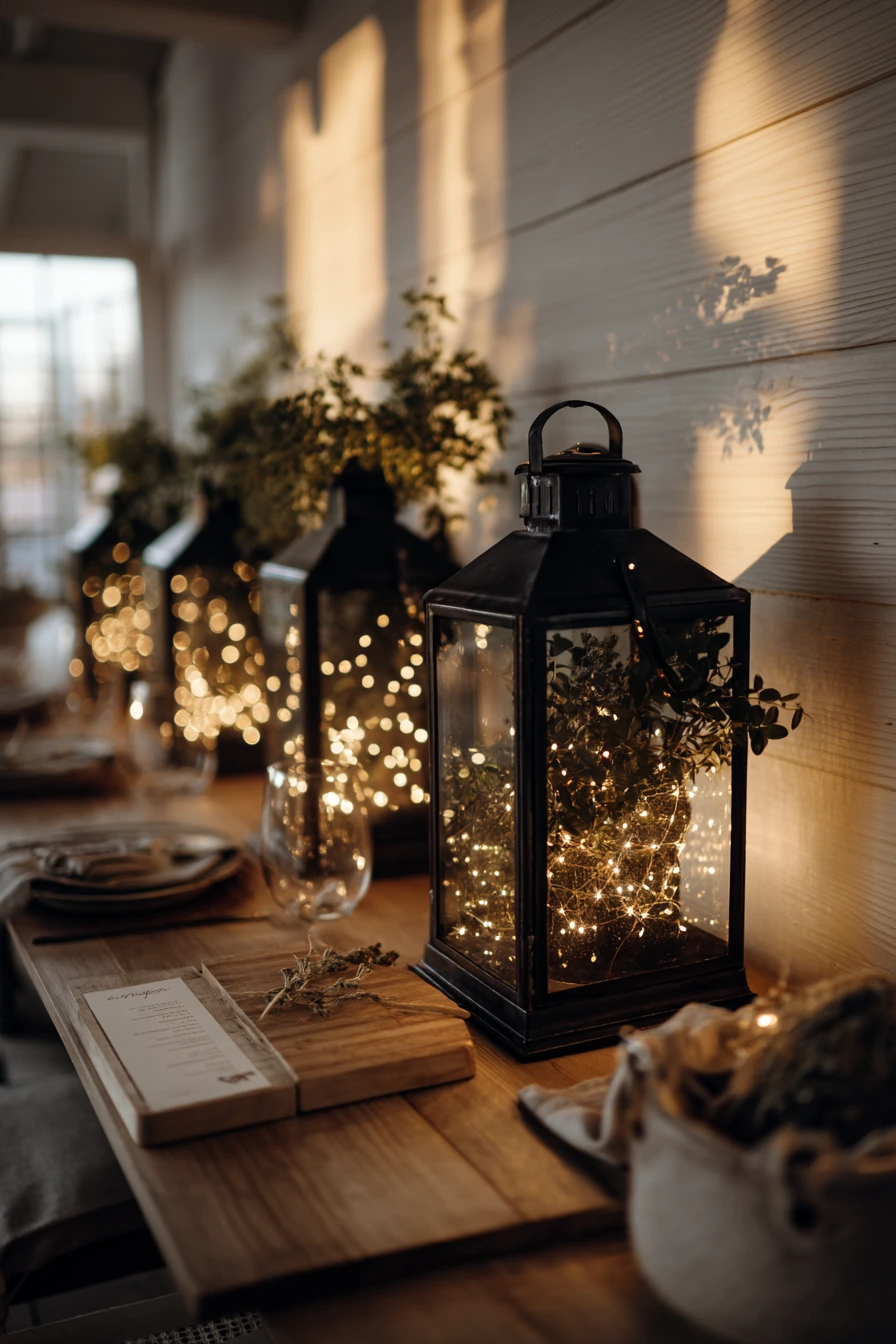
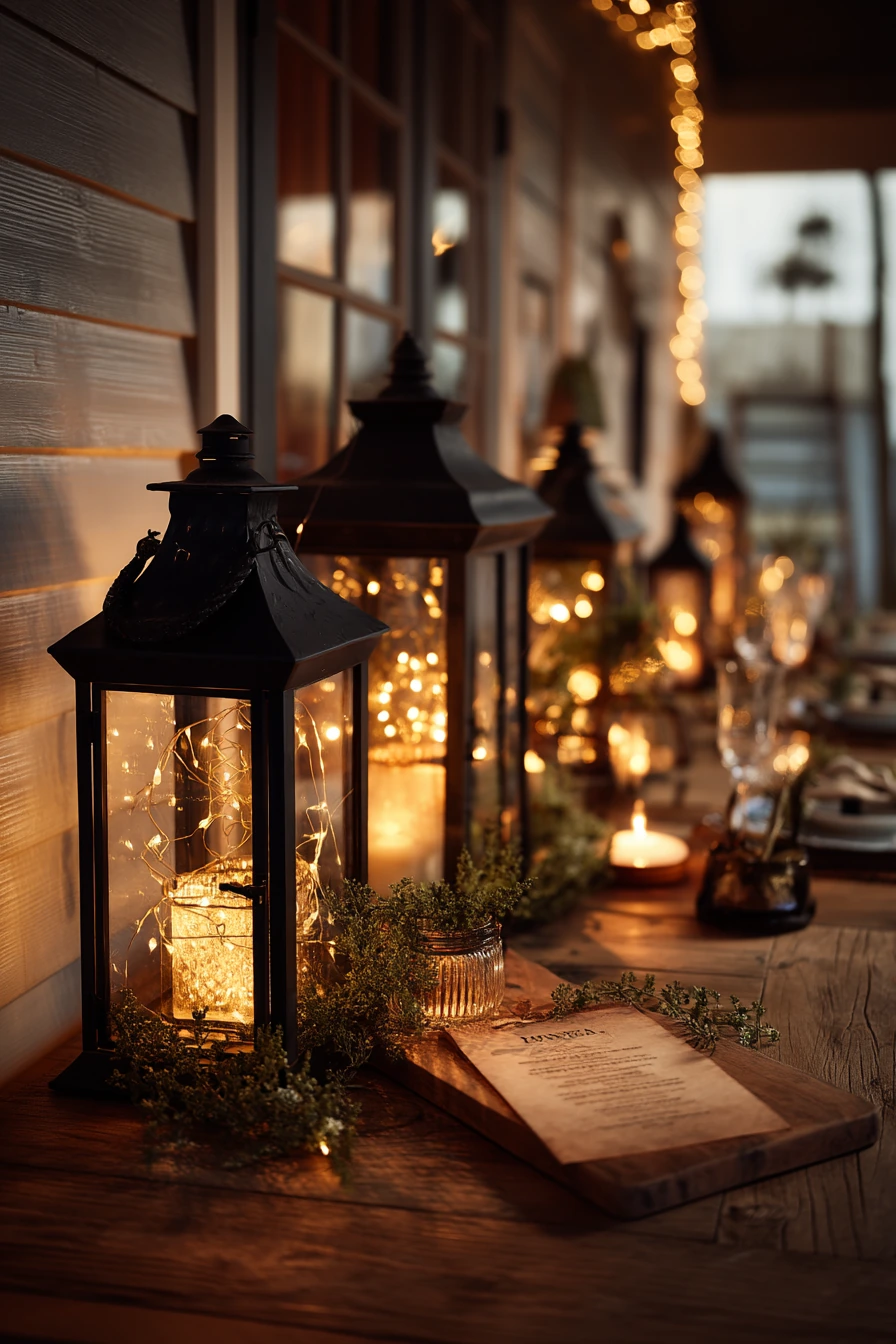
Black metal lanterns filled with fairy lights and clipped garden greenery create a moody DIY Thanksgiving centerpiece that still feels homey. It is perfect for a farmhouse table before guests arrive, when the room has dusk light and warm lamp glow. Lanterns also make a strong photo focal point.
Place two or three lanterns along the center, then tuck fairy lights inside. Add small greenery clippings like olive, cedar, or simple leaves. Keep the lights warm white for an ember-soft look. This kind of centerpiece works well even if there is a recipe card by a cutting board and a half-empty wine glass on the table, because the lanterns add structure.
To style it, let the greenery spill out a little from the lantern bases, but keep it neat enough for serving. Add a few plain napkins and simple plates, then dim overhead lights so the lantern glow shows. If your wall has shiplap or visible texture, the shadows will add depth in photos without extra decor.
- Use timer fairy lights so setup is easy.
- Choose greenery that does not drop needles fast.
- Keep lantern doors closed if kids will be around.
- Add one small pumpkin at each end for a Thanksgiving cue.
- Test the glow at night and adjust lantern spacing as needed.
Pro Design Tip: Mix one larger lantern with two smaller ones to create height changes without adding tall flowers.
Budget Considerations: Shop lanterns secondhand and reuse fairy lights from holiday bins; fresh clippings from your yard keep costs low.

DIY Thanksgiving centerpieces can be simple, practical, and still look great in photos. Pick one main base item, like jars, pumpkins, a basket, or lanterns, then add a few repeat elements like candles, greenery, or fruit.
If you want the easiest win, start with floating candles and cranberries or a basket of apples and rosemary. If you want a more styled look, try dried oranges with bay leaves or a crate with brass candlesticks.
Frequently Asked Questions
1. How do I make a centerpiece that doesn’t block conversation across the table?
Keep all tall elements, such as candlesticks or branches, under 10 inches tall, or use low-profile centerpieces like flat crates, shallow baskets, or bowls. This ensures guests can easily make eye contact and talk across the table without leaning around bulky arrangements.
2. Are these centerpieces safe and practical for families with children or pets?
Yes. Swap open-flame taper candles for battery-operated LED pillars or tealights, especially in homes with active kids or pets. Using heavy items like glass bowls, ceramic holders, or low baskets also helps prevent accidental tipping.
3. How can I build a festive centerpiece on a tight budget?
Use everyday items you already have, such as mason jars, clear salad bowls, leftover pasta sauce jars, or old wooden crates. You can also stretch grocery store flowers or a single bundle of dried wheat across multiple containers, or fill gaps with free yard clippings, apples, and pinecones.
4. How far in advance can I set up my Thanksgiving table?
Dry elements like wheat bundles, woven baskets, gourds, and candle runners can be assembled 2 to 3 days before your dinner. If your centerpiece uses fresh flowers, herbs, or water (like floating candles or jar arrangements), assemble it the morning of the event to keep everything looking fresh and vibrant.
5. How do I clear space when it’s time to serve family-style food?
Choose centerpieces that are contained on a tray, in a crate, or inside a basket so you can pick up the entire arrangement in one motion and move it to a side table or kitchen counter when the serving platters need to go on the main table.
Would you like to generate social media captions or Pinterest pin text to go along with this Thanksgiving centerpiece guide?